ATEN CL3000 - Lightweight PS/2-USB LCD Console Quick Start Guide
- User manual (47 pages) ,
- Quick start manual (2 pages) ,
- User manual (45 pages)
Advertisement
Package Contents
1 CL3000 Lightweight PS/2-USB LCD Console with Standard Rack Mounting Kit
1 Custom KVM Cable
1 Power Cord
1 Grounding Wire
1 User Manual
1 Quick Start Guide
Requirements
LED-backlit LCD Console
- The LED-backlit LCD console supports most KVM switches. If you are unsure whether your switch is supported or not, check with your dealer.
- The integrated LED-backlit LCD monitor's maximum resolution is 1280 x 1024 @ 75Hz. Make sure that none of the resolution settings of the connected computers exceed the LED-backlit LCD monitor's maximum resolution.
External Console
- A VGA, SVGA, or MultiSync monitor capable of displaying the highest resolution provided by any computer in the installation.
- USB or PS/2 keyboard and mouse
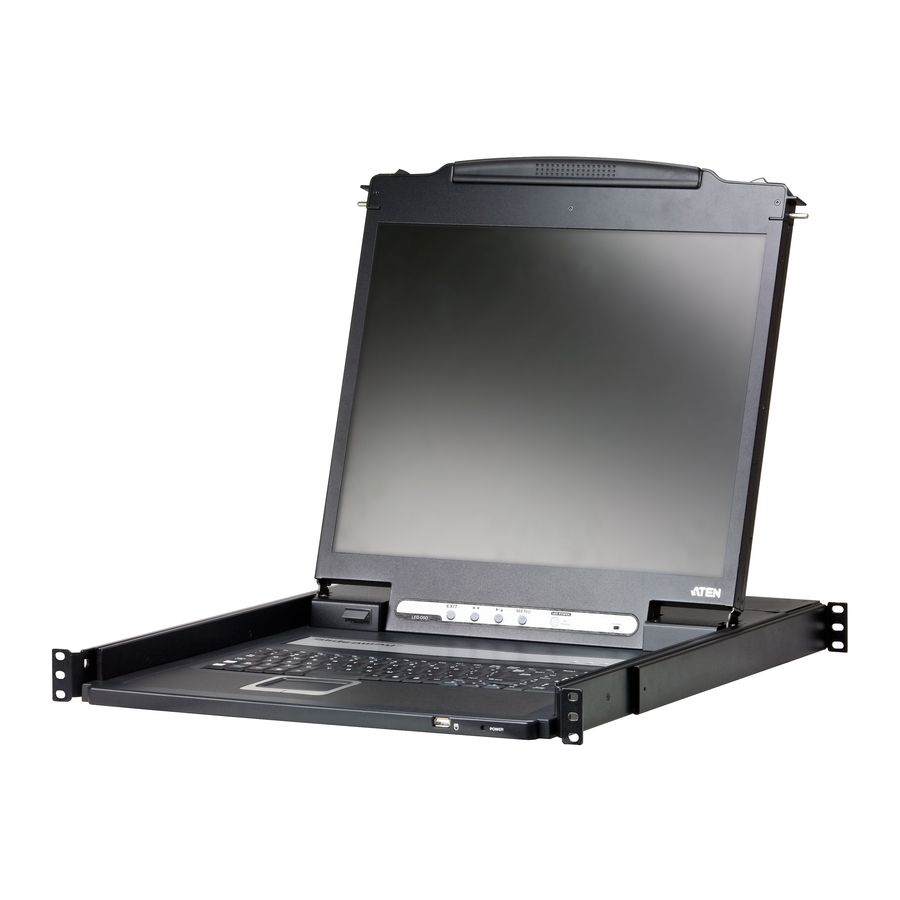
Hardware Review

Front View
- Upper Handle
- Module Release Catches
- LED-backlit LCD Module
- LED-backlit LCD Controls
- LED-backlit LCD On / Off Button
- Keyboard Module
- Touchpad
- USB Port
- Power LED
- Rack Mounting Tabs
- Lock LEDs
- Reset Switch
- Firmware Upgrade Switch
Rear View
- Power Socket
- Power Switch
- External Console Section
- Grounding Terminal
- KVM Port Section
Hardware Installation

Standard Rack Mounting
To rack mount the console, do the following:
- While one person positions the CL3000 in the rack and holds it in place, the second person loosely screws the front brackets to the rack.
- While the first person still holds the CL3000 in place, the second person slides the L brackets into the CL3000's side mounting brackets from the rear until the bracket flanges contact the rack, then screws the L brackets to the rack.
- After the L brackets have been secured, tighten the front bracket screws.
Note: Allow at least 5.1 cm on each side for proper ventilation, and at least
12.7 cm at the back for the power cord and cable clearance.
Installation
Refer to the installation diagram as you perform the installation steps. The numbers in the diagrams correspond to the numbers of the steps.
- Plug the SPHD connector end of the KVM cable provided with this unit into the CL3000's KVM port.
- Plug the keyboard, monitor, and mouse connectors of the KVM cable into their respective ports in the Console Section of the KVM switch.
- Plug your external console keyboard, monitor, and mouse connectors into their respective ports in the Console Section of the CL3000, located on the unit's back panel.
- If you are using an external USB mouse or USB peripheral in your installation, plug it into the USB port located on the CL3000's front panel.
- Plug the power cord into the CL3000's power socket and into an AC power source.
- Power up your KVM installation.
- Turn on the power to CL3000.
Operation

Opening the Console
The CL3000's console is located under the top cover. To access the console, slide the console module out and raise the cover.
Note: As a safety precaution, to keep the console from accidentally sliding out, the console is locked into the In position. Before you can pull the console module out, you must release it by pushing the catches on the unit's front panel as indicated in diagram C.
Closing the Console
To slide the console module back in, close the cover and do the following:
- Pull the safety catches on the unit's side rails toward you and push the module in until it stops.
- Release the catches. Pull the module slightly toward you, then push it all the way in.
Note: The reason for the two step procedure is to minimize the chances of you pinching your fingers when sliding the module in.
Powering Off and Restarting
If it becomes necessary to Power Off the CL3000 (to upgrade the firmware, for example), simply turn off the power to the unit using the rear panel power switch. To restart the CL3000, turn the rear panel power switch back on.
Hotkeys
Console selection on the CL3000 is accomplished with hotkey combinations, as described in the following table:
| Combination | Action |
| [Ctrl] [Alt] [Shift] [P] [C] [Enter] | To select normal mode (pc, etc.). |
| [Ctrl] [Alt] [Shift] [S] [U] [N] [Enter] | To select SUN |
| [Ctrl] [Alt] [Shift] [u] [p] [g] [r] [a] [d] [e] [Enter] | Activates the Firmware Upgrade Mode. Note: this Hotkey sequence only works when the Firmware Upgrade Recovery Switch is in the Normal position. |
| [Ctrl] [Alt] [Shift] [L] [Enter] | Enable Local (LED-backlit LCD) console; Disable Remote (external) console. |
| [Ctrl] [Alt] [Shift] [R] [Enter] | Enable Remote (external) console Disable Local (LED-backlit LCD) console. |
| [Ctrl] [Alt] [Shift] [L] [R] [Enter] or [Ctrl] [Alt] [Shift] [R] [L] [Enter] | Enable both consoles (default). |
| [Ctrl] [Alt] [Shift] [U] [M] [Enter] | Configures the front USB Port to mouse mode (Mouse functionality is immediate upon switching to USB mouse mode). |
| [Ctrl] [Alt] [Shift] [U] [P] [Enter] | Configures the front USB Port to peripheral mode. |
Note:
- Press the keys in sequence – one key at a time. First [Ctrl], then [Alt], then [Shift], etc.
- Console selections are not saved. If the CL3000 is powered off, it reverts to the default setting of both consoles enabled when it is powered on again.
- If the KVM switch connected to the CL3000 uses the [Ctrl] [Alt] [Shift] combination to invoke its hotkey mode, you won't be able to access any of its hotkey operations because the CL3000 will capture the combination for console selection first.
Online Registration
International:
http://support.aten.com
North America:
http://www.aten-usa.com/product_ registration
Technical Phone Support
International:
886-2-86926959
North America:
1-888-999-ATEN Ext: 4988
United Kingdom:
44-8-4481-58923
All information, documentation, and specifications contained in this media are subject to change without prior notification by the manufacturer. Please visit our website to find the most up to date version.
© Copyright 2011 ATEN® International Co., Ltd.
ATEN and the ATEN logo are trademarks of ATEN International Co., Ltd. All rights reserved. All other trademarks are the property of their respective owners.

Documents / Resources
References
Download manual
Here you can download full pdf version of manual, it may contain additional safety instructions, warranty information, FCC rules, etc.
Download ATEN CL3000 - Lightweight PS/2-USB LCD Console Quick Start Guide
Advertisement


Need help?
Do you have a question about the CL3000 and is the answer not in the manual?
Questions and answers