
Related Manuals for Ballard Designs Gracie WN202


Summary of Contents for Ballard Designs Gracie WN202
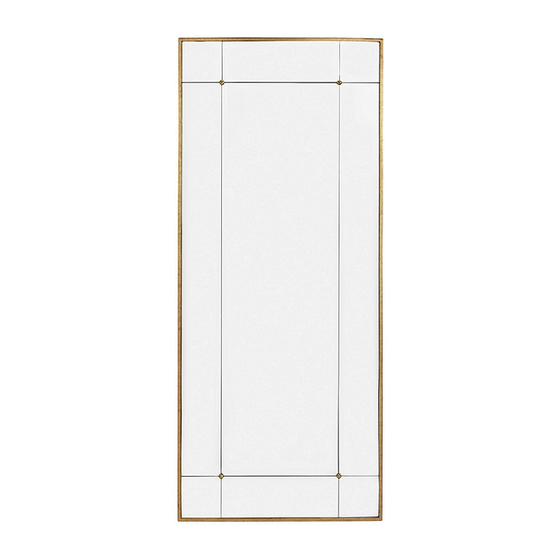
- Page 1 Customer Service: 800-367-2810 Online: www.ballarddesigns.com PRODUCT NAME: Gracie Mirror ITEM NUMBER: WN202 ASSEMBLED DIMENSIONS : 60.7”H x 25.75”W x 1.42”D PRODUCTS ARE NOT INTENDED FOR COMMERCIAL USE. MADE IN CHINA UPDATED: 10/04/2019 Page 1 of 5...
-
Page 2: Tools Needed
TOOLS NEEDED: Ltr. Qty. Hardware Included Phillips Screwdriver, Pencil, Hammer, Drill with 3/8” bit W ood Screws -Two person assembly suggested. Remove all parts, hardware and Expansion Bolt protective packaging from carton and carefully arrange on a clean, level, padded surface. W all Anchoring Anti-T ip Kit NOTE:... -
Page 3: Wall Hanging Installation
NOTE: This Mirror is designed for either hanging on or leaning against a wall. WALL HANGING INSTALLATION STEP 1: When determining location for Mirror (D) AT LEAST ONE KEYHOLE BRACKET MUST BE POSTIONED OVER A WALL STUD. Use pencil to mark location of Keyhole Brackets on back of Mirror. NOTE: For location not over a wall stud, use Expansion Bolt (B) installation covered in Steps 2 and 3. - Page 4 EXPANSION BOLT (For use in open drywall where no wall stud is present) STEP 2: If mark falls in area in with no wall stud, use Drill with 3/8” bit to create a hole through drywall. Use hammer to lightly tap Expansion Bolt (B) into hole until teeth sink into wall surface. STEP 2: Using a screwdriver, firmly press down and turn Bolt clockwise until it starts to slip which indicates barrel has crimped against inside of wall.
-
Page 5: Tip-Over Hazard
NOTE: WHEN LEANING MIRROR AGAINST WALL IT MUST BE ACHORED TO A WALL STUD AND IN NO WAY SUSPENDED. ANTI-TIP / WALL ANCHORING HARDWARE INSTALLATION: Ltr. Qty. Hardware Included Screw Bracket Retention Belt 1. Locate and mark a Wall Stud behind mirror at location for installation. 2.