Table of Contents
Advertisement
Quick Links
Advertisement
Table of Contents

Related Manuals for Ballard Designs WS973


Summary of Contents for Ballard Designs WS973
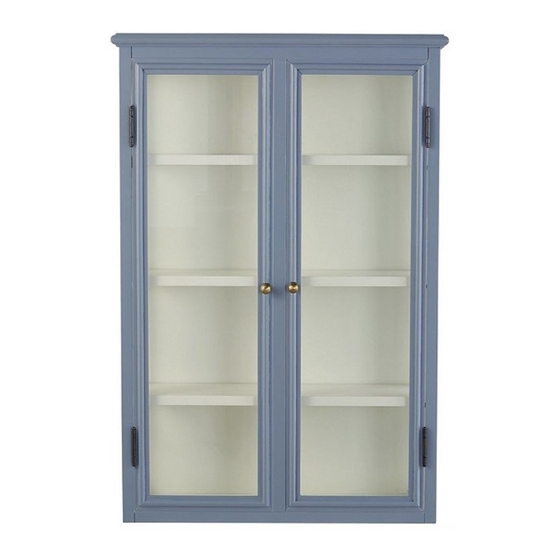
- Page 1 Customer Service: 800-367-2810 Online: www.ballarddesigns.com PRODUCT NAME: Apothicaire Cabinet ITEM NUMBER: WS973 ASSEMBLED DIMENSIONS : 30 7/8”H x 21”W x 6 1/2”D PRODUCTS ARE NOT INTENDED MADE IN CHINA FOR COMMERCIAL USE. UPDATED: 7/26/2019 Page 1 of 5...
- Page 2 TOOLS NEEDED: Phillips Screwdriver, Drill, Level, Pencil Shelves -Two person assembly suggested. Remove all parts, hardware and protective packaging from carton and carefully arrange on a clean, level, padded surface. NOTE: To avoid accidentally discarding small parts or hardware, retain all carton contents until assembly and installation are complete.
- Page 3 STEP 1: Determine location for cabinet then use a Level and Pencil to position and mark location for Wall Bracket (D). Use Screws (A) in Wall Stud and Expansion Bolt (C) in open drywall. NOTE: See Steps 2 and 3 for Expansion Bolt installation. SAFETY NOTICE For maximum support, at least three holes should be centered on a WALL STUD.
- Page 4 STEP 3: Using a Screwdriver, apply firm pressure while turning Bolt CLOCKWISE until Bolt begins to slip indicating the barrel has crimped against inside of drywall. Completely back out and remove Bolt from Wall. Place bracket on wall, align hole and replace Bolt. Firmly tighten to secure bracket. FIRST THEN STEP 4: Once Bracket (D) is secured to wall, align and engage Bracket on back of Cabinet (E)
- Page 5 STEP 5: Determine placement for each Shelf (F) then insert Shef Supports (B) in corresponding pre-drilled holes. Gently place Shelf upon Supports. Cleaning & Care: DO NOT use alcohol based products or spray polisher as finish damage may result. Dust with a soft cloth. Customer Service: 800-367-2810 Page 5 of 5 Online: www.ballarddesigns.com...
Need help?
Do you have a question about the WS973 and is the answer not in the manual?
Questions and answers