Advertisement
Advertisement
Table of Contents

Related Manuals for SMAY KWP-O-E-EX


Summary of Contents for SMAY KWP-O-E-EX
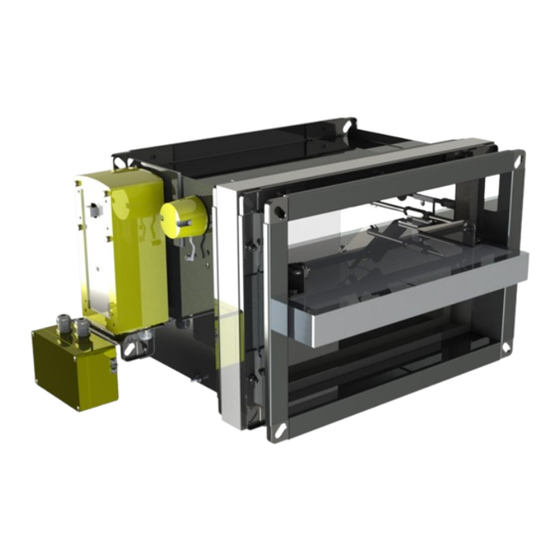
- Page 1 KWP-O- E(S)-EX Installation manual Fire Damper https: www.smay.eu...
-
Page 2: Table Of Contents
Installation manual KWP-O-E(S)-EX Version 6.00 SMAY reserves the right to make changes to this document. TABLE OF CONTENT INSTALLATION TECHNOOGY ................... 2 INSTALLATION TECHNOLOGY – RIGID WALL ............3 INSTALLATION TECHNOLOGY – FLEXIBLE WALL ............ 4 III. INSTALLATION TECHNOLOGY - CEILING ............... 6 INSTALLATION TECHNOLOGY –... -
Page 3: Installation Technoogy
Installation manual KWP-O-E(S)-EX INSTALLATION TECHNOOGY Before installing fire dampers please read assembly technology recommended by the manufacturer. The way of installing recommended by one manufacturer may not be the same for other dampers. Recommended material and dimensions of the openings follow from experience from conducted research. In rectangular dampers, most of all dampers with cross-sectional area more than 1 m2, it is recommended to use mounting wedge and spreader securing the housing against squeezing during assembly. -
Page 4: Installation Technology - Rigid Wall
Installation manual KWP-O-E(S)-EX INSTALLATION TECHNOLOGY – RIGID WALL Make an opening in the wall with the 100 [mm] (acceptable 80 ÷ 120 [mm]) greater than the nominal dimensions of the fire damper = B+100 and H+100. Put the closed fire damper into the installation opening on depth marked by undercuts on the damper body (dimension 60 mm), from one side fix it with suspension Z1, and from other side fix it to the ventilation duct suspended on Z2 suspension. -
Page 5: Installation Technology - Flexible Wall
Installation manual KWP-O-E(S)-EX INSTALLATION TECHNOLOGY – FLEXIBLE WALL Make an opening in the wall with the dimensions 100 [mm] (acceptable 80 ÷ 120 [mm]) greater than the nominal dimensions of the fire damper = B+100 and H+100. Make a frame of two layers of GKF boards, 12,5 mm thick and the width relative to the width of opening, remembering to carefully seal the contact edges with a mastic: mounting by screws Hilti Firestop Coating CP 673,... - Page 6 Installation manual KWP-O-E(S)-EX Figure 2.Installation method of fire dampers KWP-O in flexible wall Version 6.00 Page 5 z 8 Date of editing: 16.09.2022...
-
Page 7: Installation Technology - Ceiling
Installation manual KWP-O-E(S)-EX III. INSTALLATION TECHNOLOGY - CEILING Make an opening in the ceiling with the 100 [mm] (acceptable 80 ÷ 120 [mm]) greater than the nominal dimensions of the fire damper = B+100 and H+100. Put the closed fire damper into the ceiling to the depth marked on housing (dimension 60mm) After setting the fire damper as described, with using montage supports, fill the gap between the fire damper and the wall with cement, cement-lime mortar, concrete, or PROMASTOP MG III of production of the PROMAT company. - Page 8 Installation manual KWP-O-E(S)-EX Figure 4.Installation method of fire dampers in ceiling Version 6.00 Page 7 z 8 Date of editing: 16.09.2022...
-
Page 9: Installation Technology - Structures Thicker Than 135 Mm
Installation manual KWP-O-E(S)-EX INSTALLATION TECHNOLOGY – STRUCTURES THICKER THAN 135 mm The KWP-O-E(S) damper can be installed also in horizontal compartments thicker than length of damper’s body. In this case, ventilation ducts are going to be partially inbuilt in the fire compartment (Figure 7). Figure 5.Installation method of fire dampers in structures thicker than 135 mm Version 6.00 Page 8 z 8...
Need help?
Do you have a question about the KWP-O-E-EX and is the answer not in the manual?
Questions and answers