Advertisement
Quick Links
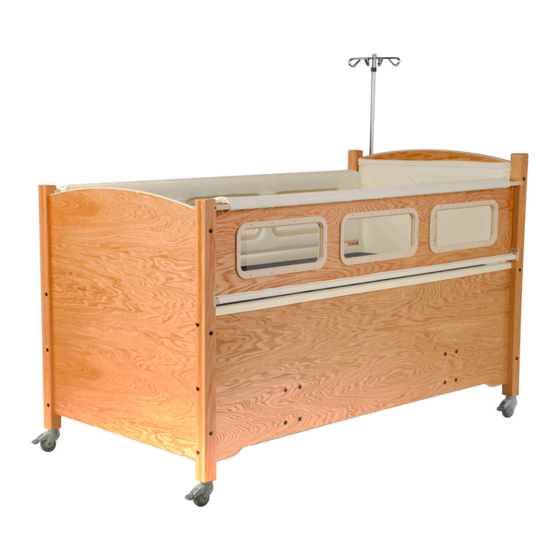
SAFETY RAIL PADDING KIT
Installing Caps and Pads with Trim-Lok
Includes: Top and bottom Safety Rail Caps, Padding and Hardware
Tools Needed: 4mm Allen Wrench (Included) and Drill with Phillips bit
REMOVE OLD PADDING
Remove Safety Rail and set with padding side down on a hard surface. Pull padding rmly to separate from
Velcro. Use drill to remove screws from window trim rings and set window and trim rings aside. Remove top
and bottom caps and dispose.
Bottom of
Safety Rail
Attach new
Safety Rail Caps
with provided
screws and Allen
wrench.
Safety Rail
Caps
Top of
Safety Rail
ATTACH NEW SAFETY RAIL CAPS
With groove channels facing up, attach the new safety rail
caps using hex screws and allen wrench
3629 Reed Creek Dr. / Bassett, VA 24055
Toll Free: 866.852.2337
sleepsafebed@sleepsafebed.com
Remove Screws from Window Trim Rings.
Remove Top and Bottom Caps.
Groove
Channels Face Up
Bottom of
Safety Rail
WI 820.120-15 Rev. 02 | Safety Rail Padding Kit | Issue Date: 12/19/2022 | Page 1 of 2
SleepSafeBed.com
Top of
Safety Rail
Advertisement

Summary of Contents for SleepSafe Beds SAFETY RAIL PADDING KIT
- Page 1 Attach new Safety Rail Caps with provided screws and Allen wrench. Groove Channels Face Up Bottom of Top of Safety Rail Safety Rail WI 820.120-15 Rev. 02 | Safety Rail Padding Kit | Issue Date: 12/19/2022 | Page 1 of 2...
- Page 2 It should be even on both ends. Insure that Trim-Lok is fully locked in place. Repeat on the opposite side. Once complete, reinstall safety rails. WI 820.120-15 Rev. 02 | Safety Rail Padding Kit | Issue Date: 12/19/2022 | Page 2 of 2...


Need help?
Do you have a question about the SAFETY RAIL PADDING KIT and is the answer not in the manual?
Questions and answers