Multitech MultiVOIP 400 MVP400 Install Manual
4 channel voice/fax
Hide thumbs
Also See for MultiVOIP 400 MVP400:
- Quick start manual (64 pages) ,
- Quick start manual (48 pages) ,
- User manual (99 pages)
Advertisement
Table of Contents
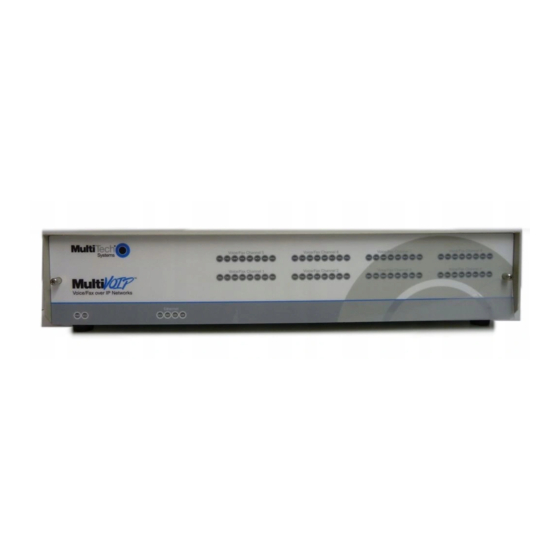
ntroduction
I
This product update provides the information necessary to perform a 4-channel voice/fax field upgrade to your
MultiVOIP. For example, a MultiVOIP MVP400 can be upgraded to an MVP800 by following the installation
instructions provided below.
Installation
To install the 4-Channel Voice/Fax upgrade kit:
1.
Check the contents of your upgrade kit to insure that it contains the parts listed below:
•
4-Channel Voice/Fax logic board
•
Phillips screws (6)
•
4-Channel Voice/Fax Product Update
2.
Turn the power switch to OFF and unplug the power cord from the wall outlet.
3.
Turn the unit up-side-down and remove the eight screws (four on the bottom and four on the rear)
securing the cover to the chassis.
4.
Slide the cover towards the back and off the chassis. Set aside.
5.
Remove the three screws and the Voice/Fax Cover which covers expansion slots 5 to 8 (CHANNEL 5
to 8) on the back panel of the unit (Refer to Figure 2). Discard the cover plate and the screws.
Figure 1: Removing the Cover
Figure 2: Back View with Cover Removed
Advertisement
Table of Contents

Related Manuals for Multitech MultiVOIP 400 MVP400


Summary of Contents for Multitech MultiVOIP 400 MVP400
- Page 1 ntroduction This product update provides the information necessary to perform a 4-channel voice/fax field upgrade to your MultiVOIP. For example, a MultiVOIP MVP400 can be upgraded to an MVP800 by following the installation instructions provided below. Installation To install the 4-Channel Voice/Fax upgrade kit: Check the contents of your upgrade kit to insure that it contains the parts listed below: •...
- Page 2 Connect the ribbon cable from the existing 4-channel board to the 50-pin connector on the 4-Channel Voice/Fax logic board. Place the 4-Channel Voice/Fax logic board in the CHANNEL 5 through 8 slots in the back panel of the unit and onto the six metal standoffs (Refer to Figure 3). Secure the 4-Channel Voice/Fax logic board to the metal standoffs using the 6 screws provided in the kit.
Need help?
Do you have a question about the MultiVOIP 400 MVP400 and is the answer not in the manual?
Questions and answers