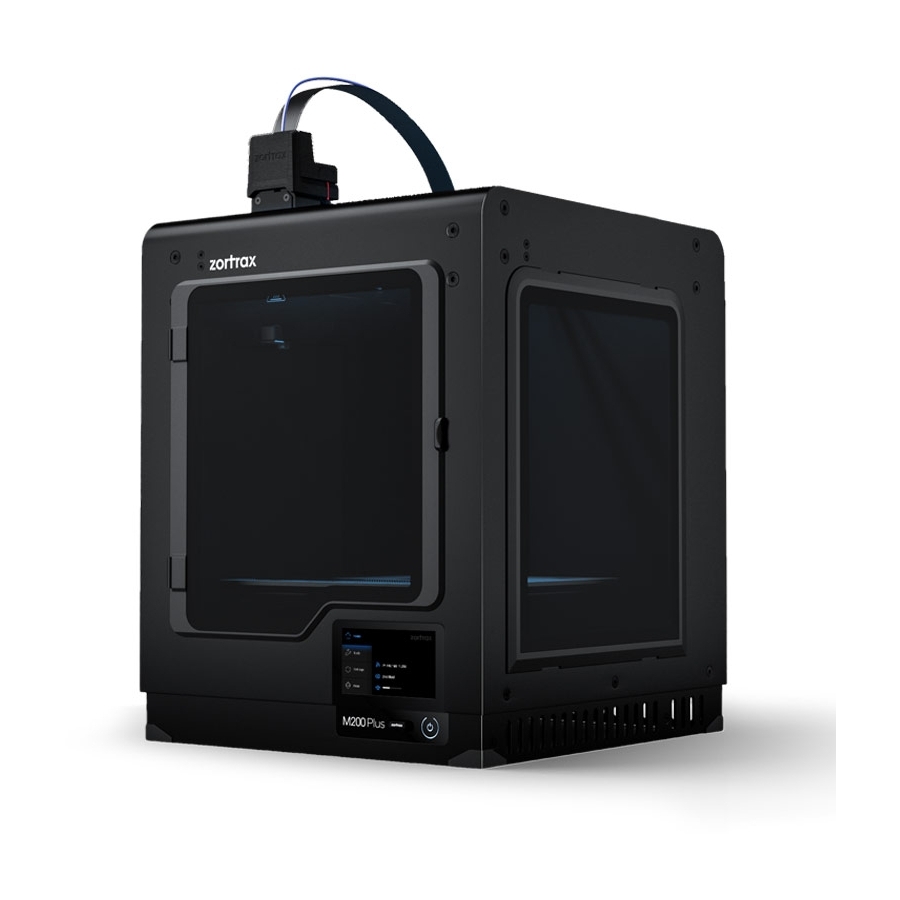
zortrax M200 Plus Manual
Hide thumbs
Also See for M200 Plus:
- User manual (60 pages) ,
- Unpacking and setup manual (23 pages) ,
- First use preparations (20 pages)
Summary of Contents for zortrax M200 Plus
- Page 1 Hotend Replacement SOURCE: https://support.zortrax.com/m200-plus-hotend-replacement/...
-
Page 2: Table Of Contents
Table Of Contents Unloading the Material Unplugging the Power Cable Hotend Removal Heater and Thermocouple Removal Heater and Thermocouple Assembly Hotend Assembly Plugging the Power Cable... -
Page 3: Unloading The Material
Unloading the Material To unload the material, open the Tools menu and select “Material” and “Unload material.” Wait until the extruder heats up and select “Continue” to confirm. To complete the procedure, remove the material from the endstop placed at the back of the printer. -
Page 7: Unplugging The Power Cable
Unplugging the Power Cable Turn off the printer and unplug the power cable. Wait until the printer – especially the hotend – cools down. -
Page 8: Hotend Removal
Hotend Removal With a 1.5mm Allen key loosen the two screws that secure the hotend and remove the hotend from the extruder. -
Page 9: Heater And Thermocouple Removal
Heater and Thermocouple Removal With a 1.5mm Allen key loosen the two screws that secure the heater and thermocouple in the hotend. Then remove both the heater and the thermocouple. -
Page 10: Heater And Thermocouple Assembly
Heater and Thermocouple Assembly Insert the heater and thermocouple into the new hotend and firmly tighten the two screws (using a 1.5mm Allen key). -
Page 11: Hotend Assembly
Hotend Assembly Insert the hotend into the extruder and tighten the two screws that secure it (using a 1.5mm Allen key). -
Page 12: Plugging The Power Cable
Plugging the Power Cable Plug the power cable in.


Need help?
Do you have a question about the M200 Plus and is the answer not in the manual?
Questions and answers