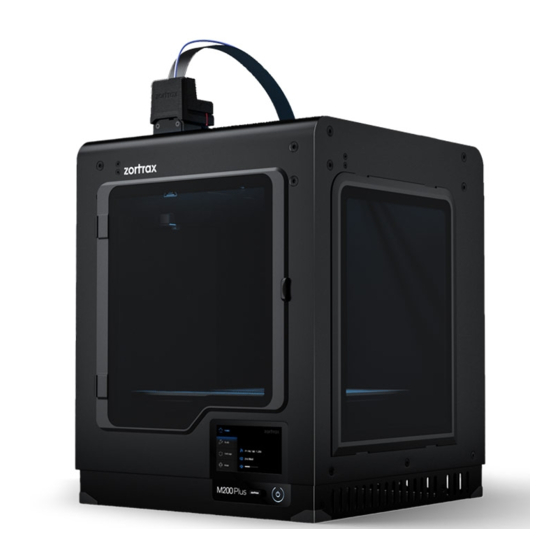
zortrax M200 Plus Packing
Hide thumbs
Also See for M200 Plus:
- User manual (60 pages) ,
- Unpacking and setup manual (23 pages) ,
- First use preparations (20 pages)
Table of Contents
Advertisement
Quick Links
Advertisement
Table of Contents

Related Manuals for zortrax M200 Plus


Summary of Contents for zortrax M200 Plus
- Page 1 Packing SOURCE: https://support.zortrax.com/m200-plus-packing/...
-
Page 2: Table Of Contents
Table Of Content Unloading the Material Unplugging the Power Cable Removing the Spool Removing the Material Guide Unplugging the Extruder Cable Unplugging the Heatbed Cable Removing the Platform Removing the Side Covers Lifting the Heatbed Mount Placing the Starter Kit Box Setting the Extruder in the Right Position Placing the Fillers Wrapping the Printer... -
Page 3: Unloading The Material
Unloading the Material Unload the material using the options from the menu; select Tools, Material and Unload material. Then, remove the end of the material from the material endstop. Remember to secure the end of the material using the specially designed holes in the spool. -
Page 4: Unplugging The Power Cable
Unplugging the Power Cable Turn the printer off and unplug the power cable. Wait until the printer cools down. -
Page 5: Removing The Spool
Removing the Spool Remove the spool from the spool holder. Then, remove the spool holder. -
Page 6: Removing The Material Guide
Removing the Material Guide Remove the material guide from the extruder and the material endstop. -
Page 7: Unplugging The Extruder Cable
Unplugging the Extruder Cable Unplug the extruder cable. -
Page 8: Unplugging The Heatbed Cable
Unplugging the Heatbed Cable Unplug the heatbed cable from the platform and from the Z-axis cover. Remove the cable from the printer and put it in the Starter Kit box. -
Page 9: Removing The Platform
Removing the Platform Remove the platform from the printer. -
Page 10: Removing The Side Covers
Removing the Side Covers Remove the side covers. -
Page 11: Lifting The Heatbed Mount
Lifting the Heatbed Mount Lift the heatbed mount. -
Page 12: Placing The Starter Kit Box
Placing the Starter Kit Box Put the platform into the Starter Kit box and place the box on the bottom of the printer. Put the printer accessories in the accessories foam and put the foam on the Starter Kit box inside the printer. Then, lower the heatbed mount so that the box and the foam are tightly secured. -
Page 13: Setting The Extruder In The Right Position
Setting the Extruder in the Right Position Move the extruder manually to the back right corner of the printer. Secure the extruder with the shipping clips. -
Page 14: Placing The Fillers
Placing the Fillers Place the fillers on the foam. -
Page 15: Wrapping The Printer
Wrapping the Printer Wrap the printer in foil. -
Page 16: Placing The Bottom Cushioning
Placing the Bottom Cushioning Place the cushioning at the bottom of the box. -
Page 17: Putting The Printer In The Box
Putting the Printer in the Box Place the printer on the bottom cushioning inside the box. -
Page 18: Placing The Top Cushioning
Placing the Top Cushioning Place the top cushioning on the printer so that the cushioning fits the extruder. -
Page 19: Packing The Printer
Packing the Printer Pack the printer using the provided box. -
Page 20: Taping The Box
Taping the Box Tape the box.
Need help?
Do you have a question about the M200 Plus and is the answer not in the manual?
Questions and answers