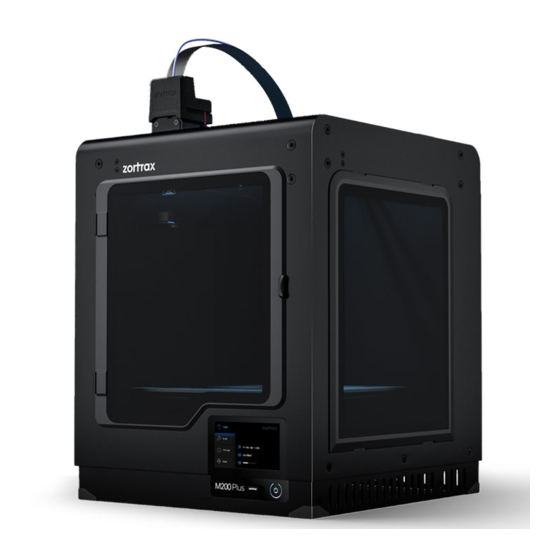
zortrax M200 Plus Manual Platform Calibration
Hide thumbs
Also See for M200 Plus:
- User manual (60 pages) ,
- Unpacking and setup manual (23 pages) ,
- First use preparations (20 pages)

Related Manuals for zortrax M200 Plus


Summary of Contents for zortrax M200 Plus
- Page 1 Manual Platform Calibration SOURCE: https://support.zortrax.com/manual-platform-calibration/...
-
Page 2: Table Of Contents
Table Of Content Preparing for Calibration Lifting the Platform Tightening Back Screws; part 1 Adjusting Platform's Distance Tightening Back Screws; part 2... -
Page 3: Preparing For Calibration
Preparing for Calibration Before starting the calibration, make sure you have tightened the three calibration screws placed under the platform to approximately the same level. Next, open the Tools menu, select Platform and then Manual Calibration. The printer will lift up the platform and display the first message containing instructions on manual calibration. -
Page 4: Lifting The Platform
Lifting the Platform In the first step, push the UP button until the platform is about 1 mm [0.04 in] from the nozzle. -
Page 5: Tightening Back Screws; Part 1
Tightening Back Screws; part 1 Rotate the back left screw until the platform is about 1 mm [0.04 in] from the nozzle. - Page 6 Next, rotate the back right screw until the platform is about 1 mm [0.04 in] from the nozzle.
-
Page 7: Adjusting Platform's Distance
Adjusting Platform's Distance Prepare the piece of paper and place it between the platform and the nozzle. Next, adjust the platform’s distance using the UP/DOWN buttons until you feel slight resistance when moving the paper. -
Page 8: Tightening Back Screws; Part 2
Tightening Back Screws; part 2 Rotate the back left screw until you feel slight resistance when moving the paper. - Page 9 Next, rotate the back right screw until you feel slight resistance when moving the paper.
Need help?
Do you have a question about the M200 Plus and is the answer not in the manual?
Questions and answers