
Related Manuals for Ecostrad ALLERTON


Summary of Contents for Ecostrad ALLERTON
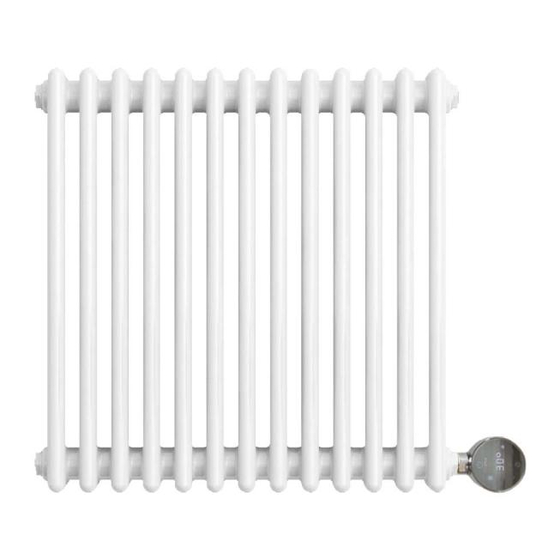
- Page 1 Ecostrad Designer Electric Radiators ALLERTON Horizontal PLEASE READ AND SAVE THESE INSTRUCTIONS...
-
Page 2: Table Of Contents
Contents About the Manual - - - - - - - - - - - - - - - - - - - - 4 2 | Warnings & Precautions- - - - - - - - - - - - - - - - - 4 3 | Installation - - - - - - - - - - - - - - - - - - - - - - - - - 5 3-1 Components - - - - - - - - - - - - - - - - - - - - - 5 3-2 Fitting the element - - - - - - - - - - - - - - - - - 6... - Page 3 Symbols Warning This symbol indicates a hazard with an average risk level which, if not avoided, could result in serious injury or death. Warning of electrical voltage This symbol indicates danger to the life and health of persons due to electrical voltage.
-
Page 4: About The Manual
1 | About the Manual This manual describes the Ecostrad Allerton Designer Radiator and details how to install and use the product. It is important to thoroughly review this manual before using the product. For additional information regarding any aspect of the Ecostrad Allerton Designer Radiator, contact: Ecostrad Ltd. -
Page 5: Installation
Warning As with conventional radiators, this electric radiator will get hot to the touch during operation. If the radiator is left on full power for a prolonged period of time the surface temperature can rise to 70 °C (+/- 5 °C). Particular attention should be given where children and vulnerable adults are present. -
Page 6: Fitting The Element
Table 2 | Tools Required Tool Spirit Level PTFE Tape Screwdrivers Electric Drill (10mm drill bit) Pencil 3-2 | Fitting the element Full instructions for fitting the element can be found within the element manual. The user must ensure installation is in accordance with the following: •... - Page 7 fit directly to the wooden struts or otherwise strengthen the wall; do not fix through plasterboard alone. Additional Brackets are available on request. 2. Use the mounting template printed onto the box to measure the positions for the Brackets. Alternatively, if you are fitting the radiator to a stud wall and struggling to line the Bracket positions up with the studs, it may be useful to choose a custom mounting position.
-
Page 8: Connecting The Element
Figure 3 | Fixing the radiator Brackets c. Use the 10mm drill bit to drill the marked Bracket hole and push the remaining Wall Plugs inside. Replace the radiator, re-position the Bracket and use the remaining Wall Screws to fix. 3-4 | Connecting the element Wiring the heating element to the mains is a job for a qualified electrician. -
Page 9: Warranty
Within the stated period, starting from the date the customer receives their unit, Ecostrad guarantee to repair or replace the unit where a fault is due to defects in materials or manufacturing.
Need help?
Do you have a question about the ALLERTON and is the answer not in the manual?
Questions and answers