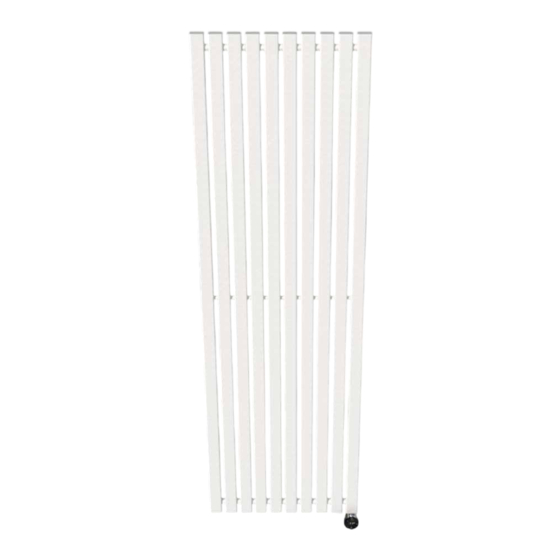
Summary of Contents for Ecostrad Adesso iQ
- Page 1 Ecostrad Adesso iQ Designer Electric Radiator PLEASE READ AND SAVE THESE INSTRUCTIONS...
- Page 3 Symbols Warning This symbol indicates a hazard with an average risk level which, if not avoided, could result in serious injury or death. Warning of electrical voltage This symbol indicates danger to the life and health of persons due to electrical voltage.
-
Page 4: Table Of Contents
Connecting the element - - - - - - - - - - - - - 10 4 | Using Your Ecostrad Radiator - - - - - - - - - - - - - 11 First use - - - - - - - - - - - - - - - - - - - - - - - 11 4-2 General usage - - - - - - - - - - - - - - - - - - - 11 5 | Cleaning &... -
Page 5: About The Product
This process of rising and falling liquid spreads heat throughout the radiator. Each size of the Ecostrad Adesso is a self-contained unit with its own unique, thermal “ecosystem” dictated by the behaviour of these natural convection currents. This... -
Page 6: Warnings & Precautions
2 | Warnings & Precautions Read all safety warnings and all instructions in this manual carefully before using or installing the radiator. Failure to follow the warnings and instructions may result in electric shock, fire, serious injury, or all of the above. Save all warnings and instructions for future reference. - Page 7 Warning When drilling or fixing into walls, floors or ceilings it is essential you check for pipes and wires before commencing. Please ensure that you wear all necessary personal protective equipment. • The fixings supplied are suitable for use in solid masonry. For any other wall type you will need to source appropriate fixings.
-
Page 8: Installation
3 | Installation 3-1 | Components Before beginning installation, check that all fixings in Table 1 are supplied. The radiator should only be mounted with the manufacturer’s fixings. Table 1 | Fixings and components Part Description Quantity Radiator Brackets M6 Screws (M6x12) Wall Plugs Wall Brackets Washers... -
Page 9: Wall Mounting
Figure 1 | Correct and incorrect element positioning 3-3 | Wall mounting Tools required for wall mounting: Figure 2 | Tools required NOTE - these tools are not provided with the radiator. 1. Check that the wall is strong enough to hold the weight of the pre-filled radiator. - Page 10 3. Choose a mounting position and affix the wall brackets accordingly, as shown in Figure 4. a. Use the template printed on the box to mark the bracket positions on the wall. Alternatively, use a tape measure, spirit level and the measurements in Table 2.
-
Page 11: Connecting The Element
Figure 5 | Securing the radiator to the wall (horizontal and vertical) 3-4 | Connecting the element Wiring the heating element to the mains is a job for a qualified electrician. Please consult the element manual for full instructions and safety warnings, paying special consideration to the following: •... -
Page 12: Using Your Ecostrad Radiator
4 | Using Your Ecostrad Radiator 4-1 | First use Once your radiator is installed and the element connected to the power by a qualified electrician, it is ready to heat your home. Banging or creaking noises are not unusual during the first few days of heating. This is because the steel can become very cold during transit. -
Page 13: Cleaning & Maintenance
4-2-2 | Covering your radiator Unlike most electric heating products, the Ecostrad Adesso is just like typical central heating radiators in that it can be used to dry clothing or towels. However, please be aware that covering your radiator will reduce its useful heating output for the room. -
Page 14: Troubleshooting
6 | Troubleshooting For common issues, see the table below. For control issues, see the manual of the heating element. If you have any other concerns, contact the retail establishment or distributor from which the product was purchased. Issue Explanation/Solution Radiator is making noise 1) Ensure the Brackets are tightened sufficiently and are not loose. - Page 15 Issue Explanation/Solution The surface of the radiator Please see the warranty section of this manual (section 7) for details of what is and is not has faults/is no longer perfect covered by the warranty. Note that regular cleaning of your radiator (as stated in section 5) will help keep the surface of your radiator looking new.
-
Page 16: Warranty
What does the warranty cover? Within the stated period, starting from the date the customer receives their unit, Ecostrad guarantee to repair or replace the unit where a fault is due to defects in materials or manufacturing. What does the warranty NOT cover? The warranty does not cover any defect arising from damage, negligence, usage outside the product’s intended purpose or fair wear and tear. -
Page 17: Erp Ecodesign Information
8 | ErP Ecodesign Information Table 3 | Output guidelines Model 300W 600W 800W 1000W 1200W Heat output Nominal heat output /kW) Minimum heat output (indicative) /kW) Maximum continuous heat output /kW) max.c Auxiliary electricity consumption At nominal heat output /kW) At minimal heat output (el... -
Page 18: Disposal
For queries, contact: In the UK In ROI Ecostrad Ltd. Ignition Heatco Ireland Limited Unit 21 Ash Way Unit 282 Avenue C...


Need help?
Do you have a question about the Adesso iQ and is the answer not in the manual?
Questions and answers