
Subscribe to Our Youtube Channel
Related Manuals for Satel INT-TSH2


Summary of Contents for Satel INT-TSH2
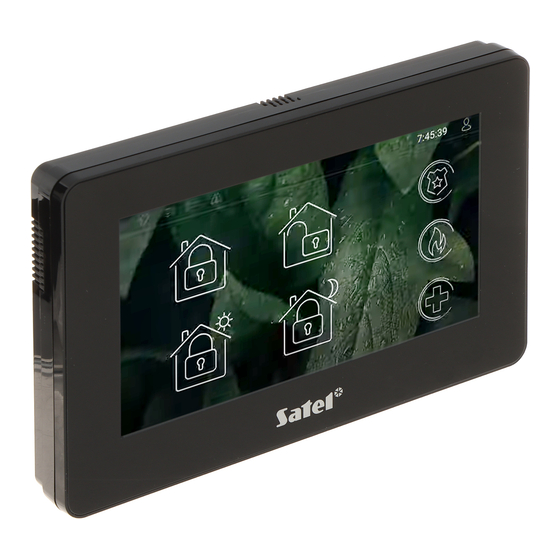
- Page 1 INT-TSH2 Keypad Quick user manual Firmware version 2.00 int-tsh2_us_en 09/21 SATEL sp. z o.o. • ul. Budowlanych 66 • 80-298 Gdańsk • POLAND tel. +48 58 320 94 00 www.satel.eu...
- Page 2 Changes, modifications or repairs not authorized by the manufacturer shall void your rights under the warranty. The declaration of conformity may be consulted at www.satel.eu/ce The following symbols may be used in this manual: - note, - caution.
-
Page 3: Table Of Contents
CONTENTS 1. Using the touch screen ...................... 2 2. Screensaver ........................4 Slide show ........................5 Trigger the panic alarm ....................5 3. User screens ........................5 4. Additional screens ......................6 5. Status bar .......................... 7 6. Status icons ........................7 7. -
Page 4: Using The Touch Screen
INT-TSH2 SATEL This manual contains basic information on how to use the INT-TSH2 keypad with factory default settings. The functions available in the user menu of the keypad allow you to control your alarm system, regardless of its configuration. In addition, the user screens can be prepared by the installer for customization of the keypad functionality. - Page 5 SATEL INT-TSH2 Tap and hold Tap on an item on the screen and hold for 3 seconds. Swipe up / down Tap the screen and slide your finger up or down to: • swipe the screen up / down (move between the screensaver / user screen / user menu home screen), •...
-
Page 6: Screensaver
INT-TSH2 SATEL Swipe right from the edge (return to the previous screen) Tap the screen close to the left edge and slide your finger right to return to the previous screen. This gesture is supported in the user menu and the service menu. You will not be able to exit the service mode by using this gesture. -
Page 7: Slide Show
SATEL INT-TSH2 The installer can add to the screen additional widgets that will indicate the alarm system status (see “Widgets” p. 8). Tap the screen to view the user screen. Swipe left to start the slide show. 2.1 Slide show The keypad can run a slide show of images, if the installer installed in the keypad a memory card on which the images had been saved. -
Page 8: Additional Screens
For this reason, the additional screens may be used to display site plans. If pictures other than the ones offered by SATEL are to be displayed, the installer must save them on a memory card and install the card in the keypad. -
Page 9: Status Bar
SATEL INT-TSH2 Fig. 3. Screen with a site plan (example). 5. Status bar The status bar is displayed on the top of the user screen and the additional screen. It includes: • status icons, • screen title (optionally, if added by the installer), •... -
Page 10: Widgets
Partition status – the widget displays the partition status represented by icons. Zone status – the widget displays the zone status represented by either: – icons selected by SATEL (indicator) – different statuses are displayed, – text messages (text) – messages inform only about normal and violated states, –... -
Page 11: User Menu
SATEL INT-TSH2 Fig. 4. On-screen keypad. Enter the code using the number keys and tap . If you made a mistake when entering the code, tap and re-enter the code (if you fail to enter the valid code within one minute, it will be treated as if you entered an invalid code). -
Page 12: User Menu Home Screen
INT-TSH2 SATEL 9.1 User menu home screen 9.1.1 INTEGRA system Fig. 5. User menu home screen in the INTEGRA system. The following functions are available on the user menu home screen. tap to go to the “Partitions” screen. tap to go to the “Zones” screen. -
Page 13: Versa System
SATEL INT-TSH2 9.1.2 VERSA system Fig. 6. User menu home screen in the VERSA system. The following functions are available on the user menu home screen. tap to go to the “Partitions” screen. tap to go to the “Zones” screen. -
Page 14: Terminal
INT-TSH2 SATEL Fig. 7. QWERTY keyboard: letter keys mode. The text entered is displayed in the field above the keys. In addition to the typing keys, the following special keys are available. tap to switch the keyboard to the uppercase mode. - Page 15 SATEL INT-TSH2 Fig. 8. Terminal in the INTEGRA system. Fig. 9. Terminal in the VERSA system.
Need help?
Do you have a question about the INT-TSH2 and is the answer not in the manual?
Questions and answers