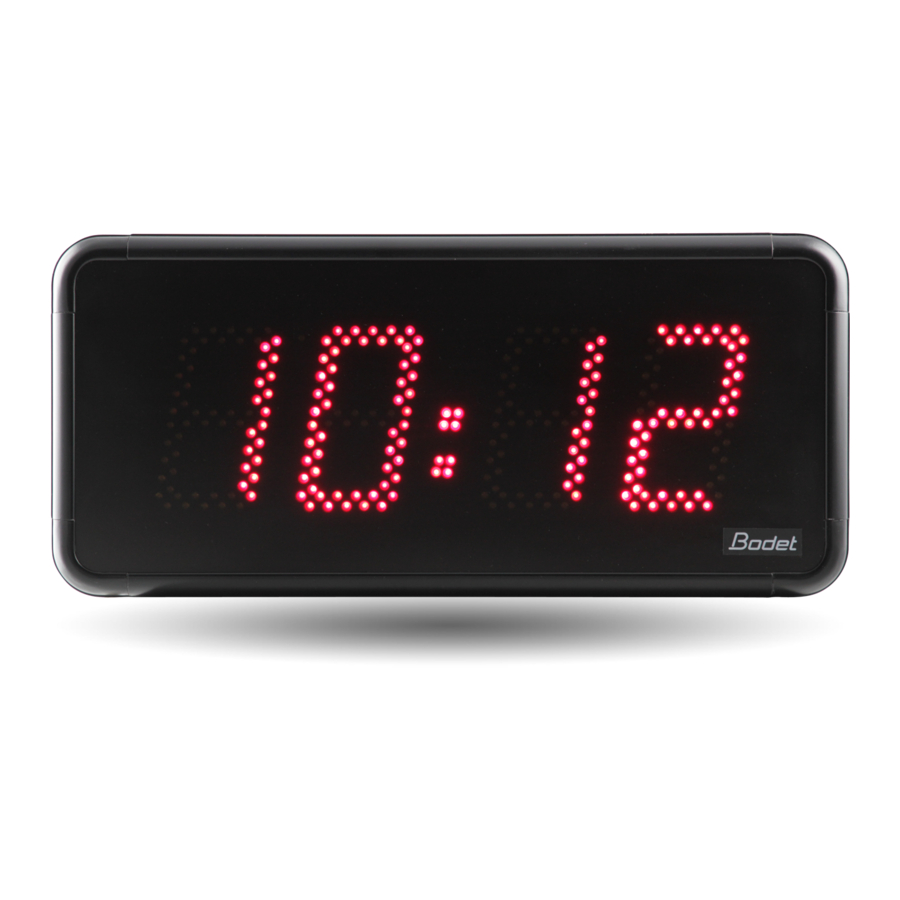
Bodet Style 5 Quick Start Manual
Hide thumbs
Also See for Style 5:
- Installation and operation manual (87 pages) ,
- Installation and operation manual (54 pages) ,
- Installation and operation manual (33 pages)
Table of Contents
Advertisement
Quick Links
Advertisement
Table of Contents

Summary of Contents for Bodet Style 5
- Page 1 Style 5 Style 7 INDEP. QUARTZ MIN.-1/2 MIN. Synchro radio INSTALLATION AND OPERATING INSTRUCTIONS B.P. 1 49340 TRÉMENTINES FRANCE Tél. : 02 41 71 72 00 Fax : 02 41 71 72 01 www.bodet.com Réf.: 605808 F When receiving goods please check nothing is broken otherwise make a claim near shipping company.
-
Page 2: Table Of Contents
4) CONNECTION OF A RADIO SYNCHRONIZATION RECEIVER ..6 5) CONNECTION OF A TIMER CONTROL UNIT TO A STYLE 5 S CLOCK ..7 6) LOCATION OF THE “SELECT” AND “+” KEYS ....8 7) CONFIGURATION . -
Page 3: English
Two descriptive labels are affixed to the back of the clock, and visible once the holder has been removed. One of them indicates the following information : clock model (Style 5, Style 7, ...), power supply, type of clock (refer to information below), other information such as the colour for example. -
Page 4: Electric Power Supply Installation For Style Clocks
P/N 936302. Use the tapping screws supplied with the bracket. - A flush-mounting holder for Style 5 s clocks is also available, P/N 936306. This type of mounting is particularly suitable for operating theatres in hospitals and clinics. -
Page 5: Link-Up To A Time Distribution Network
3) LINK-UP TO A TIME DISTRIBUTION NETWORK - Connect up the 115 or 230 V 50/60 Hz mains supply (Chapter 2). PARALLEL DISTRIBUTION WITH REVERSED POLARITY (minute // 12-24-48 Volt, half-minute // 24 Volt) - Check that the clock’s descriptive label displays the wording “Ind.- Impuls.” - Connect the impulse line to terminals 6 and 7 on the terminal strip (D). -
Page 6: Connection Of A Timer Control Unit To A Style 5 S Clock
20cm Maxi 500m and 10 style 5S - Chaining several Style 5 s clocks on the same timer control unit can be achieved by connecting all T- terminals together, as well as all T+ terminals together, using a 2 core telephone cable. -
Page 7: Location Of The "Select" And "+" Keys
6) LOCATION OF THE “SELECT” AND “+” KEYS - These two keys are located on the back of the clock, on the right on Style 5, Style 5 s and Style 5 date clocks, on the left on Style 7, Style 7 ellipse and Style 7 date clocks. - Page 8 - “52" blinks : this selection corresponds to an alternate display of the time and of the week number. Enter by pressing the “Select” key. Please proceed further with paragraph e Style 5 date and Style 7 date clocks The language blinks : = French = Norwegian...
- Page 9 Style 7 Date clocks Using the “+” key, select the type of central display required from one of the following three options : - Day of the week (MON, TUE, ..., SUN) - “52". This selection corresponds to a week number display.
- Page 10 Country of Reference Display Style 5, 5 s, 7 and 7 ellipse Style 5 date and 7 date No changeover Europe, except for the United Kingdom United Kingdom United States + Canada Enter by pressing the “Select” key. Radio synchronized clocks : for any selection but “Europe”, it is necessary to set the time manually in the first place (Chapter 8), since your Style clock only synchronizes with the minutes and seconds of the radio signal.
-
Page 11: Time-Setting
8) TIME-SETTING When on the normal display, or on the “Bat” display following a prolonged mains power failure, press the “Select” key. The clock displays the time, and the minutes blink. - Pressing the “+” key makes it possible to increment the minutes, with a rapid scrolling facility when the key is pressed down for a long time. - Page 12 “Select” key pressed down, press the “+” key. Release the two keys afterwards. The clock displays “24 H” (time display from 0:00 to 23:59) or “12AM” (UK/USA display from 1:00 to 12:59). - You can choose one of these options using the “+” key. Enter by pressing the “Select”...
-
Page 13: Display Brightness Adjustment
9) DISPLAY BRIGHTNESS ADJUSTMENT - The display brightness can be adjusted when the Style clock is in normal operating mode, i.e. when the clock is neither in the “configuration” menu, nor in the “time-setting” menu. - By pressing the “+” key several times in succession, you can directly select the level of display brightness most suited to the level of ambient lighting, from the four brightness levels proposed. -
Page 14: Appendix : Technical Features
- Other data back-up : permanent. - Operating temperature : 0 to 50°C. - Protection index : IP30. These clocks are protected by a fuse (F1). Style 5 Style 5S and Style 7 Style 5D, Style 7D and 7E 0,5 A slow acting... - Page 15 Style 5 - Size (in mm) : - Weight : 0,8 kg - Maximum nominal current : 40 mA Style 5S - Size (in mm) : - Weight : 1 kg - Maximum nominal current : 55 mA Style 5D...


Need help?
Do you have a question about the Style 5 and is the answer not in the manual?
Questions and answers