Table of Contents
Advertisement
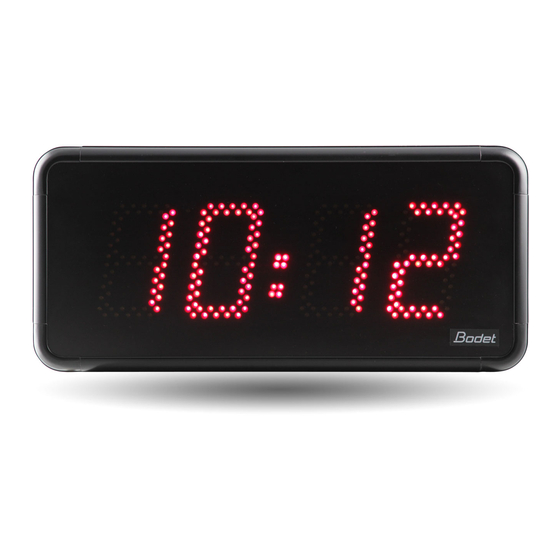
Style 12
INDEP. QUARTZ
MIN. - 1/2 MIN.
AFNOR / IRIG B
DHF / RADIO
INSTALLATION AND OPERATING INSTRUCTIONS
B.P. 1
49340 TRÉMENTINES
FRANCE
Tél. : 02 41 71 72 00
Fax : 02 41 71 72 01
www.bodet.com
Réf. : 605863 F
When receiving goods please chek nothing is broken otherwise make a claim near shipping compagny.
Advertisement
Table of Contents

Related Manuals for Bodet Style 12


Summary of Contents for Bodet Style 12
- Page 1 Style 12 INDEP. QUARTZ MIN. - 1/2 MIN. AFNOR / IRIG B DHF / RADIO INSTALLATION AND OPERATING INSTRUCTIONS B.P. 1 49340 TRÉMENTINES FRANCE Tél. : 02 41 71 72 00 Fax : 02 41 71 72 01 www.bodet.com Réf. : 605863 F...
-
Page 2: Table Of Contents
5) CONNECTING A TEMPERATURE PROBE TO A STYLE 12 CLOCK 6 6) CONNECTING A TIMER CONTROL UNIT TO A STYLE 12 S CLOCK 6 7) CONNECTING A DOUBLE FACE CLOCK ... . . 7 8) CONFIGURATION AND SETTING THE TIME . -
Page 3: Installation
1) INSTALLATION Unhook the wall support (A) from the clock using the key (B), then remove the plug-in connectors. Fix the support (A) to the desired spot using the 4 wall plugs and the 4 screws provided. - Hooking onto a vertical bracket or side bracket : support (A) fits onto bracket reference no. -
Page 4: Connection To A Timing Network
3) CONNECTION TO A TIMING NETWORK Connect dual voltage 115 or 230 V 50/60 Hz (depending on models ) (cf. chapter 2) 3.1. INVERTED POLARITY PARALLEL DISTRIBUTION or AFNOR / IRIG B (minute //12-24-28 volts, 1/2 minute// 12-24-48 volt) - Connect the impulse line to the “//” and “COM” terminals on the terminal block (D). - Select the impulse type (minute, 1/2 minute or AFNOR depending on the model) and set the clock time (Chapter 8). -
Page 5: Radio Synchronized Clock : Starting Up
4) RADIO SYNCHRONIZED CLOCK : STARTING UP. 4.1 France Inter or DCF radio synchronised clock After connection of the clock on its support, orientate the antenna ( F ) until the LED (1) is blinking regularly. - If reception is good, the clock will automatically set the time after a few minutes. In areas where radio signal reception is difficult manually set the clock time (chapter 8) whilst awaiting radio synchronization (reception at night is in general better). -
Page 6: Connecting A Temperature Probe To A Style 12 Clock
0°C. - The probe cannot be submerged. 6) CONNECTING A TIMER CONTROL UNIT TO A STYLE 12 S CLOCK The timer control unit reference no. 936400 operates both ways, to count up and to count down. It has the following different functions : Start, stop, intermediate time, closing of a contact sharp at the end of count up or countdown (to stop on a pre-set time). -
Page 7: Connecting A Double Face Clock
7) CONNECTING A DOUBLE FACE CLOCK - Open up the 2 clocks by unscrewing the 9 screws (R). - Pass the connector (HE14) through the grommet (S) on each clock, and connect it to the male connector (T). Caution : 1 - Cables for respectively the master clock and the slave clock are not the same : there is a specific mark for each of these. -
Page 8: Configuration And Setting The Time
8) CONFIGURATION AND SETTING THE TIME - Note : Position of the “Select” and “+” keys - These two keys are located on the lefthand side of the clock. - The “Select” key is above the “+” key. In all the menus, you use the “+” key to choose your settings and the “Select” key to confirm them. -
Page 9: Reset Dhf Clock To "Initialisation" Mode
Then, if a temperature probe is connected, the clock is switching to the option for selecting the alternative display of time and temperature, otherwise this last press enables to escape from “Setting the time” menu after running the self test : Switching on all the Leds for 2 seconds, Switching off all the Leds for 1 second, Return to normal display. -
Page 10: Test
9) TEST A brief self-test (on and off) is carried out automatically on exiting the configuration menu. A more complete test can be carried out on request. To start this test, press the “+” for 3 seconds This test displays : - The software version number, - Total light-up for 3 seconds, - Total switch-off for 3 seconds,... -
Page 11: Display Brightness Adjustment
- black display with the “:” that remains constant for 3 seconds. - dynamic display of received messages. Upon reception of 3 coherent and consecutive messages or after a minute : end of test. 10) DISPLAY BRIGHTNESS ADJUSTMENT - Note : on the “outdoor” models, the light intensity sets itself automatically. On the “indoor”... -
Page 12: Appendix : Technical Characteristics
Red : 70 - Yellow : 85 Maximum nominal current (mA) Protection : IP Red : 9 - Yellow : 12 Red : 16 - Yellow : 19 Consumption (VA) Style 12 - Dimensions : 121,5 Style 12S - Dimensions : 121,5...
Need help?
Do you have a question about the Style 12 and is the answer not in the manual?
Questions and answers