Table of Contents
Advertisement
Advertisement
Table of Contents

Subscribe to Our Youtube Channel
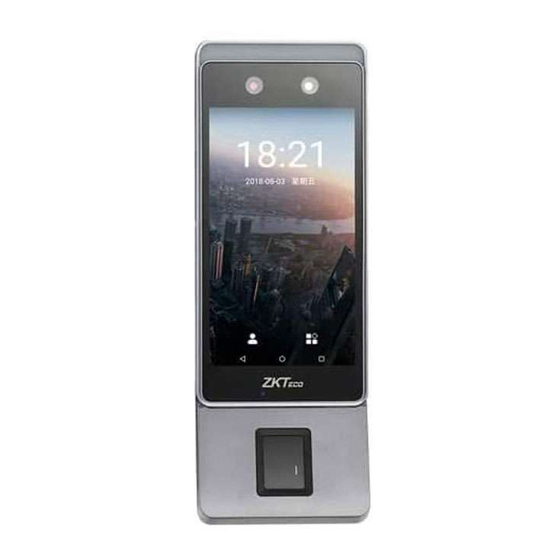
Related Manuals for ZKTeco Horus


Summary of Contents for ZKTeco Horus
- Page 1 Quick Start Guide HORUS Version: 1.2 Date: November 2019...
-
Page 2: Device Overview
Device Overview Front Side Flash Near-infrared Microphone Speaker Camera 5 inch Screen Fixing hole Fixing hole Infrared sensors Rear Bottom Power Type C power interface & OTG debugging interface Type C - power interface Reset button SIM Card port... - Page 3 Fingerprint & RFID (Optional) Rear Front Side Fingerprint Sensor & Bottom TCP/IP and RS485 ID/MF Card read area extend port (Horus E1-RFID, Horus E1-FP has the port) Port Connection Bottom 485+ RS485 485- Type C power Ethernet interface Reset Button Note: 1.
-
Page 4: Device Installation
Device Installation 1 Installation Environment a. Recommended location Install the device indoors at least 10 feet (3m) away from window, and 6.5 feet (2m) from light source. It is not recommended to install on the windows or in outdoor. b Not recommended locations Direct Sunlight Direct Sunlight Indirect Sunlight... - Page 5 b Mounting on the desktop holder Step 1: Screw the back plate to the desktop holder. Step : Insert the back plate into device. And u se security screw to fasten the device to back plate. put it on the table c Mounting on the glass door Step 1: Attach the double-sided tape to the back panel.
-
Page 6: Power Connection
d. Mounting on the wall through 86 box Step 1: Install the 86 box (or Single Gang box) into the wall. Step 2: Fix the back plate to the adaptor board (86 box and Singer Gang has different adaptor board) with two screw and nuts. Step 3: Fix the adaptor board onto the 86 box (or Single Gang box) using four wall mounting screws. -
Page 7: Equipment Connection
3. It only supports Horus E1-RFID and Horus E1-FP. 4. Not all devices support all function: Door Sensor, Lock, Smoke Detector, Alarm, Reader and Exit Button, it's based the Horus rmware, please con rm with technical support before the sales. -
Page 8: Quick Start
Quick Start User Registration User Authentication View records Verified Network settings Click > [System Settings] > [Netword settings] / [Cloud service settings] enter the settings interface, and to set parameters of the ethernet, Wi- Fi, 4G and cloud service. System Settings Network settings Date and time Access... -
Page 9: User Registration
User registration 1. Register on the device Click > User Mgt. > to register new user. Enter user name, ID, register face, fingerprint, badge number (fingerprint and ID card are optional), and password. User Management Access Attendanc Attendanc User Mgt. Settings Events e Search... - Page 10 b. Click [Personnel] > [Employee] > [Employee] > [Add] to register users in the software. c. Synchronize personnel on the software to devices in the corresponding area. d. In the personnel list, select an employee (or employees) and click [More] > [Synchronize to Device] to access the confirmation interface for synchronizing.
-
Page 11: User Authentication
User Authentication Terminal could detect face in 0.3m to maximum 3m distance. The device switches to face verification interface automatically once it detect bright of environment change. The verification result shows as right image. Verify successfully! 2018 08 03 20 44 43 Verification is successful View records View records on the software...
Need help?
Do you have a question about the Horus and is the answer not in the manual?
Questions and answers