
Related Manuals for STEINDORFF NYMCS-VM2000N


Summary of Contents for STEINDORFF NYMCS-VM2000N
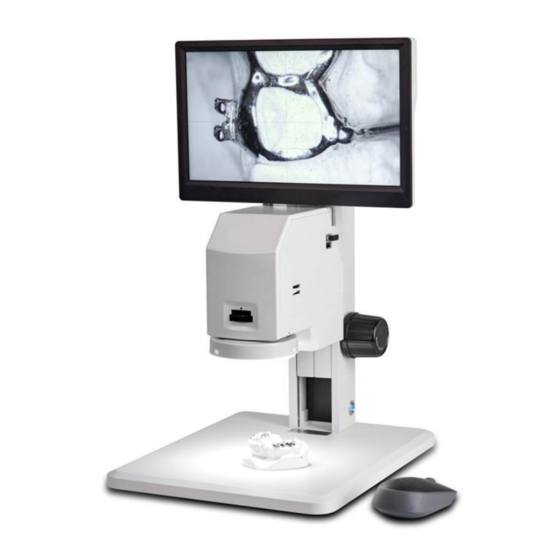
- Page 1 ® STEINDORFF NYMCS-VM2000N HD Digital Video Microscope 100 Lauman Lane, Suite A, Hicksville, NY 11801 Tel: (877) 877-7274 | Fax: (516) 801-2046 Email: Info@nyscopes.com www.microscopeinternational.com...
-
Page 2: Table Of Contents
Table of Contents Chapter 1 Function Description ....................3 1.1 Main interface ......................3 1.2 Language and location .................... 3 1.3 Admin login ....................... 4 1.4 Calibration ......................... 4 1.4.1 New Calibration ....................4 1.4.2 Switch magnification..................... 5 1.4.3 Change calibration ....................6 1.5 Measurement function ..................... -
Page 3: Chapter 1 Function Description
Chapter 1 Function Description 1.1 Main interface 1.2 Language and location (1) Click the System setting icon in the Assist Tools bar, Users can set the language to be English. 3/13... -
Page 4: Admin Login
Menu bar position----Choosing the (2) menu’s position on the screen(on the left or right of the screen) (3) Menu bar hide icon----click this icon, the menu bar will be hidden in the corner of the screen, and click the icon again to display the menu bar. 1.3 Admin login Click the System setting icon in the Assist Tools bar, click the drop-down... -
Page 5: Switch Magnification
1.4.2 Switch magnification After the calibration is completed, if the magnification is switched during the measurement process, the software should also switch to the corresponding magnification calibration, as shown in the figure below: 5/13... -
Page 6: Change Calibration
1.4.3 Change calibration Click the change calibration icon, the management calibration dialog box will pop up, and you can delete/clear the corresponding magnification calibration, as shown in the figure below: 1.5 Measurement function 1.5.1 Measuring tool description Two-point line----Take two points to draw a line segment. (1)... - Page 7 Cross line display/hide ---- Click the drop-down icon to choose (4) cross line/tick mark display or hide. Parallel line-first draw a line through two points, and then continue (5) to find a point on the other line, the second line will be drawn automatically, and the system will automatically measure the distance between the two lines.
-
Page 8: Auxiliary Tools
through three points. The system will automatically measure the distance from the first point to the center of the circle. Line to circle----First draw a line through two points, then find a (14) circle and draw a circle by taking three points, and measure the distance from the center of the line to the center of the circle. -
Page 9: Output Setting
(1)Line segment ---- The width, color, and movement switch of the line segment can be set. (2)Fitting line----The width and color of the fitting line can be set. (3)Label ---- You can set the font size, color, and whether the label is closed, length, etc. -
Page 10: Sensor Settings
1.6.4 Sensor settings (1)Brightness gain 10/13... - Page 11 Drag the mouse to change the brightness gain position bar. (2)Contrast Drag the position bar with the mouse to change the image contrast. (3) R/G/B Gain Drag the brightness gain position bar with the mouse to change the image R/G/B ratio. (4)SE edge enhancement mode Drag the position bar with the mouse to reduce or increase the sharpening of the edges to enhance the edge effect of the image.
-
Page 12: Delete
(12)Default Click the default icon to restore the camera parameters to factory settings. 1.6.5 Delete Click the delete icon to clear all the images drawn on the current screen, but the information in the measurement data column on the right will not be cleared. 1.6.6 Freeze If the machine is unstable during drawing, you can choose to freeze the current button to freeze the current screen. -
Page 13: Data Display Bar
1.7 Data display bar The data display column displays all the data currently measured. Select a data and right-click to delete the data. 13/13...
Need help?
Do you have a question about the NYMCS-VM2000N and is the answer not in the manual?
Questions and answers