
Subscribe to Our Youtube Channel
Related Manuals for King Industrial KC-10HJC


Summary of Contents for King Industrial KC-10HJC
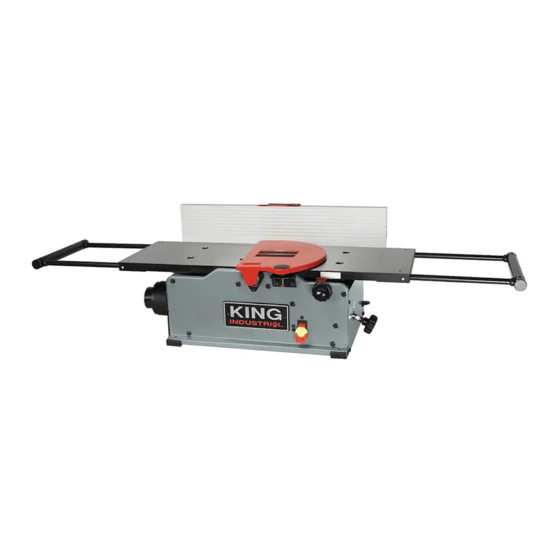
- Page 1 10” BENCHTOP JOINTER WITH HELICAL CUTTERHEAD MODEL: KC-10HJC INSTRUCTION MANUAL COPYRIGHT © 2022 ALL RIGHTS RESERVED BY KING CANADA TOOLS INC.
-
Page 2: Warranty Information
WARRANTY INFORMATION 2-YEAR KING CANADA TOOLS LIMITED WARRANTY OFFERS A 2-YEAR LIMITED WARRANTY FOR THIS 10” BENCHTOP JOINTER INTENDED FOR NON COMMERCIAL USE PROOF OF PURCHASE Please keep your dated proof of purchase for warranty and servicing purposes. REPLACEMENT PARTS Replacement parts for this product are available at our authorized King Canada service centres across Canada. - Page 3 GENERAL & SPECIFIC SAFETY RULES 1. KNOW YOUR TOOL 13. DON’T OVERREACH. Read and understand the owners manual and labels affixed to the Keep proper footing and balance at all times. tool. Learn its application and limitations as well as its specific 14.
- Page 4 12) Fence support arm 13) Fence mounting bracket 14) Belt guard 15) Table extension (1 of 2) 16) Table extension lock knob (1 of 2) Specifications MODEL KC-10HJC Capacity 10” Depth of cut capacity 1/8” Cutterhead speed 12,000 RPM Table size with extensions 10”...
-
Page 5: Electrical Information
ELECTRICAL INFORMATION WARNING! ALL ELECTRICAL CONNECTIONS MUST BE DONE BY A QUALIFIED ELECTRICIAN. FAILURE TO COMPLY MAY RESULT IN SERIOUS INJURY! ALL ADJUSTMENTS OR REPAIRS MUST BE DONE WITH THE MACHINE DISCONNECTED FROM THE POWER SOURCE. FAILURE TO COMPLY MAY RESULT IN SERIOUS INJURY! POWER SUPPLY PROPERLY GROUNDED OUTLET WARNING: YOUR JOINTER MUST BE CONNECTED TO A 110V-120V,... - Page 6 ASSEMBLY WARNING! TO REDUCE THE POTENTIAL FOR PERSONAL INJURY AND/OR DAMAGE TO THE MACHINE, BEFORE ASSEMBLING MAKE SURE THE MACHINE IS TURNED OFF AND THE PLUG IS NOT CONNECTED TO A POWER SOURCE. DO NOT TURN ON OR PLUG IN THE MACHINE UNTIL INSTRUCTED TO DO SO AFTER ALL ASSEMBLY STEPS IN THIS MANUAL HAVE BEEN COMPLETED.
-
Page 7: Operation & Adjustments
OPERATION & ADJUSTMENTS Fence Adjustments - Front to Back The fence can be moved across the table to expose as much or as little of the cutterhead as needed depending on the width of the workpiece. 1) Loosen the fence adjustment lock handle (A) Fig.8 by turning handle counter- clockwise. - Page 8 OPERATION & ADJUSTMENTS Infeed Table Height/Depth of Cut Adjustment Note: The outfeed table is factory-set to the height of the cutterhead inserts and unless it becomes misaligned, it requires no regular adjustments. The infeed table height is adjustable and can be raised or lowered to set the depth of cut.
-
Page 9: Operation And Maintenance
OPERATION & MAINTENANCE WARNING! TO REDUCE THE POTENTIAL FOR PERSONAL INJURY KEEP HANDS WELL AWAY FROM THE CUTTERHEAD DURING JOINTING OPERATIONS - USE PUSH BLOCKS WHENEVER POSSIBLE. Face Jointing 1) Set the infeed table height for the desired depth of cut. Note: 1/16” to 1/32” is recommended depending on the width of the board. 2) Set and lock the fence at 90º. -
Page 10: Maintenance
MAINTENANCE WARNING! TO REDUCE THE POTENTIAL FOR PERSONAL INJURY MAKE SURE THE MACHINE IS TURNED OFF AND HAS BEEN UNPLUGGED BEFORE PERFORMING ANY PERIODIC MAINTENANCE OPERATIONS. Periodic Maintenance as Required Over time with use and wear some or all of the following periodic maintenance operations may be required: Replacing/Rotating Cutterhead Inserts The cutterhead is equipped with 20 cutter inserts with 4 cutting surfaces each.
Need help?
Do you have a question about the KC-10HJC and is the answer not in the manual?
Questions and answers