Table of Contents
Advertisement
Quick Links
2011 – Current Chrysler 300, Dodge Charger, Dodge Journey Factory
Display Radio Camera
(Kit # FLTW-7631)
Please read thoroughly before starting installation and check that kit contents are complete.
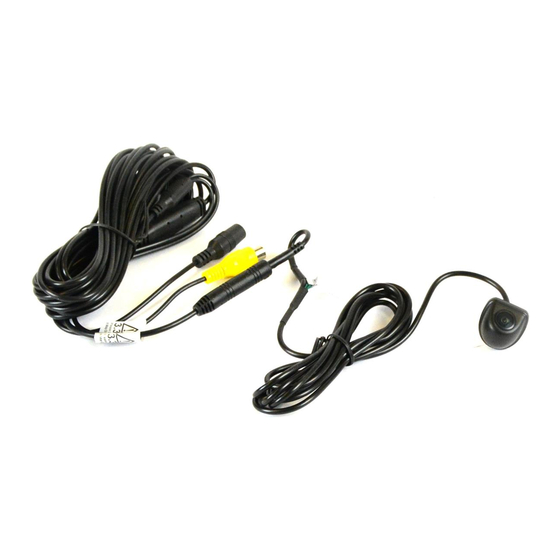
Items Included in the Kit:
Camera
Hole Saw for camera mount
Chassis Harness
Power Harness
Display Harness with 22-pin connector
These Instructions with Template
Safety Precautions:
• Work in well ventilated area that is clear of obstructions.
• Secure vehicle with tire chucks in both front and rear of tires.
• Turn vehicle accessories OFF and ensure ignition key is in OFF position.
• Wear safety goggles and snug fitting clothes.
• Use tools only for their intended purpose and which are in good repair.
• Only perform this task if confidence, skill, and physical ability permit.
NOTE: We strive to provide accurate and up-to-date installation instructions.
7631 Instructions 5-30-14.doc
(CTP, RE2, RE4)
NOTE: Requires Chrysler/Dodge dealer to activate; see below
IMPORTANT: Use of this camera with
the factory screen requires activation
by a Chrysler/Dodge dealer. See below
for Dealer Programming Instructions.
If possible, have the dealer "enable"
the camera option prior to installation.
Page 1 of 4
INSTALLATION
I NSTRUCTIONS
Tools & Supplies Needed:
Dealer Programmer Tool
Phillips Screwdriver
Center Punch
1/4'' Drill Bit (if needed)
Power Drill
Wire Ties
Electrical Tape or Heat Shrink Tubing
Plastic Trim Removal Tool
Soldering Iron & Solder
T-taps (optional)
Small grommet or Silicone (If needed)
Vehicle service manual (If needed)
(Recommended)
Advertisement
Table of Contents

Related Manuals for BrandMotion FLEETWORKS FLTW-7631


Summary of Contents for BrandMotion FLEETWORKS FLTW-7631
- Page 1 INSTALLATION I NSTRUCTIONS 2011 – Current Chrysler 300, Dodge Charger, Dodge Journey Factory Display Radio Camera (CTP, RE2, RE4) (Kit # FLTW-7631) NOTE: Requires Chrysler/Dodge dealer to activate; see below Please read thoroughly before starting installation and check that kit contents are complete. Items Included in the Kit: Tools &...
- Page 2 INSTALLATION I NSTRUCTIONS Step 1: Determine Camera location. Place Step 5: Route Camera and/ or Chassis template in desired position to confirm fitment. Harness along existing wiring and secure (IMPORTANT: Some states prohibit items blocking using Wire Ties or Electrical Tape. the license plate;...
- Page 3 INSTALLATION I NSTRUCTIONS IMPORTANT: If the Gray 22-pin connector is Step 15: Using a vehicle specific service present in the vehicle and Pins 15 and/or 16 are guide/wiring diagram and a multi-meter already populated, remove the terminal(s) using verify 12v Ignition power source. Red wire Delphi Terminal Removal Tool #12094429 or a of power harness connects to 12v+ Ignition Small Flat Watch Repair Screwdriver and isolate...
- Page 4 INSTALLATION I NSTRUCTIONS D. Using the scan tool, select VEHICLE PREPARATION CAMERA O PTIONS and then select RESTORE VEHICLE CONFIGURATION. The camera offers grid lines or non grid E. Follow the step by step instructions on the scan lines and mirror image or non mirror image tool to complete the Park View Rear Back-Up Camera vehicle configuration.
Need help?
Do you have a question about the FLEETWORKS FLTW-7631 and is the answer not in the manual?
Questions and answers