Badger Meter ModMAG M5000 User Manual
Electromagnetic flow meters
Hide thumbs
Also See for ModMAG M5000:
- User manual (56 pages) ,
- Installation manual (4 pages) ,
- User manual (32 pages)
Advertisement
Quick Links
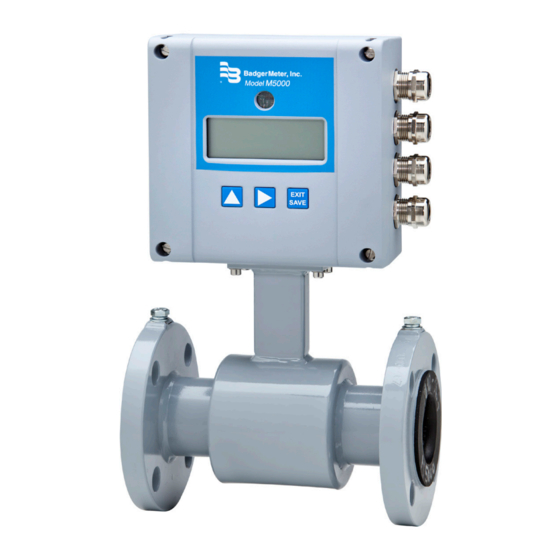
Standard mount
Description
These instructions explain how to convert a standard mount
M5000 meter to a remote mount using the Remote Junction
Box Kit, PN 63384-043. Contents of the kit are:
•
Remote junction box, red aluminum, 122 × 120 × 80 mm
with 2 metal cable glands and 4 copper screws, qty. 1
•
Remote junction box PCB, qty. 1
•
Remote mounting bracket, qty. 1
•
Socket head cap screws, M5 × 16, qty. 4
•
Stat-O-Seal washers M5, qty. 4
•
Gasket, rectangular, 75 × 45 mm, qty.1
CONTAINS PARTS AND ASSEMBLIES SUSCEPTIBLE
TO DAMAGE BY ELECTROSTATIC DISCHARGE (ESD).
BEFORE PICKING UP AN ESD-SENSITIVE ELECTRONIC
COMPONENT, DISCHARGE YOURSELF BY TOUCHING A
GROUNDED BARE METAL SURFACE OR APPROVED
ANTI-STATIC MAT.
TURN OFF POWER BEFORE PERFORMING ANY WORK ON
THE M5000 METER.
See
"Wiring Reference for Remote Configuration" on page 4
for the wiring overview.
MAG-UM-03188-EN-02 (January 2022)
Electromagnetic Flow Meters
M5000 Converting a Standard Mount to a Remote Mount
Tools Required
•
•
•
•
•
Junction Box Assembly
1. Disconnect the electrode and coil terminal blocks in the
2. Using the 4 mm or 5/32 in. bit and electric driver, remove
3. On each cable (one black, one white), inspect each wire
Remote mount
Flathead screwdriver
4 mm or 5/32 in. bit
Electric driver
Torque screwdriver 4.7 Nm
Torque wrench 5.2 Nm
amplifier housing.
Figure 1: M5000 junction box
the bottom four bolts and washers from the amplifier and
slide the detector away from the amplifier making sure
the gasket is not lost. See
connection to verify that the ferrules at both cable ends
do not slide off the ends of the wire by gently pulling
on the ferrules. If any are lacking a proper electrical
connection, replace them.
Figure 2: M5000 cables
Figure
1.
User Manual
Advertisement

Related Manuals for Badger Meter ModMAG M5000


Summary of Contents for Badger Meter ModMAG M5000
- Page 1 Electromagnetic Flow Meters M5000 Converting a Standard Mount to a Remote Mount Standard mount Remote mount Description Tools Required These instructions explain how to convert a standard mount • Flathead screwdriver M5000 meter to a remote mount using the Remote Junction •...
- Page 2 Amplifier Assembly 4. Attach the PCB to the inside of the junction box with four the amplifier and detector were disassembled. Torque the (4) copper screws. See Figure bolts to 4.7 Nm. 5. Thread two (2) metal cable glands into the junction box. 12.
- Page 3 Amplifier Assembly 10. Using the electrode and coil terminal blocks removed from the junction box circuit boards, connect the wires Figure 8, making sure all connections are secure. Figure 8: M5000 electrode and coil terminal blocks 11. Route the wires of the electrode and coil terminal blocks around the bottom of the amplifier housing.
- Page 4 Control. Manage. Optimize. ModMAG is a registered trademarks of Badger Meter, Inc. Other trademarks appearing in this document are the property of their respective entities. Due to continuous research, product improvements and enhancements, Badger Meter reserves the right to change product or system specifications without notice, except to the extent an outstanding contractual obligation exists.
Need help?
Do you have a question about the ModMAG M5000 and is the answer not in the manual?
Questions and answers