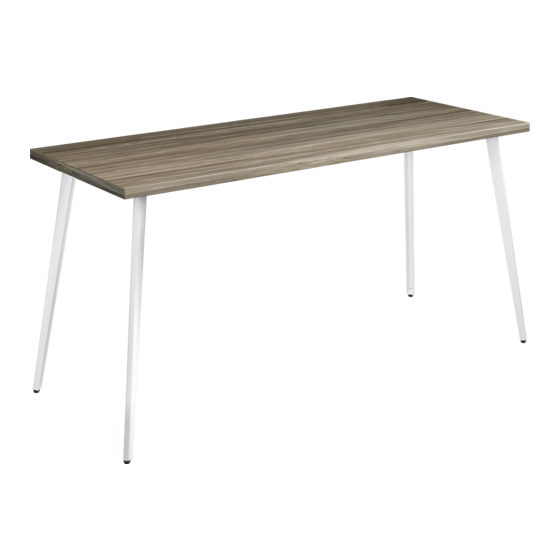
Summary of Contents for RightAngle R-Style Tango
- Page 1 R-Style™ Tango Assembly Instructions Warranty: raproducts.com/warranty 1 of 4 Instruction #54648 • Dated: 01/25/2022...
- Page 2 Tools Required for Assembly A. Power Driver with Adjustable Torque B. #2 Square Head Drive Bit C. Level Hardware and Tools Included for Assembly (may have extra) D. 5/8” Round Washer Head Wood Screw x40 *Desks 48” or smaller only receive 28 screws Tango Parts E.
- Page 3 Step 1 • Lay worksurface on a protected surface with the pilot holes facing up. *The following does NOT apply to desks sized 48” or smaller. • Align U-Channel (F) with the pre-drilled pilot holes along the center of the worksurface. •...
- Page 4 Step 3 • Carefully flip the table over to stand it rightside up. • Place the level (C) on the worksurface. • Level the table by turning the levelers (located at the bottom of the table legs) clockwise or counter- clockwise.


Need help?
Do you have a question about the R-Style Tango and is the answer not in the manual?
Questions and answers