Advertisement
Microphone Loan Program
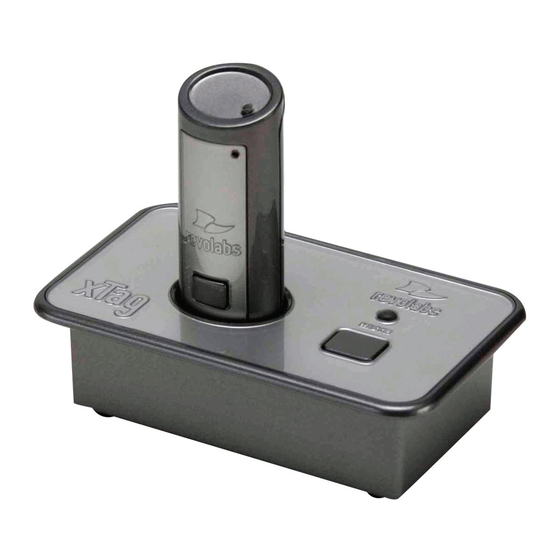
How to: Connect and configure the Revolabs xTag Microphone in a classroom computer.
Right-Click on the Speaker Icon in the system
tray at the lower right-hand side of your screen.
Select Playback devices.
You will see the Revolabs xTag as the default
device for Playback.
This needs to be changed to whichever other
Sound Card you see on this list. Depending on
the computer you're using, this could be
different. The Sound Card usually has HD in its
name.
IMPORTANT: If you leave the playback set to
the Revolabs xTag, your Camtasia Relay
recording will not be able to play audio to the
classroom, and more importantly, your Camtasia
Relay recording will not have any audio except
for your voice as recorded through the Revolabs
xTag.
Select and right-click on the non Revolabs xTag
sound device.
Advertisement
Table of Contents

Subscribe to Our Youtube Channel
Related Manuals for Revolabs xTag


Summary of Contents for Revolabs xTag
- Page 1 Microphone Loan Program How to: Connect and configure the Revolabs xTag Microphone in a classroom computer. Right-Click on the Speaker Icon in the system tray at the lower right-hand side of your screen. Select Playback devices. You will see the Revolabs xTag as the default device for Playback.
- Page 2 This should already be active. If it is not, then please right-click and make Default now. Why you need to do this: The first time you plug the Revolabs xTag in, it takes over both the Windows 7 Playback AND Recording—it becomes the Sound Card for both.
Need help?
Do you have a question about the xTag and is the answer not in the manual?
Questions and answers