Advertisement
Quick Links
Advertisement

Related Manuals for Hybrid HMH 7


Summary of Contents for Hybrid HMH 7
- Page 1 User Manual Please read the instructions carefully before use...
- Page 2 TABLE OF CONTENTS 1. Safety Instructions 2. Technical Specifications 3. Installation 4. How to set the unit 5. How to control the unit 6. DMX 512 Configuration 7. DMX 512 Connections 8. Troubleshooting 9. Fixture Cleaning...
- Page 4 9. Fixture Cleaning The cleaning of internal must be carried out periodically to optimize light output. Cleaning frequency depends on the environment in which the fixture operates: damp, smoky or particularly dirty surrounding can cause greater accumulation of dirt on the fixture’s optics. ...
- Page 5 Safety Introductions Please read the instructions carefully which includes important information about the installation, operation and maintenance. WARNING Please keep this User Manual for future consultation. If you sell the fixture to another user, be sure that they also receive this instruction booklet. Unpack and check carefully there is no transportation damage before using the fixture.
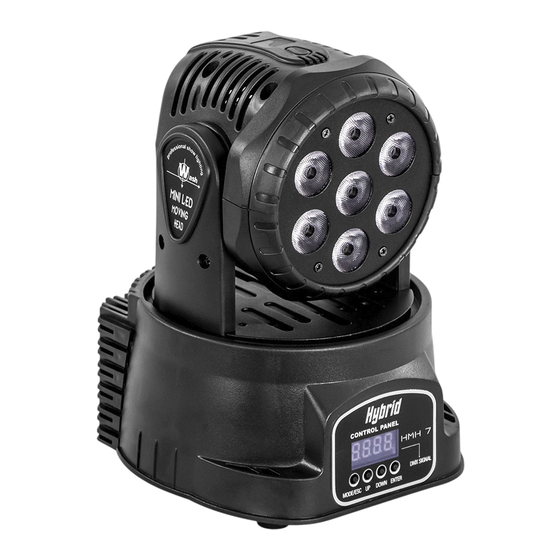
- Page 6 2. Technical Specifications Featuring 7 high-power 10W Quad-color LEDs. Each color of R, G, B, W can be controlled individually. DMX 5/13 channels switchable. Smooth 0~100% dimming and variable strobe speeds. 5 operation modes: DMX, Mater/Slave mode, Sound Active, auto, dimmer. ...
- Page 7 3 pin XLR connectors are more popular than 5 pins XLR. 3 pin XLR: Pin 1: GND, Pin 2: Negative signal (-), Pin 3: Positive signal (+) 5 pin XLR: Pin 1: GND, Pin 2: Negative signal (-), Pin 3: Positive signal (+), Pin4/5: not used 8.
- Page 8 7. DMX512 Connections The DMX512 is widely used in intelligent lighting control, with a maximum of 512 channels. Connect the fixture together in a “daisy chain” by XLR plug cable from the output of the fixture to the input of the next fixture. The cable cannot be branched or split to a “Y” cable.
- Page 9 4. How to set the unit 4.1Rear Panel 1 Display: To show the various menus and the selected functions Button: 2 MENU To select the programming functions 3 UP To go forward in the selected functions 4 DOWN To go backward in the selected functions 5 ENTER Enter submenu 6 Mains input: Connect to supply mains power.
- Page 10 4.2 Main Function Chart 5. How To Control The Unit You can operate the unit in three ways: 1. By master/slave built-in preprogram function 2. By DMX controller 5.1 Master/Slave Built In Preprogrammed Function By linking the units in master/slave connection, the first unit will control the other units to give an automatic, sound activated, synchronized light show.
- Page 11 6. DMX512 Value 5 channel mode: Channel Value Function 0-255 0-255 TILT 0-255 PAN/ TILT speed from fast to slow 0-255 Strobe speed from slow to fast 0-255 To select 255 kinds of color 13 channel mode: Channel Value Function 0-255 0-255 PAN Fine...
Need help?
Do you have a question about the HMH 7 and is the answer not in the manual?
Questions and answers