Intermec Trakker Antares 2480 Quick Start Manual
Trakker antares 248 series stationary terminal
Hide thumbs
Also See for Trakker Antares 2480:
- User manual (12 pages) ,
- Supplementary manual (4 pages) ,
- Install manual (2 pages)
Table of Contents
Advertisement
Advertisement
Table of Contents

Subscribe to Our Youtube Channel
Related Manuals for Intermec Trakker Antares 2480


Summary of Contents for Intermec Trakker Antares 2480
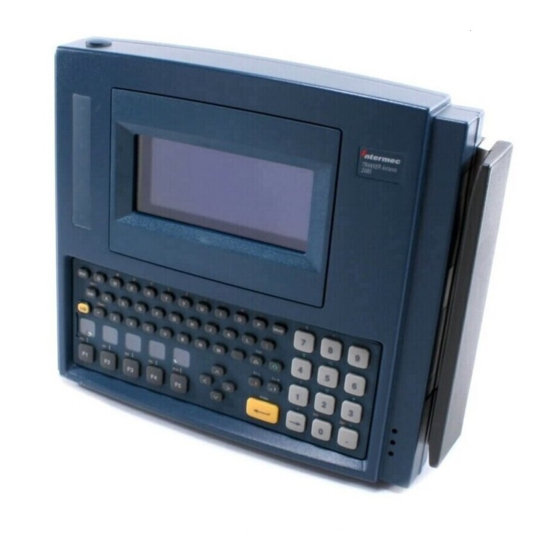
- Page 1 Quick Start Guide Trakker Antares ® 248X Stationary Terminal...
- Page 2 The information contained herein is proprietary and is provided solely for the purpose of allowing customers to operate and service Intermec-manufactured equipment and is not to be released, reproduced, or used for any other purpose without written permission of Intermec.
-
Page 3: Table Of Contents
d 39 nugget Contents About This Guide... 5 Introducing the Trakker Antares 248X Terminals... 5 Unpacking the Terminal... 7 Installing and Configuring the Terminal... 8 Understanding the Back Panel ... 9 Attaching the Antenna ... 11 Using the Desk-Mount or Wall-Mount Bracket ... 11 Connecting Power and Input Devices... - Page 4 Trakker Antares 248X Stationary Terminal Quick Start Guide...
-
Page 5: About This Guide
The purpose of this quick start guide is to help you install the 248X and set basic configuration parameters so you can start using the terminal. You may need to refer to additional Intermec documents to configure the 248X for your data collection network. For a list of documents, see “Where to Go From Here”... - Page 6 These options are available for the 2480/1 with Ethernet connectivity and the 2485/6: • Extended SRAM storage drive (2MB or 4MB) to store files • UDP Plus (Intermec Gateway or DCS 30X network), WTP, TCP/IP, or TCP/IP with 802.1x security network protocol Description CGA-compatible screen with graphics LCD.
-
Page 7: Unpacking The Terminal
Trakker Antares 248X Stationary Terminal Quick Start Guide Description Trakker Antares 2480, 2481, 2485, or 2486 Stationary Terminal Optional badge scanner (visible or infrared) Antenna for 2485 and 2486 Terminal blocks to connect sense inputs, output relays, and an... -
Page 8: Installing And Configuring The Terminal
d 39 nugget Installing and Configuring the Terminal The Trakker Antares 248X terminal has several communications and network options. The next illustration shows some examples of the different data collection networks in which you can use the terminal. RS-232 248X Printer 2485/6 Direct Connect... -
Page 9: Understanding The Back Panel
d 39 nugget The steps to install your 248X depend on the options you purchased and the type of network or devices to which you want to connect the terminal. Use these next steps to install and configure your terminal. To install your 248X 1 Attach the antenna on a 2485 or 2486. -
Page 10: Back Panel
• • • • Intermec is frequently testing and developing new input devices. For an updated list of Intermec-approved input devices for the 248X, see your Intermec sales representative. Cable restraint You use the cable restraint to secure the power supply cable, the terminal block wires, and the Ethernet cable. -
Page 11: Attaching The Antenna
d 39 nugget Attaching the Antenna On the 2485 and 2486, the antenna is shipped separately. Remove the antenna from the shipping box and attach the antenna as shown. Choose a location for the terminal where the antenna can be effective. Do not place the terminal where the antenna is too close to a metal wall or it will limit the communications range. - Page 12 For help, see the accessory instruction sheets. Intermec recommends that you use the desk or wall-mount bracket to mount the 248X and protect the power supply. You can use other mounting brackets or enclosures. However, without the Intermec desk or wall-mount bracket, the power supply is intended for indoor use only.
-
Page 13: Connecting Power And Input Devices
d 39 nugget Connecting Power and Input Devices You connect power and input devices through the rear enclosure of the Trakker Antares 248X terminal. To connect the power supply and input devices 1 Use a Phillips screwdriver to remove the six screws on the back panel. 2 Remove the back panel and place it on a clean surface. -
Page 14: Charging The Backup Battery
d 39 nugget 248XG.035 4 Use a Phillips screwdriver to loosen one of the screws on the cable restraint. Route the power supply cable under the cable restraint. Tighten the screw to secure the cable. 5 Route all the cables under the cable restraint bar and through the scissors seal. -
Page 15: Connecting To Serial Devices And Networks
COM2 supports RS-232/422/485 communications. You can use COM2 to connect to a serial device, a wired network, or an Intermec CrossBar network. COM4 supports RS-232 communications. You need the adapter cable accessory (P/N 067185) to use COM4. - Page 16 PC) to which you are connecting the terminal. The values you set for the terminal’s serial port must match the values set for the device’s serial port. To configure COM2 to communicate in an Intermec CrossBar network 1 Use the TRAKKER Antares 2400 Menu System to set these COM2 serial port parameters: •...
-
Page 17: Connecting Directly To An Ethernet Network
248X device. For help, see your controller user’s manual. Connecting Directly to an Ethernet Network The Trakker Antares 2480 and 2481 terminals have an option for an Ethernet (10BaseT) card. With this option, your terminal can communicate to a host or any device on an Ethernet network. -
Page 18: Connecting To An Rf Network
DHCP (Dynamic Host Configuration Protocol), you can leave the default terminal IP address as 0.0.0.0 to enable the 248X as a DHCP client. • (Intermec Gateway or DCS 30X or host on different subnetwork) Default Router. • (Intermec Gateway or DCS 30X or host on different subnetwork) Subnet Mask. - Page 19 To configure the 2485 or 2486 to use RF communications 1 Configure the Intermec Gateway or DCS 30X (UDP Plus or WTP), or host (TCP/IP). For help, see the documentation that shipped with the Intermec Gateway or the user’s manual for the DCS 30X.
-
Page 20: Using The Menu System To Configure The Terminal
• Network Name (802.11b radio). • WEP Encryption (Non-802.1x security). • Network Port (TCP/IP). • Default Router (Intermec Gateway or DCS 30X or host on different subnetwork). • Subnet Mask (Intermec Gateway or DCS 30X or host on different subnetwork). -
Page 21: Choosing Your Te 2000 Application
d 39 nugget 3 Press • to exit the System Menu. The Main Menu appears. 4 Choose Configuration Menu, and then press ;. The Configuration Menu appears. Use the Communications Menu to configure the network parameters and the serial port parameters. 5 Press •... -
Page 22: Using The Keypad
d 39 nugget Using the Keypad The terminals come with a color-coded keypad to make it easier to remember key combinations. Using the Keypad Position on the Keypad Middle of the key or centered above the key Left side above the key Centered above a numeric key Right side above the key Your terminal ships with function key labels. -
Page 23: Developing Applications For The Terminal
The Trakker Antares Programmer’s Software Kit (PSK) has a full set of programming tools to help you create applications for the terminal. You can download the latest version of the PSK at no charge from the Intermec web site at www.intermec.com. Specifications... -
Page 24: Where To Go From Here
Data Collection Browser Client User’s Guide (P/N 070011). The Intermec web site at www.intermec.com provides our current manuals as PDF files for you to download. To order accessories and printed documentation, contact your local Intermec representative.
Need help?
Do you have a question about the Trakker Antares 2480 and is the answer not in the manual?
Questions and answers