Table of Contents
Advertisement
Quick Links
Advertisement
Table of Contents

Related Manuals for dg casa 16650-Q


Summary of Contents for dg casa 16650-Q
- Page 1 OCEAN PLATFORM BED ASSEMBLY INSTRUCTION 16650-Q...
- Page 2 WARNING 16650-Q Seller and Manufacturer disclaim all and any liability for property damage, personal injury, or loss, direct, indirect, or incidental, resulting from the incorrect assembly, inadequate maintenance, improper use, or neglect of this product. NOTICE • Keep these assembly instructions for future reference.
- Page 3 HARDWARE M8 x 20 M6 x 30 M6 x 50 M6 x 60 8 PCS 8 PCS 9 PCS 4 PCS SCREW 32MM SPRING WASHER ALLEN KEY 100MM ALLEN KEY 70MM 26 PCS 1 PC 1 PC 6 PCS FLAT WASHER SUPPORT LEG ADJUSTER 8 PCS 5 PCS...
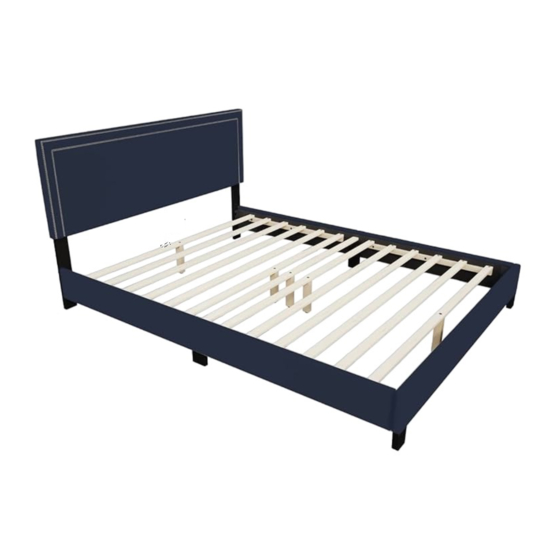
- Page 4 OCEAN PLATFORM BED PARTS CENTER RAIL HEADBOARD 1 PC SLAT SUPPORT 2 PCS SLAT 12 PCS FOOTBOARD 1 PC SLAT 1 PC SIDE RAIL 2 PCS SUPPORT LEGS 1 PC SIDE RAIL 2 PCS HEADBOARD LEGS 2 PCS BIG SUPPORT LEGS 1 PC FOOTBOARD SIDE LEG 2 PCS SIDE RAIL...
- Page 5 ASSEMBLY INSTRUCTION STEP 1 COMPONANTS AND HARDWARE TO BUILD THE BED IS LOCATED IN THE HEADBOARD. UNZIP THE ZIPPER COMPARTMENT LOCATED AT THE BACK OF THE HEADBOARD TO ACCESS THESE PARTS. HEADBOARD BACK VIEW STEP 2 ATTACH LEGS TO FOOTBOARD AND HEADBOARD AS SHOWN. MATCH THE LABEL TO ENSURE THE HEADBOARD LEGS HEADBOARD BACK VIEW ARE INSTALLED ONTO THE CORRECT SIDE OF THE HEADBOARD...
- Page 6 STEP 4 ATTACH THE SIDE RAIL LEG (F) TO THE SIDE RAIL (C). STEP 5 ATTACH THE ASSEMBLED SIDE RAIL (C) TO THE HEADBOARD (A) AND FOOTBOARD (B) BY PUSHING THE BRACKETS DOWN TO FIT AND TIGHTEN ONCE BOTH SIDE RAIL ARE IN PLACE.
- Page 7 STEP 6 ATTACH THE SUPPORT LEGS (J) TO THE SLATS (H) AND CENTER RAIL SLAT SUPPORT (G). ROTATE PART U CLOCKWISE OR COUNTER CLOCKWISE TO ADJUST SLAT HEIGHT FOR PROPER MATTRESS SUPPORT. STEP 7 ATTACH THE BIG SUPPORT LEGS (K) TO THE SLATS (I). ROTATE PART U CLOCKWISE OR COUNTER CLOCKWISE TO ADJUST SLAT HEIGHT FOR PROPER MATTRESS SUPPORT.
- Page 8 STEP 8 TIGHTEN PART (L) FROM STEP 3 TO SECURE THE SIDERAIL TO THE HEADBOARD AND FOOTBOARD. ATTACH THE SLATS TO THE WOODEN SUPPORT ON THE SIDE RAIL WITH PART (R). ADJUST PART (U) FROM STEP 6 AND STEP 7 FOR PROPER MATRESS SUPPORT.
Need help?
Do you have a question about the 16650-Q and is the answer not in the manual?
Questions and answers