Table of Contents
Advertisement
Quick Links
Advertisement
Table of Contents

Related Manuals for Kidzone 060-ROT-25L


Summary of Contents for Kidzone 060-ROT-25L
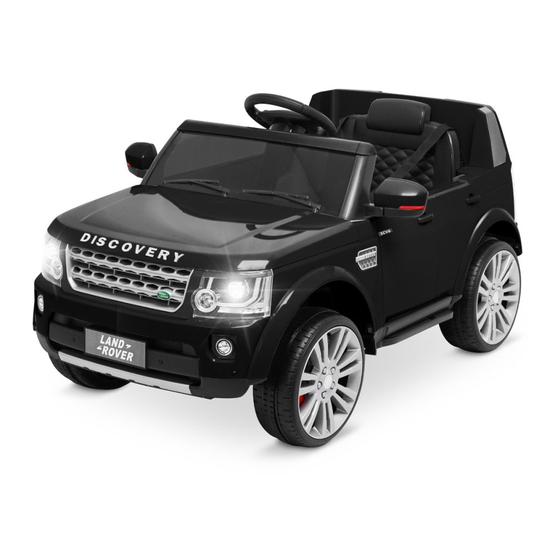
- Page 1 Licensed Land Rover Discovery Ride On(12V) item number: 060-ROT-25L...
-
Page 2: Safety Instruction
Safety Instruction When using electrical product, basic safety precaution should always be followed including the following Read all Instruction before use • To Protect against electrical shock, do not immerse cord, charger, transformer, battery, or the product in water or other liquid. •... - Page 3 Parts and Feature Steering Wheel Seat Backrest Remote Control Wind shield Charger Wheel Cover Wheel Padded Screw Rear View Mirror 4x12 Tapping Screw Rear Bracket Rear Frame...
-
Page 4: Assembly Instruction
Assembly Instruction Turn the car body upside down on a leveled surface. Remove the rear bracket and frame from the packaging. Insert the rear frame to the vehicle. Secure the rear frame to the vehicle with the provided tapping screws. - Page 5 Assembly Instruction Remove the nuts and washer from the rear axle. Install the left and right motors to the rear axle.
- Page 6 Assembly Instruction Remove the washer and nut from thee front axle. Then slide in the wheels, follow up by the washer, and secure with the nuts. Clip on the wheel cover.
- Page 7 Assembly Instruction Remove the screw from the steering wheel. Connect the electric terminal, and slide the steering wheel to the steering column, then secure the screw. Assemble the side mirrors to the side of the windsheild. Install the whole assembly to the vehicle body.
- Page 8 Assembly Instruction Install the rear frame on the vehicle by aligning the slot and press in. Install the seat to the vehicle and secure with 2 sel tapping screws. Install the seat backrest to the vehicle and secure with 2 self tapping screws.
- Page 9 User Instruction (Battery Connection) Open the battery cover located below the seat and connect the battery terminal to the vehicle. Close the cover with done.
- Page 10 User Instruction (Battery Charging) ⚠ WARNING! The battery should only be charged by an adult. To charge the battery, open the battery cover located blow the seat. Disconnect the battery from the vehicle and connect to the charger. Plug the charger to an outlet, and charge the battery for 8 - 12 hours. DO NOT charge more than hours.
-
Page 11: User Instruction
User Instruction Control the vehicle 1. Engine sound / Next song Press the button to play engine sound. When the player is has USB / MP3 input, press the button to play the next song. Press and hold the button to increase player volume. - Page 12 User Instruction (Control Panel) Control Panel 1. Tune Button In FM radio mode, press the tune button to search for FM station. 2. FM Button Press the FM button to use FM radio mode. 3. Mode Button Press the mode button to switch between music, USB, and AUX mode. 4.
- Page 13 User Instruction (Control Panel) 7. Previous / Decrease volume Button Press the button once to play the previous track. Press and hold the button to decrease the volume. 8. Light Switch Press the button to switch on and off the light. The vehicle is default to have the light on. 9.
- Page 14 User Instruction (Remote Control) ⚠ WARNING! The battery should only be changed by an adult. Charging the battery 1. Remove the cover on the back side with a screwdriver. 2. Replace the old battery with two new AAA 1.5V batteries in correct polarity. 3.
-
Page 15: Care And Maintenance
Care and Maintenance • Check the product regularly and make sure there is no missing or loose parts. Re-tighten any loose parts if necessary. • Make sure there is no cracked or broken plastic parts. • When not using store the product away from heat source, cover it with a tarp and away from wet weather. - Page 16 Troubleshooting Problem Possible Reason Solution Check if the battery connectors are rmly connected. Poor wire connection Contact Customer service if Vehicle needs a push to go necessary forward “Dead spot” on motor Contact customer service Loud grinding sound or clicking Damaged motor or gear box Contact customer service sound from the motor or gear box...
- Page 17 2. Any product modifications by dealer, any circumstances. It is the retailer’s responsibility consumer, or other parties not authorized by to contact KIDZONE with a claim. We will not KIDZONE will void this warranty. handle claims from consumers directly; all 3.
Need help?
Do you have a question about the 060-ROT-25L and is the answer not in the manual?
Questions and answers