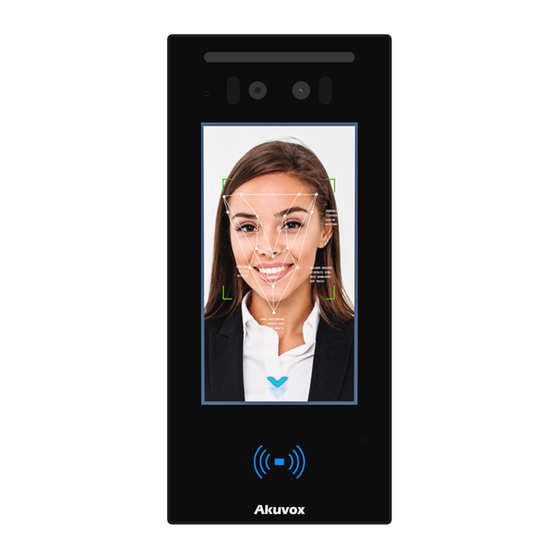
Akuvox E16 Quick Manual
Hide thumbs
Also See for E16:
- Administrator's manual (198 pages) ,
- Manual (105 pages) ,
- Manual (11 pages)
Table of Contents
Advertisement
Quick Links
Please make sure the package contains the following items:
Universal Accessories:
A05/E16 x 1
ST4x20 screw x 4
Torx Wrench x 1
M2.5x6 Screw x 2
Digital Temperature Detector Accessories (Optional) :
Digital Forehead Temperature
Detector x 1
M3x10.5 Screw x 2
Wall-mounting bracket x 1
M4x30 screw x 2
Torx Screw x 5
Rubber Plug x 3 ( S,M,L)
Camera
White Light LED
Infrared LED
MIC (For E16 only)
LCD
Photosensitive Sensor
RF Card Reader
Loudspeaker
E16/A05
Back cover x 1
Cable locking plate x 1
Plastic wall anchor x 4
Diode x 1
Digital Wrist Temperature
Detector x 1
M3x6 Screw x 2
Allen Wrench x 1
The bracket for
The bracket for
the device with
the device with
no temperature
temperature
detector
detector
Advertisement
Table of Contents

Summary of Contents for Akuvox E16
- Page 1 Detector x 1 M3x10.5 Screw x 2 M3x6 Screw x 2 Allen Wrench x 1 Camera White Light LED Infrared LED MIC (For E16 only) The bracket for The bracket for the device with the device with no temperature temperature...
- Page 2 E16/A05 Installation 1. Step1: Wall-mounting Bracket Installation 1.1 With embedded one-gang junction box (86x86 mm or 2x3 inches in size) in the wall 1.1.1 With 86x86 mm embedded junction box in the wall Mark the two positioning Fix the wall-mounting bracket on...
- Page 3 E16/A05 1.2 Without embedded gang box in the wall According to the position of the Take off the cable, put the wall-mounting wall-mounting and bracket closely on to the wall drill the four marked and mark the four positioning positioning holes...
- Page 4 E16/A05 Installation is completed. Hang the device on to the square hanger on the wall mounting bracket, pull down the device to make it fall completely on to the square hanger on the wall-mounting bracket, then use the Torx Wrench attached to tighten the device with the Torx screw.
- Page 5 E16/A05 2.3 Device Installation with Digital Wrist Temperature Detector (Optional) Fix the two holes of the detector Tighten the detector on to the inner Take out the device along with onto the installation pins on the threaded bolt with two M3x6 screw the back cover,...
- Page 6 E16/A05 Device Wiring Warning When you connect a device containting a coil, such as a relay or an electromagnetic lock, it is necessary to protect the intercom against voltage peak while switching off the induction load. For this way of protection we recommend a diode 1 A / 200 V (included in the accessories) connected antiparallet to the device.
- Page 7 Confirm tab to go to Setting screen where you press Info icon to check for the device IP address. ( for E16 series door phone only) 2.Account Registration:On the web interface, go to the path Account -> Basic page to register and fill in the account information.
- Page 8 Information contained in this document is believed to be accurate and reliable at the time of printing. This document is subject to change without notice, any update to this document can be viewed on Akuvox’ s website: http://www.akuvox.com © Copyright 2020 Akuvox Ltd. All rights reserved.


Need help?
Do you have a question about the E16 and is the answer not in the manual?
Questions and answers