Advertisement
Quick Links
Advertisement

Related Manuals for SHANGRI-LA RIO SLRIOBESTOA


Summary of Contents for SHANGRI-LA RIO SLRIOBESTOA
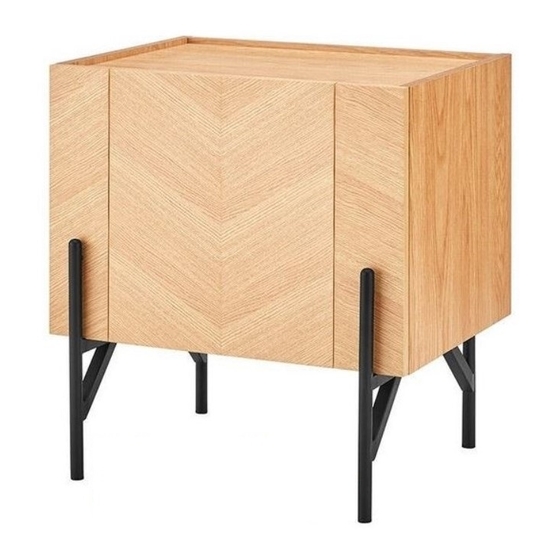
- Page 1 RIO BEDSIDE TABLE SLRIOBESTOA & SLRIOBESTWA...
- Page 3 COMPONENTS Parts list SIZE SIZE 396x396x16 (x2) 534x328x5 (x1) 524x379x16 (x1) 396x101x16 (x1) 524x396x16 (x1) 396x101x16 (x1) 524x60x16 (x1) 396x350x16 (x1)
- Page 4 Hardware A Cam Bolt (x18) B Cam Connector (x18) C Dowel (x14) D M7x50mm Bolt (x2) E M6x30mm Hex F M6x25 Screw (x2) G Allen Key H Hinge (x2 sets) Screw (x4)
- Page 5 ASSEMBLY Step 1: Insert 10 cam bolts (A) and eight dowels (C) into parts (2), (3) & (4) in the locations shown below. A Cam Bolt (x10) C Dowel (x8)
- Page 6 Step 2: • Insert 10 Cam Connectors (B) into all the holes adjacent to the corresponding Cam Bolt (A). Note: Ensure the arrow on the Cam Connector (B) is facing the direction of the hole. • Secure parts (1L) & (1R) to (2), (3) (4) & (5) by screwing the Cam Connectors (B) clockwise.
- Page 7 Step 3: Secure the two Hinges (H) to parts (6) & (8) using the eight hinge fasteners. H Hinge (x2 sets)
- Page 8 Step 4: • Insert eight Cam Bolts (A) and six Dowels (C) into parts (6) & (7) in the locations shown below. • Insert eight Cam Connectors (B) into all the holes adjacent to the corresponding Cam Bolt (A). Note: Ensure the arrow on the Cam Connector (B) is facing the direction of the hole. •...
- Page 9 Step 5: Secure the legs to the underside of the bedside table using the four M6x30 Hex Screws (E). E M6x30mm Hex Screw (x4)
- Page 10 Step 6: Secure the legs in place using the two M6x25 Screws (F) from inside the bedside table. F M6x25 Screw (x2)
- Page 11 Step 7: Insert the two M7x50 Screws (D) in the rear of the bedside table. D M7x50mm Screw (x2)
- Page 12 Adjustments Adjust door up and Adjust door and back Adjust door left and down using screw A using screw C right using screw B Assembly Completed...
- Page 13 NOTES...
- Page 16 Need more information? We hope that this user guide has given you the assistance needed for a simple set-up. For the most up-to-date guide for your product, as well as any additional assistance you may require, head online to help.kogan.com...
Need help?
Do you have a question about the RIO SLRIOBESTOA and is the answer not in the manual?
Questions and answers