Table of Contents

Related Manuals for ElectrIQ eiQ70CURVBL


Summary of Contents for ElectrIQ eiQ70CURVBL
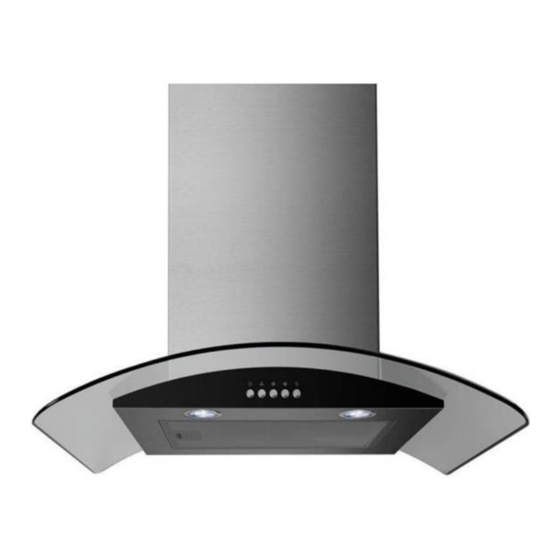
- Page 1 INSTALLATION AND USER MANUAL 70CM COOKER HOOD eiQ70CURVBL Please read this manual before using or installing the cooker hood and keep it safe for future reference. Visit our page www.electriQ.co.uk for our entire range of electricals...
-
Page 2: Table Of Contents
CONTENTS SAFETY PARTS LIST INSTALLATION EXHAUST DUCT INSTALLATION OPERATION BULB REPLACEMENT FILTER INFORMATION GLASS CANOPY MAINTENANCE CLEANING AND MAINTENANCE TROUBLESHOOTING TECHNICAL SPECIFICATION SUPPORT PRODUCT FICHE... -
Page 3: Safety
IMPORTANT SAFETY INFORMATION Please read this instruction manual carefully and retain for future reference. It contains important information concerning the safe operation, installation and maintenance of the appliance. • There must be adequate ventilation of the room when the hood is used at the same time as appliances burning gas or other fuels. - Page 4 • Cleaning and user maintenance must not be carried out by children without supervision. • When the hood is being maintained, cleaned or filters changed, make sure it is switched off at the mains supply. • The exterior of the hood should be cleaned with mild detergent on a warm damp sponge or cloth.
-
Page 5: Parts List
PARTS DESCRIPTION ILLUSTRATION Cooker Hood Chimney Sections Chimney bracket Hood Installation Plate Screw (ST5*50) Wall plug Screw (ST4.2*9.5) Exhaust adaptor... -
Page 6: Installation
INSTALLATION DIAGRAM Upper Chimney Bracket Lower Chimney Bracket Hood Installation Plate... - Page 7 OPTIONS FOR VENTILATION This hood can be set up for either external venting or recirculation of the air. The type of setup should be decided before commencing installation. EXTERNAL VENTING A 150mm diameter flexible pipe is provided which allows the cooking odours to be extracted outside. If this is the chosen installation method consideration to the route of the vent pipe should be made.
- Page 8 INSTALLATION BEFORE INSTALLING YOUR HOOD: • Unpack the hood and check that all functions are working. Ensure that the voltage (V) and the frequency (Hz) indicated on the serial plate match the voltage and frequency at the installation site. • Check that the area behind the installation surface to be drilled is clear of any electrical cables or pipes, etc.
- Page 9 1. Before installation, ensure you have not connected the appliance to the mains supply. 2. The cooker hood should be placed at a distance of 65~75cm above the cooking plane for best effect. • After confirming the cooker hood height, measure the position of the holes for hanging the hood and inside chimney bracket.
- Page 10 • Dress the inside chimney into the outside chimney. See Pic 4. • Make the hood hang on the wall in the fixed position, adjusting the cooker hood position, fix the cooker hood with safety screws. • The two safety vents are positioned on the back housing, with diameter of 6mm.See Pic 5.
-
Page 11: Exhaust Duct Installation
EXHAUST DUST INSTALLATION The following rules must be strictly followed to obtain optimal air extraction: • Keep expansion pipe short and straight. • Do not reduce the size or restrict expansion pipe. • When using expansion pipe always install the pipe pulled taut to minimize pressure loss. -
Page 12: Operation
OPERATION Operation of your hood is extremely simple. There are essentially 3 controls: Power Off; Fan Speed (3 separate buttons) and Illumination. BUTTON OPERATION Stops operation of the currently selected fan speed Stop Fan will run at low speed Fan will run at medium speed Fan will run at high speed High To turn the lights On and Off... -
Page 13: Bulb Replacement
REPLACING THE BULB This hood is fitted with an LED light unit, which under normal operation can last the lifetime of the hood. In the event that it does fail, replacement light units are available from the same retailer the hood was purchased from. -
Page 14: Filter Information
INSTALLING THE CARBON FILTER (OPTIONAL) 1. Remove the grease filters from the underside of the hood. 2. The carbon filters are located at either end of the motor. TO FIT: Locate the filter on the peg on the side of the motor. Rotate the filter clockwise onto the motor housing;... -
Page 15: Glass Canopy Maintenance
REMOVAL AND REFITTING OF THE GLASS CANOPY WARNING: Components within the appliance may have sharp edges. When attempting to remove or refit the glass, gloves should be worn to avoid scratches and cuts. The glass canopy is held into position using four screws, spacers and decorative washers. -
Page 16: Cleaning And Maintenance
CLEANING AND MAINTENANCE Disconnect range hood from power supply before cleaning or servicing. 1. Clean the hood surface frequently using mild detergent and a warm damp sponge or cloth. 2. Do not use harsh alkalis or abrasives. 3. Avoid the use of scouring powers or dishwasher compounds. 4. -
Page 17: Troubleshooting
TROUBLESHOOTING Fault Cause Solution The fan blade is Light on, but Switch off the unit. Repair to jammed. fan does not be carried out by qualified The motor is work service personnel only. damaged. Both light Power cord loose Plug in to the power supply and fan do again. -
Page 18: Technical Specification
SPECIFICATION Voltage 220-240V~50Hz Rated Power 108W Lighting Power 2 X 1.5W Motor Power 105W Diameter of air tube 150mm Air flow 400m /h Noise ≤6 dB5 The following shows how to reduce total environmental impact (e.g. energy use) of the cooking process). Install the cooker hood in a proper place where there is efficient ventilation. -
Page 19: Support
UK SUPPORT www.electriQ.co.uk/support Call: 0871 984 4416 Office hours: 9AM - 5PM Monday to Friday www.electriQ.co.uk Unit J6, Lowfields Business Park Lowfields Way, Elland West Yorkshire, HX5 9DA Recycling facilities are now available for all customers at which you can deposit your old electrical products. -
Page 20: Product Fiche
PRODUCT FICHE Symbol Value Unit Model identification eiQ70CURVBL Annual Energy 27.6 kWh/a hood Consumption Time increase factor Fluid Dynamic 11.6 hood Efficiency Fluid Dynamic Class E Efficiency class Energy Efficiency 67.3 hood Index Energy Efficiency Class B class Maximum airflow 270.6...
Need help?
Do you have a question about the eiQ70CURVBL and is the answer not in the manual?
Questions and answers