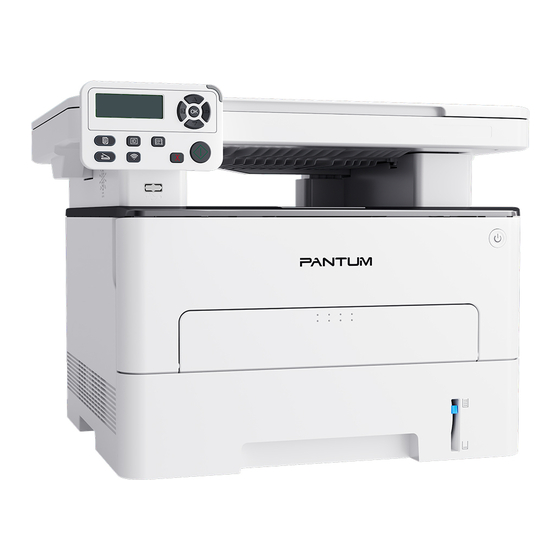
Pantum M6800 Series User Manual
Monochrome laser mfp
Hide thumbs
Also See for M6800 Series:
- User manual (164 pages) ,
- Faq (154 pages) ,
- Installation manual (7 pages)


Need help?
Do you have a question about the M6800 Series and is the answer not in the manual?
Questions and answers
how do i know the cartridge is empty
To check if the Pantum M6800 Series cartridge is empty, follow these steps:
1. Press "Menu" on the printer’s control panel to enter the menu setting.
2. Use the "▲" or "▼" buttons to select "TonerRemainder".
3. Press "OK" to view the current residual amount of toner in the cartridge.
This answer is automatically generated