Advertisement
Quick Links
Advertisement

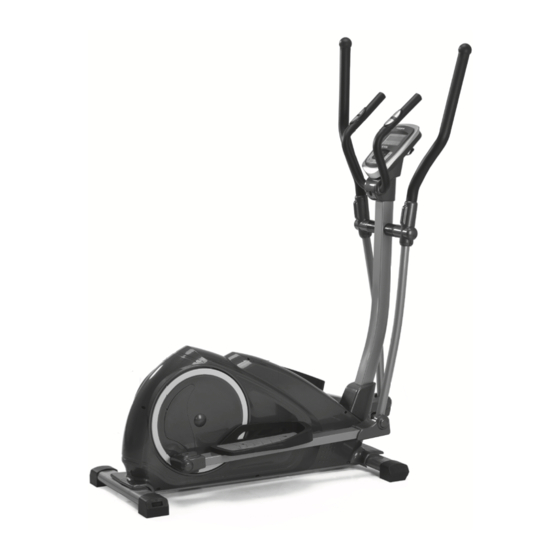
Summary of Contents for TOORX ERX90
- Page 1 INSTRUCTION...
-
Page 2: Exploded View
Exploded View: 25 26 43R 44 25 26 35 26... -
Page 3: Parts List
PARTS LIST Description Description Computer Tension cable 2 Trunk wire 1 Main frame End cap Φ31*16 Front cover The middle handlebar Bolt M8*45 Foam grip Φ23*500 43L/R Pedal (Right &left) Handle pulse withΦ25 Tube Connecting rod Screw ST4.0*19 Bolt M8*75 Washer d6*Φ12*1 46L/R Left Pedal Tube Rear Cover (L/R) - Page 4 Step 1: a. Secure front stabilizer and rear stabilizer (49) to main frame (40) with bolt (50) and washer (35).
- Page 5 Step 2: a. Insert front cover (41) into handle bar post (31). b. Connect trunk wire 1(2) with trunk wire 2(39) c. Secure handle bar post(31) to main frame(40) with Bolt(34), washes(71) ,Spring washer(11)and arc washers(36)
- Page 6 Step 3: 35 26 a. Secure swing rod (27L/R) with handle bar post (31) with bolts (19), washers (11) and nuts (20).(Warning: Keep the Bolt 19 can be rotated freely) b. Attached the Connecting rod (44) to the Connecting join (57) with Bolt (62), Washer (63) and nylon nut (64).
- Page 7 Step 4: 38R 30 a. Secure pedal (43 L/R) to connecting rod (44) with bolt (42), Washer (35) and Nylon nut (26). b, Attach Left Pedal Tube Front Cover L/R (37 L/R) and Right Pedal Tube Front Cover L/R (38 L/R) to connecting rod (44) with screws (30); c, Attach Left Pedal Tube Rear Cover (L/R) (46L/R) and Right Pedal Tube Rear Cover (L/R) (47L/R) to connecting rod (57) with screws (59 )
- Page 8 Step 5: 25 26 25 26 29L 29R a. Secure handle bar(14L/R) to swing rod(27L/R) with bolt(24), arc washer(25 ) and nylon nut(26 ) b. Attach swing rod cover (29 L/R) and swing rod cover (28L/R) to swing rod (27L/R)
- Page 9 Step 6: a. Secure middle handle bar (4) to handle bar post (31) with screw (10) and spring washer (11). b. Connect computer wire (1) with trunk wire 1(2), then secure computer (1) to handle bar post(30) with screw(60) and washer (61) c.Attach decoration cover (17 L/R) to handle bar post (31), then secure it with screw (13) and bolt (18).
- Page 10 Step 7: Warning: Please insert the adaptor (65) into the hole of back chain cover before using. Pull out when don’t use for a long time.
-
Page 11: Computer Operation
Computer Operation I. To operate the monitor A-0. Plug in the AC Adapter to power supply. You will see this first screen followed by the next one. A-1. You may select different training mode of MANUAL, PROGRAM, USER or TARGET H.R. by pressing UP, DOWN buttons (a1). Press MODE button to confirm. - Page 12 Computer Operation B-6 During all training period, you may press ST/STOP to stop monitor counting at anytime. C. Training in PROGRAM mode - press UP button until PROGRAM shows up on the upper line, press MODE to confirm. (c1) (c2) (c3) (c4) C-1 The initial set program profile is P1 (c1 &...
- Page 13 Computer Operation left-upper corner) and beep for 8 times to remind you.(d6) D-5 You may press ST/STOP button to start training again. The function which has achieved to zero will start from previous set data counting down, and other set function data will keep counting up or down from previous records. D-6 During all training period, you may press ST/STOP to stop monitor counting at anytime.
- Page 14 Computer Operation Displays current training rotations per minute. TIME Count up - If NO preset target, Time will count up from 00:00 to maximum 99:59 with each increment of 1 second. Count down - If training with preset Time, Time will count down from preset value to 00:00.Each preset increment or decrement of 1 minute between 1:00 to 99:00.
- Page 15 GARLANDO SPA Via Regione Piemonte, 32 - Zona Industriale D1 15068 - Pozzolo Formigaro (AL) - Italy www.toorx.it - info@toorx.it...


Need help?
Do you have a question about the ERX90 and is the answer not in the manual?
Questions and answers