Advertisement
Quick Links
Assembly Instructions
This instruction booklet contains important safety information, please read and keep for future reference.
ITEM # HITC85-Q
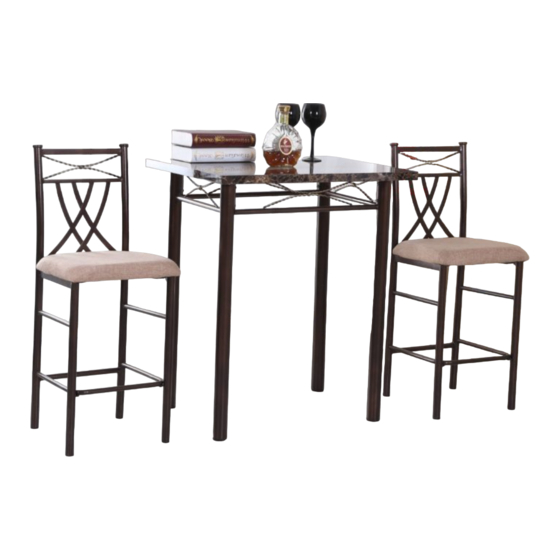
3 piece Dinning Set
Product Dimensions:
www.Hodedah.com
TABLE
Height 23" x Width 31" x Depth 36"
CHAIR
Height 15" x Width 16" x Depth 39"
2 people
30 mins
1 YR LTD
2 Box
1 |
P a g e
Advertisement

Related Manuals for Hodedah HITC85-Q


Summary of Contents for Hodedah HITC85-Q
- Page 1 Assembly Instructions 2 people This instruction booklet contains important safety information, please read and keep for future reference. 30 mins ITEM # HITC85-Q 1 YR LTD 3 piece Dinning Set 2 Box Product Dimensions: TABLE Height 23” x Width 31” x Depth 36”...
-
Page 2: Warranty
______________________________________________ WARRANTY Hodedah warrants this product to be free from defects in materials and workmanship and agrees to remedy any such defect. This warranty covers one year from the date of original purchase. This is solely limited to replacement of defective parts and no assembly for labor is included. This warranty does not apply to any product that has been improperly assembled, subjected to misuse, abuse or which has been altered or repaired in any way. -
Page 3: Product Care And Maintenance
Never push, drag or pull your furniture, to move to a new location carefully with two or more people carry the unit to its new location. Avoid extreme changes in temperature by arranging furniture away from radiators, heat and air vents and air conditioning units. P a g e www.Hodedah.com... -
Page 4: Hardware List
1. Before you throw the package, please use the Check Box to identify the parts and hardware to ensure that you have everything you need. 2. Check and measure the bolts before applying them to parts. 3. Do not completely tighten all hardware until the entire assembly is complete, unless indicated otherwise. P a g e www.Hodedah.com... - Page 5 The Breakdown… P a g e www.Hodedah.com...
- Page 6 Step 1 Please insert Brassbase (B) to leg (D) using the (H) allen key and the (I) screws, Do the same for Brassbase ©. Step 2 To complete the table assembly, Pls use screw (I) P a g e www.Hodedah.com...
- Page 7 Using screw (G) on the Brassbase (B) and (C) insert the screws.Total 8pc of screw (G) is to be used.(use a phillip star head screwdriver) Step 4 Place caps (F) on the bottom of each leg (D), Tap Lightly. P a g e www.Hodedah.com...
- Page 8 Then Place cross Bar (M) to the back of leg (L) using screw (O) to tighten please use allen key (Q) Step 6 Please complete leg (N,L ) on to the chair back (J) insert screws (I and E) 6 PC with the allen key (H) P a g e www.Hodedah.com...
- Page 9 Step 7 Insert chair cushion (K) on to chair frame using screw (Q) 4PC.two on each side.(use a phillip star head screwdriver) Step 8 Insert caps (P) to the bottom of each chair.tap lightly P a g e www.Hodedah.com...
- Page 10 Job Complete… Enjoy & Thank you for purchasing from Hodedah! 10 | P a g e www.Hodedah.com...
Need help?
Do you have a question about the HITC85-Q and is the answer not in the manual?
Questions and answers