Subscribe to Our Youtube Channel
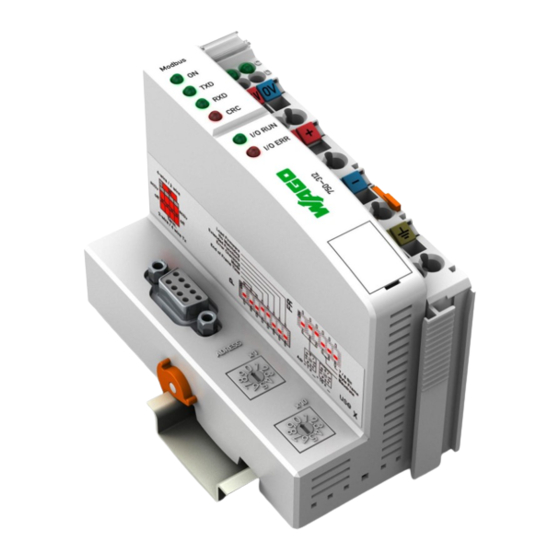
Summary of Contents for WAGO 750-312
- Page 1 750-312 Modbus Buscoupler “Getting started” Application note A206000, English Version 1.0.0...
- Page 2 • General Copyright ã 2001 by WAGO Kontakttechnik GmbH All rights reserved. WAGO Kontakttechnik GmbH Hansastraße 27 D-32423 Minden Phone: +49 (0) 571/8 87 – 0 Fax: +49 (0) 571/8 87 – 1 69 E-Mail: info@wago.com Web: http://www.wago.com Technical Support Phone: +49 (0) 571/8 87 –...
-
Page 3: Table Of Contents
Range of validity................2 2 Description ....................3 3 Reference Material ..................3 4 Solution......................3 1. Connect the WAGO 750-650............3 Configure the Buscoupler ..............4 Installation of the WinTech (TM) Modscan software.......4 Advanced WAGO Buscoupler configuration utilizing MODBUS commands while on-line..............5 Application note A206000... - Page 4 iv • Table of Contents Application note A206000...
-
Page 5: Important Comments
WAGO Kontakttechnik GmbH declines all liability resulting from improper action and damage to WAGO products and third party products due to non-observance of the information contained in this manual. -
Page 6: Range Of Validity
2 • Important comments 1.2 Range of validity This application note is based on the stated hardware and software of the spe- cific manufacturer as well as the correspondent documentation. This applica- tion note is therefore only valid for the described installation. New hardware and software versions may need to be handled differently. -
Page 7: Description
4.1 1. Connect the WAGO 750-650 COMPUTER B&B 750-312 RS-232 / 485 Pin to Pin of B&B converter TD(a)------------------------------- 7 TD(b)--------------------------------2 RD(a)--------------------------------8 RD(b)--------------------------------3 SHIELD-----------------------------5 * Note: Utilize the manual provided by WAGO as a reference for this procedure. Application note A206000... -
Page 8: Configure The Buscoupler
19.2KB, Lenght 8, Stop Bit 1, Parity None. Select OK Select Action from the menu bar. Select Start Poll. This puts the buscoupler on line. Verify operation by viewing the Tx and Rx lights on the WAGO Modbus buscoupler. Application note A206000... -
Page 9: Advanced Wago Buscoupler Configuration Utilizing Modbus Commands While On-Line
WAGO node. Repeat this for bit 00002 <0> Read a Digital Input Connect 24VDC to digital input 1 on the WAGO node. Then note that 00001 <0> will change to 00001 <1>. Repeat this for bit 00002 <0>... - Page 10 WAGO Kontakttechnik GmbH Postfach 2880 • D-32385 Minden Hansastraße 27 • D-32423 Minden Telefon: 05 71/8 87 – 0 Telefax: 05 71/8 87 – 1 69 E-Mail: info@wago.com Internet: http://www.wago.com...


Need help?
Do you have a question about the 750-312 and is the answer not in the manual?
Questions and answers