Advertisement
Quick Links
Thank you for purchasing the TAKEX product.
This sensor will provide long and dependable service when properly installed.
Please read this Instruction Manual carefully for correct and effective use.
Please note : This sensor is designed to detect intrusion and to initiate an alarm ; it is not a burglary-preventing device.
1
PRODUCT DESCRIPTION
This sensor is only suitable for indoor application.
This sensor consists of a transmitter that emits infrared beam and a
receiver that receives it.
As illustrated below, the infrared beam emitted from the transmitter
is re ected in the direction of incidence and then enters the receiver.
A protection loop is formed in the route of the transmitter
re ector receiver.
infrared beam
Whenever this loop is interrupted (if any object should interrupt the
infrared beam), it is detected and an alarm is initiated.
16.5' or less
(5m or less)
Receiver
Transmitter
Sensor
Alarm is initiated when
the beam is interrupted.
3
WIRING
①Remove
②Terminal arrangement
Remove terminal cover
(Terminals inside)
POWER
DC10.5〜26V
Knockout
③Wiring distance between sensor and control panel
Input voltage
Size of wire used
AWG 22 (Dia. 0.65mm)
up to 1000' (300m)
AWG 20 (Dia. 0.8mm)
up to 1800' (550m)
AWG 18 (Dia. 1.0mm)
up to 2800' (850m)
Note 1.
To obtain the maximum length of wiring when two or more
sensors are connected, divide the above gures by the
number of units used.
Signal line can be wired up to 3,300ft (1,000m) using AWG
2.
22 telephone wire.
4
INSTALLATION
4-1
Installation of sensor unit
The following instructions will ensure a successful set up.
1. Select appropriate installation position and determine the best mounting height for application. (PR-5B shall face the direction to be protected.)
2. Measure the distance from the oor to where the center of the PR-5B main unit will be located. Mark a small "X" on the wall at that point. (Measure and
mark the same distance from the oor on the opposite wall where the re ector will be mounted. Ensure that both walls are reasonably parallel to each other.)
3. Connect the 10.5-26VDC power input and alarm output wires to the appropriate terminal connectors at the rear of the PR-5B.
4. Fix the PR-5B securely to the wall using the "X" mark already made as the center reference on the wall.
4-2
Installation of reflector
Detection activation of this sensor is off-delay (detection time + approx. 1.5 sec.).
For that reason, check protection coverage as the following procedure.
1. Hold the re ector against the wall over the "X" mark previously made and check the operation LED on the PR-5B.
2. If the operation LED lights up, check the position where it goes off while moving re ector slowly vertically and horizontally by sliding for positioning
tentative center of coverage. * (Fig 1 .) Move the re ector as slowly as possible because it takes approx. 1.5 sec at least till operation LED goes off
though the re ector comes in coverage. If moving is too fast, the PR-5B will not have time to rest and operation LED will not go off.
3. Check 4 positions (in every directions) where operation LED lights up while moving re ector slowly outward from the center.
The center of these 4 positions is an actual
coverage center where re ector should be
installed. * (Fig 2.) LED lights up at real time
when re ector moves out of coverage (When an
alarm triggers.)
Important : A common mistake is made by holding
the re ector in the hand in the air, when
trying to make the PR-5B set up.
This is extremely dif cult to achieve.
PLEASE DO NOT ATTEMPT TO DO
THIS.
All manuals and user guides at all-guides.com
PHOTOELECTRIC BEAM SENSOR
Instruction Manual
infrared beam
Reflector
0.79" (φ0.2m)
Dry contact relay output IC
Contact capacity : 30V AC/DC,
up to 0.5A
ALARM
COM.
N.O.
N.C.
① ② ③ ④ ⑤
DC 12V
DC 24V
up to 5000' (1500m)
up to 9000' (2750m)
up to 13500' (4250m)
Sensor
2
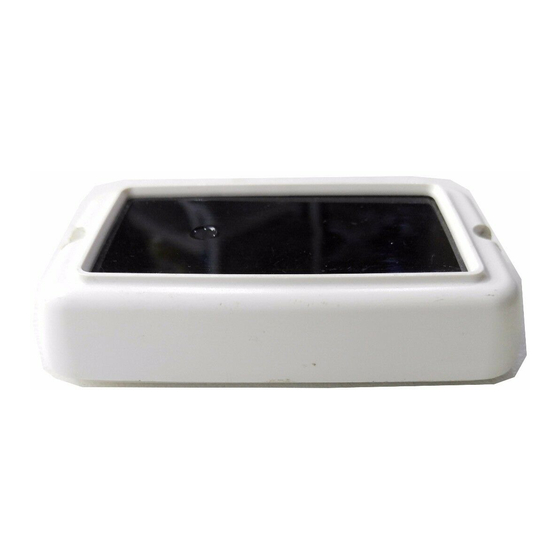
PARTS DESCRIPTION
Mouting hole
Case
Operation LED
Lights when an alarm is initiated.
(A red light is seen through filter.)
Infrared beam filter
Mounting hole
Reflector
Reflector mounting
plate
1
1
④Examples of connections
●Example 1
When 1 input to plural
sensors are installed.
1 2 3 4 5
1 2 3 4 5
●Example 2
When plural inputs to plural
sensors are installed.
1 2 3 4 5
1 2 3 4 5
Note 1.
When a magnetic switch or the like is used in the circuit, insert it in the section
For more details, refer to instruction manual for control panel.
2.
The dotted lines indicate connections for additional sensors installed.
⑤Wiring connections
Remove the terminal cover. Connect the wires with the corresponding terminals correctly as
instructed on the back side of the sensor. Break the knockout if necessary.
Reflector
LED OFF
Tentative
center
Sensor
Fig. 1
PR-5B
Terminal cover
(Terminals inside)
Knockout
Accessory
Sensor mounting
screw (M3×16)
2
Double-faced
Reflector mounting
adhesive sheet
screw (M4×16)
2
2
}
+
Power source
for sensor
−
Signal input
Control panel
Unnecessary when additional
sensors are installed.
}
+
Power source
for sensor
−
Signal input
Ⅰ
}
(1ch.)
Signal input
}
Ⅱ
(2ch.)
Control panel
LED ON
Tentative
center
Actual center
(installation
position)
Fig. 2
.
Advertisement

Related Manuals for Takex PR-5B


Summary of Contents for Takex PR-5B
- Page 1 1. Select appropriate installation position and determine the best mounting height for application. (PR-5B shall face the direction to be protected.) 2. Measure the distance from the oor to where the center of the PR-5B main unit will be located. Mark a small "X" on the wall at that point. (Measure and mark the same distance from the oor on the opposite wall where the re ector will be mounted.
- Page 2 (10mm×8mm) TAKEX. SENSOR MOUNT HOLE Limited Warranty (12.5mm) TAKEX products are warranted to be free from defects in material and workmanship for 12 0.49" 2.72" 2-φ0.17" (69mm) (φ4.4mm) months from original date of shipment. Our warranty does not cover damage or failure...