Table of Contents
Advertisement
Quick Links
Instructions for Installation and Care of Honda Pioneer 700 and 700 4
NOTICE: Please check contents of package for any damage and make sure all parts fit correctly and you
are happy with the product before removing protective film. Once the film is removed you cannot return
Be sure to read these instructions thoroughly before opening and installing the Honda Pioneer 700 and 700/4
Aero-Vent Polycarbonate Windshield.
1. Check over the parts included in the cartons with the parts list shown below:
1 5/8" Loom Clamps
1" Stainless Steels Bolts
Stainless Steel Washers
Plastic Thumb Nuts
Lock Nuts
Slide Fasteners
52" Rubber Gasket
Polycarbonate Brace
Polycarbonate Vent Slider
Polycarbonate Windshield
If any parts are damaged or missing please contact customer service at (606) 845-7439.
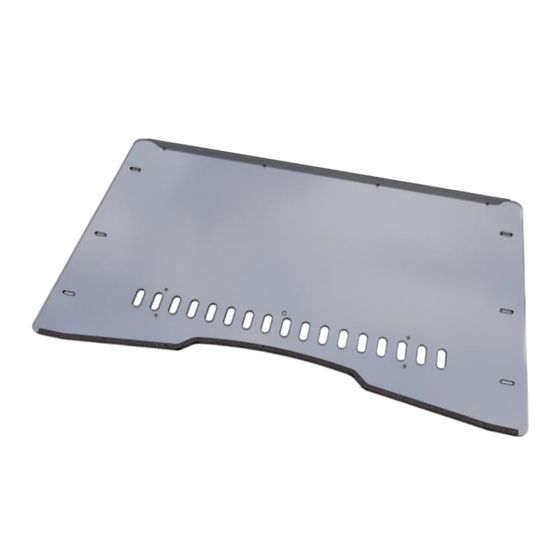
2. Start by pulling it out of the box and find a clean area to lay it down and install the hardware. Begin by
peeling off the protective film. Next take the 52" piece of rubber gasket and starting at one end firmly
place across the bottom of the windshield. You may need to trim off excess gasket. The diagram below
show where to install the gasket. Diagram Not Pioneer 700.
2515 Bypass Rd. Flemingsburg, KY 41041
606-845-7439
Aero-Vent Polycarbonate Windshield
HO-700-WD05
the product for a full refund.
8 each
13 each
17 each
9 each
4 each
4 each
1 each
1 each
1 each
1 each
Advertisement
Table of Contents

Related Manuals for FALCON RIDGE HO-700-WD05


Summary of Contents for FALCON RIDGE HO-700-WD05
- Page 1 Instructions for Installation and Care of Honda Pioneer 700 and 700 4 Aero-Vent Polycarbonate Windshield HO-700-WD05 NOTICE: Please check contents of package for any damage and make sure all parts fit correctly and you are happy with the product before removing protective film. Once the film is removed you cannot return the product for a full refund.
- Page 2 3. Next install the sliding vent panel on the inside of the windshield as shown in the diagram below. To install slide fasteners push through holes with thumbs until it is completely through the hole in the windshield and locked in place. 4.
- Page 3 6. Now you can install the top brace if you want. If you do not have a Falcon Ridge Cab enclosure to work with this windshield, the top brace is not needed but can be installed for extra strength. Below is a...
- Page 4 7. If you are using this windshield with a Falcon Ridge Cab enclosure then you will use the Top Brace to sandwich the cab material and seal off the inside from the wind. The diagram below shows how it will work.
- Page 5 Any returns submitted to Falcon Ridge without a return authorization number will be charged a 20% restocking fee. If ordered from one of Falcon Ridge’s many distributors, you must first call them and see what their return policy is. Once your item reaches our production facility, our customer satisfaction team will inspect your item to ensure unused, factory new condition.
Need help?
Do you have a question about the HO-700-WD05 and is the answer not in the manual?
Questions and answers