Table of Contents
Advertisement
Quick Links
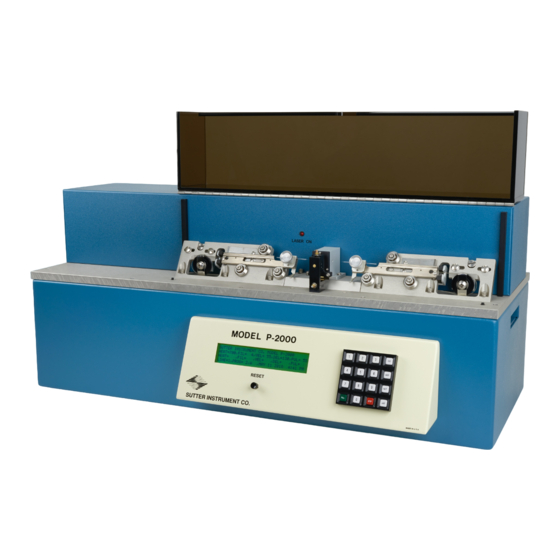
P2000/G Laser-Based Micropipette Puller Quick Start Guide
Warning to Users: Never adjust the black micropositioner which holds the retroreflective mirror (retromirror) without explicit
instruction from Sutter Instrument Co. This has been carefully calibrated to ensure optimal performance of your instrument.
First Time Setup
1. Remove the instrument from the box and place on a flat surface. Retain the box and packing
materials. These are needed in case the instrument needs to be shipped.
2. Lift the acrylic lid and remove the two red plastic rectangles. Retain these in case the instrument
needs to be returned to the factory. Remove the rubber bands holding the puller bars together.
3. Loosen the shipping screw by turning it counterclockwise several turns. Leave the screw partially
threaded into the puller. You will need to retighten this screw if the instrument needs to be shipped.
4. Insert the supplied power cord in the power entry module on the back of the instrument. Plug the
cord into a power source.
5. Power the unit on by toggling the switch on the left side of the puller.
6. Ensure the tilt setting has not changed during shipping by running a thermal paper test. The
following sections describe accessing a program and loading glass, which must be done prior to this
test.
Selecting and Loading a Program
1. At power on, the home screen prompts you to select a program. Using the keypad, enter a number from 0-99 and press <ENTR>
to access that program. Some programs were loaded at the factory. Refer to the operations manual for detail on these.
2. Each program has 5 parameter spaces (HEAT, FIL, VEL, DEL, PUL). These spaces can be populated with values in either of 2 ways:
i. Entering 3 digits will fill a parameter space and advance to the next. For values less than 100, values can be loaded with
leading zeros (e.g. 005, 040, etc.)
ii. Entering fewer than 3 digits followed by the <ENTR> key. You can advance to the next parameter without changing the
value of the current one by keying <ENTR> without entering any digits.
3. Exit a program and return to the home screen by depressing the black <RESET> switch
Loading Glass
1. Loosen the glass clamps on both puller bars by turning the knobs counterclockwise.
2. Insert a piece of capillary glass into the top groove of one puller bar. Start with the
whole capillary behind the glass clamp.
3. With your thumb near the end of the capillary farthest from the shroud, slide the
capillary towards the center of the puller until the far end of the capillary is outside of
the cutout in the puller bar.
4. Still holding the back end of the capillary, clamp the glass snugly.
5. Release the puller bars from their clip locks by depressing the flat metal spring behind
each bar and then pulling the bars forward slightly.
Tilt micrometer with
shipping screw partially
removed
Load glass here
Do NOT load glass here
Step 3
Advertisement
Table of Contents

Related Manuals for Sutter Instrument P2000/G


Summary of Contents for Sutter Instrument P2000/G
- Page 1 P2000/G Laser-Based Micropipette Puller Quick Start Guide Warning to Users: Never adjust the black micropositioner which holds the retroreflective mirror (retromirror) without explicit instruction from Sutter Instrument Co. This has been carefully calibrated to ensure optimal performance of your instrument. First Time Setup 1.
- Page 2 6. Advance both puller bars completely forward using the finger holds. A puller bar is Step 5 completely advanced when the slot cut in the bar touches the edge of the stop screw in that slot. 7. Holding the puller bars together with one hand, slightly loosen the clamp holding the glass, so the glass can be advanced without falling out of the top groove of the bar.
- Page 3 Maintenance and Troubleshooting While Sutter Instrument Co. is always happy to support our products, some basic maintenance and troubleshooting can be done by users to prevent and address minor problems and simplify the diagnosis of larger issues.
- Page 4 Pipette SERVICE & SUPPORT Thank you for choosing Sutter Instrument products. To guarantee the highest standards of quality and performance, every instrument is fabricated on-site by highly skilled technicians. The instrument contained herein has been assembled with care and tested to assure it meets rigid quality control standards.
Need help?
Do you have a question about the P2000/G and is the answer not in the manual?
Questions and answers