
Related Manuals for XAC xCL_AT-150 Series


Summary of Contents for XAC xCL_AT-150 Series
- Page 1 ERMINAL AYMENT EVICE CL_AT-150 S ERIES NSTALLATION UIDE xCL_AT-150 series: xCL_AT-150-R3-18U xCL_AT-150-R3-18E...
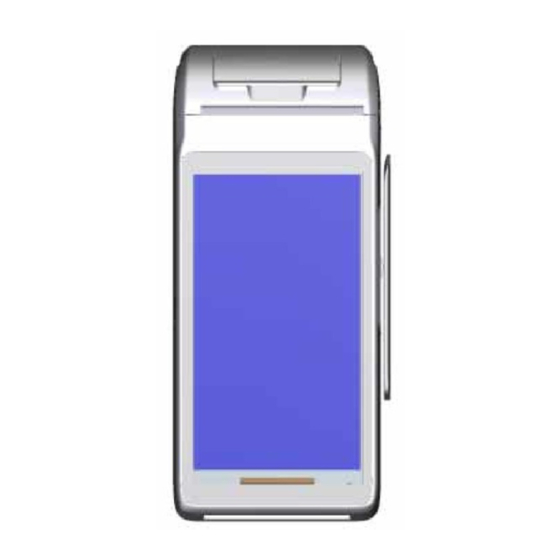
- Page 2 1. P ACKAGE ONTENT AT-150 Power adaptor USB cable Paper Roll 2. D EVICE VERVIEW Device Overview (Figure 1): FRONT REAR Figure 1...
- Page 3 This symbol is intended to alert the user before starting using the POS. Caution: Use only the AC adapter approved and provided by XAC Automation Corporation for use with this device. Use of any other AC adapter may cause a risk of fire or explosion.
- Page 4 4. U SING THE AGNETIC EADER Swipe the card through the slot with magnetic stripe side facing the same direction as the display. (Figure 3) Figure 3 (Figure 3) 5. U IC C SING THE EADER Insert an IC card into the slot (Figure 4) with the chip side facing the same direction as the touch panel (Figure 5).
- Page 5 Figure 6 7. U SING THE ONTACTLESS EADER Tap the contactless card on top of the contactless logo (Figure 7). Figure 7 8. R EPLACE THE ATTERY 8-1 R EMOVE ATTERY STEP 1: Push the latch to pull the bottom cover from AT-150 as Figure 8. STEP 2: After removing the bottom cover, pull up the battery connector as below Figure 9 to change a new battery.
- Page 6 Figure 8 Figure 9 8-2 I NSTALL ATTERY STEP 1: Insert the battery connector into AT150 with correct direction as Figure 10. STEP 2: After install the battery, close the bottom cover as Figure 11. Figure 10 Figure 11 Bottom Cover Removal Warning When removing the bottom cover and screws for the purposes of changing battery, remember to put back the cover and screws before power on the POS.
- Page 7 Warning for internal battery pack To reduce risk of fire or burns: Do not attempt to open, disassemble, or service the battery pack. Do not crush, puncture, short external contacts, or dispose of in fire or water. Do not heat above 60 9.
- Page 8 XAC Automation Corporation submitted SAR test results demonstrating compliance with the FCC’s SAR limit for wireless devices as part of the FCC’s equipment certification process for this device. These results can be accessed via the FCC’s equipment authorization database (found...
Need help?
Do you have a question about the xCL_AT-150 Series and is the answer not in the manual?
Questions and answers