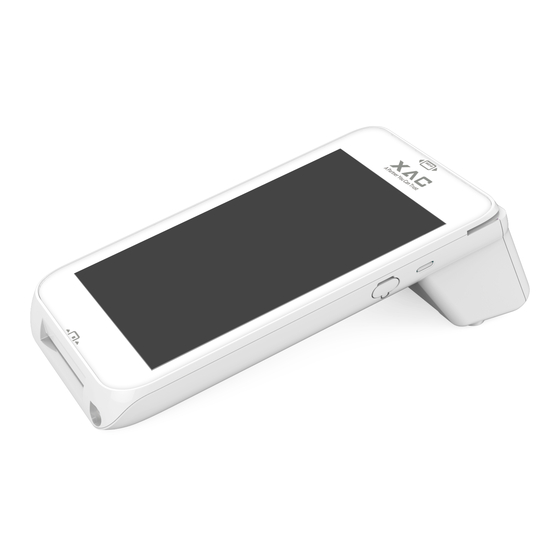
Summary of Contents for XAC xCL AT-170 Series
- Page 1 ESKTOP OBILE AYMENT ERMINAL CL_AT-170 SERIES INSTALLATION GUIDE xCL_AT-170 series: Before using the device, please full charge the battery xCL_AT-170-R-18U xCL_AT-170-R-18E To keep the device in good condition...
-
Page 2: Package Content
This symbol is intended to alert the user before starting using the POS. 1. PACKAGE CONTENT USB cable Paper Roll Hand Strap AT-170 Power adaptor (Optional) (Optional) (Optional) 2. DEVICE OVERVIEW AT-170 Key Buttons & Interface Ports (Figure 1) FRONT REAR Right... -
Page 3: Power On/Off The Device
Input: 100 ~240 Vac Output: 5V DC, 2A Caution: Use only the AC adapter approved and provided by XAC Automation Corporation for use with this device. Use of any other AC adapter may cause a risk of fire or explosion. -
Page 4: Using The Magnetic Card Reader
NOTE: When device is in idle or suspend mode, short press power button will wake up the device. When device require to forced shut down, press and hold the power button for 10 seconds 4. USING THE MAGNETIC CARD READER Swipe the card through the slot with magnetic stripe at the back side of the card. -
Page 5: Using The Keypad
6. USING THE KEY PAD After inserting the chip card, press the numeric keys of virtual keypad (Figure 5, as reference) shown on the display to enter the password. Press Cancel (X) key to terminate any current function and press the Enter (O) key to confirm a value or an option. - Page 6 STEP 5: Place the battery cover to close the compartment as Figure 7. STEP 6: Fasten the 2 screws. Figure 7 Figure 8 Bottom Cover Removal Warning When removing the bottom cover and screws for the purposes of changing battery, remember to put back the cover and screws before power on the POS.
-
Page 7: Loading The Paper
10. LOADING THE PAPER STEP 1: Gently pop the printer cover’s latch; then pull the cover upward to open the paper roll cover (Figure 10). STEP 2: Load a roll of thermal paper into the printer. Please ensure the printing-side of the paper will feed out facing the operator. - Page 8 Figure 11-2 Figure 11-3 Finished look of the strap assembly is as Figure 11-4. Figure 11-4 FEDERAL COMMUNICATION COMMISSION INTERFERENCE STATEMENT This device complies with Part 15 of the FCC Rules. Operation is subject to the following two conditions: (1) This device may not cause harmful interference, and (2) this device must accept any interference received, including interference that may cause undesired operation.
- Page 9 More information on SAR testing is available on the FCC’s website at http://www.fcc.gov/guides/ wireless-devices-and-health-concerns. XAC Automation Corporation submitted SAR test results demonstrating compliance with the FCC’s SAR limit for wireless devices as part of the FCC’s equipment certification process for this device.
- Page 10 The above information is the exclusive intellectual property of XAC Automation Corporation and shall not be disclosed, distributed or reproduced without permission of XAC Automation Corporation. XAC AUTOMATION CORP. shall not be held liable for technical and editorial omissions or errors made herein; nor...


Need help?
Do you have a question about the xCL AT-170 Series and is the answer not in the manual?
Questions and answers