Matrix COSEC PATH DCFE Quick Installation Manual
The compact door controller
Hide thumbs
Also See for COSEC PATH DCFE:
- Quick installation manual (14 pages) ,
- Quick installation manual (2 pages)
Advertisement
Table of Contents
- 1 Table of Contents
- 2 Know Your PATH Controller
- 3 COSEC PATH Variants
- 4 Things You will Need
- 5 COSEC PATH as a Door Controller
- 6 COSEC PATH as a Reader
- 7 Installation
- 8 Concealed Wiring
- 9 Non-Concealed Wiring
- 10 Connecting PATH with a Cosec Server
- 11 Assigning IP Address and Other Network Settings
- 12 Technical Specifications-Door Controller
- 13 Technical Specifications-Reader
- Download this manual
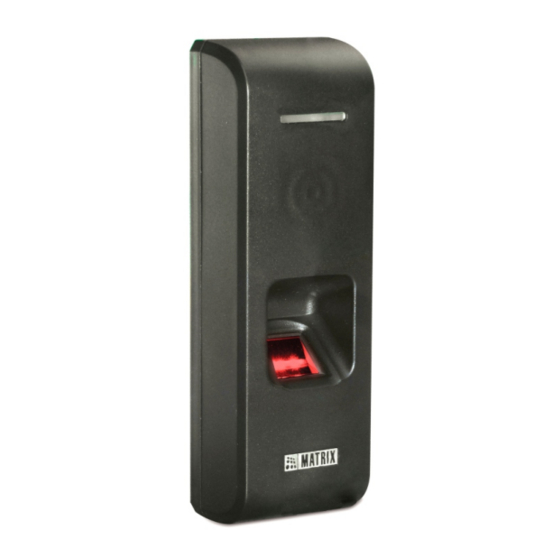
COSEC PATH
The Compact Door Controller
COSEC PATH DCFE/DCFM/DCFI
COSEC PATH RDFE/RDFM/RDFI
Quick Installation Guide
COSEC PATH DCCE/DCCM/DCCI
COSEC PATH RDCE/RDCM/RDCI
Safety Instructions
These instructions are intended to ensure that the user can
use the product correctly to avoid danger or property loss.
Cautions
Do not install the device:
Ÿ
On unstable surface.
Ÿ
Where ferromagnetic field or noise is induced.
Ÿ
Where static is created, such as desks made of plastics,
carpets.
Ÿ
Near volatile inflammable materials or inflammable goods such
as drapes.
Ÿ
Where volatile gas and/or inflammable gas is created.
WARNING
Ÿ
Installing and servicing should be done only by qualified
technician.
Ÿ
There are no user-serviceable parts inside.
Ÿ
Opening or removing the device cover may result in electric
shock or exposure to other hazards.
Ÿ
Use the device only for the purpose for which it was designed.
Advertisement
Table of Contents

Related Manuals for Matrix COSEC PATH DCFE


Summary of Contents for Matrix COSEC PATH DCFE
- Page 1 Ÿ Where volatile gas and/or inflammable gas is created. WARNING Ÿ Installing and servicing should be done only by qualified COSEC PATH DCFE/DCFM/DCFI COSEC PATH DCCE/DCCM/DCCI technician. COSEC PATH RDCE/RDCM/RDCI COSEC PATH RDFE/RDFM/RDFI Ÿ There are no user-serviceable parts inside.
-
Page 2: Table Of Contents
Please read this guide first for correct installation and retain it for future reference. The information in this guide is prevailing at the time of publication. However, Matrix Comsec reserves the right to make changes in product design and specifications without prior notice. -
Page 3: Things You Will Need
What your Package contains Things You will Need Ÿ A Power Hand Drill DCF /DCC Ÿ A wire Stripper Ÿ Ÿ COSEC PATH Unit 10 Pin Cable Assembly Ÿ A Screw Driver Set Ÿ Power Adapter 12VDC, 2 Amp Ÿ with Strip Connector Insulation Tap Ÿ... -
Page 4: Cosec Path As A Door Controller
COSEC PATH as a Door Controller (DCF /DCC ) DC Power Jack DC 12V Mounting Hook Power Supply To External Reader PWR GND Black +12VDC IN Red Using 12VDC of the Door 12V/24V +12V LOCK +12V LOCK Black +12V LOCK Red RS232 TX Grey RLY NC... -
Page 5: Cosec Path As A Reader
COSEC PATH as a Reader (RDF /RDC ) Black RS232 TX Grey Rs232 RX Pink Black TMPR NC/NO Light Blue W DATA1 White W DATA0 Green Blue HOLD BEEPER Yellow ALARM Violet STATUS Light Brown RED LED Brown GREEN LED Orange Black To Any COSEC Door Controller... -
Page 6: Installation
Installation Step 2 Path can be installed as a Concealed and Non-concealed wiring as described below. Fix Mounting Plate with supplied screw grips & screws as A. Concealed Wiring illustrated below. Step 1 Trace holes A, B & C and Drill along the markings as shown below. - Page 7 Step 4 When in place, tighten captive screw at bottom. DCFX 2. Align COSEC PATH on mounting plate and slide it downwards as shown below. DCFX F i x t h e M o u n t i n g H o o k h e r e DCCX DCCX...
-
Page 8: Non-Concealed Wiring
B. Non-Concealed Wiring Duct Box Step 1 Top Cover Fix Duct Box Base Plate on Installation Surface using supplied screws & screw grips as shown below. Duct Box Base Plate Mounting Plate DCFX DCFX Step 3 Step 2 Align the COSEC PATH on mounting plate and slide it downwards as shown on Next Page. - Page 9 Step 4 Connect cables and lead them through the bottom opening of Duct Box as shown below. DCFX Cables DCFX DCCX Cables Step 5 1. Fix the Top-Cover to Base Plate by sliding Mounting Hook of top- DCCX cover into the Mounting Slot of base plate. 2.
-
Page 10: Connecting Path With A Cosec Server
Connecting PATH with a COSEC Server As a Direct Door Ethernet Switch DCCX As a Panel Door DCFX COSEC Panel RS-485 COSEC Application Server Ethernet Switch Up to 255 Up to 32... -
Page 11: Assigning Ip Address And Other Network Settings
Assigning IP Address and other Network Settings Open a Web browser on your computer. Ÿ Enter the IP address of the PATH Controller, (default: Ÿ http://192.168.50.1), in the address bar of the browser and press the Enter key on your computer keyboard. The Login page appears* Ÿ... -
Page 12: Technical Specifications-Door Controller
Technical Specifications-Door Controller COSEC PATH DOOR Controller Variants SPECIFICATIONS DCFE DCCE DCFM DCCM DCCI DCFI COSEC PATH DOOR Controller Variants I N / O U T SPECIFICATIONS DCCE DCFM DCCM DCFI DCFE DCCI Exit Switch Port G E N E R A L Door Status Sense (2 State) User Capacity... -
Page 13: Technical Specifications-Reader
**The COSEC PATH V2 Door Controller is similar to the COSEC PATH V1 with COSEC PATH Reader Variants major improvements in its Processor and Communications. SPECIFICATIONS RDFE RDCE RDFM RDCM RDFI RDCI **The COSEC PATH V1 variants has the User Capacity of 10,000 and Event Storage capacity of 50,000. - Page 14 If you are unable to dispose-off the products or unable to locate e-waste recyclers, you may return the products to Matrix Return Material Authorization (RMA) department. MATRIX COMSEC Head Office 394-GIDC, Makarpura, Vadodara - 390010, India Ph: (+91)1800-258-7747 Email: Support@MatrixComSec.com...
Need help?
Do you have a question about the COSEC PATH DCFE and is the answer not in the manual?
Questions and answers