Advertisement
Quick Links
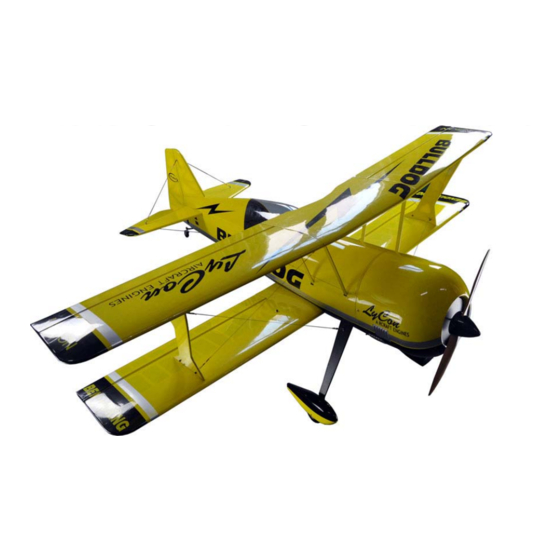
Wing Span:94.5"/2400mm; Radio:10 Channel /9 servos;
Wing Area:155sq.dm;
Length:87.6"/2225mm;
CAUTION : this plane is not a toy and should be kept away
children under 16 years of age! Before use , please carefully read
this manual.
●First-time builders should seek advice from people having building
experience in order to assemble the model correctly and to produce its
performance to full extent .
●Assemble this kit only in places out of children's reach!
●Take enough safety percautions prior to operating this model.
You are responsible for this model's assembly and safe operation!
●Always keep this instruction manual ready at hand for quick
reference,even after completing the assembly.
Engine:100cc;
Advertisement

Related Manuals for Flight Model F126 PITTS S12 94.5"


Summary of Contents for Flight Model F126 PITTS S12 94.5"
- Page 1 Wing Span:94.5"/2400mm; Radio:10 Channel /9 servos; Wing Area:155sq.dm; Engine:100cc; Length:87.6"/2225mm; CAUTION : this plane is not a toy and should be kept away children under 16 years of age! Before use , please carefully read this manual. ●First-time builders should seek advice from people having building experience in order to assemble the model correctly and to produce its performance to full extent .
-
Page 2: Wing Assembly
All the parts together WING ASSEMBLY Gather the top wing,aileron and hinges. Top wing installation is complete Using the screw... - Page 3 Connect the aileron and the lower wing by hinges. Install the servo.as shown Using the screw Main Landing Gear and Tail Wheel Unit Gather the parts for the main landing gear.
- Page 4 Install the wheel as shown. Install the wheel cover, and fix it up to landing gear with screw. Fix up the landing gear on the fuselage with screws.
-
Page 5: Stabilizer Installation
Install the tail landing gear Use screws to fix up the fuselage bottom. Stabilizer Installation Use a pencil to mark the line along with fuselage. Remove the film of the stabilizer on both side. Use AB glue to glue it into the fuselage. - Page 6 Finished photo Use AB glue to fixed the hinges of elevator and rudder Install the elevator servo as shown.Using the screw...
- Page 7 Install the rudder servo There are two installation methods All wing strut parts together Connect the wing strut to the fuselage and use screws to fix it up...
- Page 8 Finished photo Gather the parts for the lower wing Use screws to fix up the lower wing...
- Page 9 Fixed the lower wing and fuselage with screws outer strut parts,as shown 翼撑 的配件总和 wing strut screws...
- Page 10 Finished photo Gather the parts for the top wing Connect the wing centre section,as shown...
- Page 11 Finished photo Use flat head screw to lock the cowl Use PWM screw to fixed it 用PWM 固定...
- Page 12 Install the canopy into the fuselage as shown Location in fuselage bottom of fixing screws fuselage bottom screws Install wires into the fin and stabilizer.
- Page 13 Bottom steel wire installation as shown. Main wing steel wire installation as shown. CG & CONTROL THROWS...
- Page 14 THE FINISHED PHOTO Another scheme for choice.Flight Model CO.,LTD ADD:No.10,Fu Ning Street,Xian Xi Industrial,Chang An Town,Dong Guan City,Guang Dong Province,China Tel: +86-769-85070618 Fax: +86-769-85091868 E-mail:info@flight-model.com Web: http://www.flight-model.com/ Http://flight-model.preview.alibaba.com/...
Need help?
Do you have a question about the F126 PITTS S12 94.5" and is the answer not in the manual?
Questions and answers