Table of Contents
Advertisement
Quick Links
Powerful Economical Made in the USA
TM
1.800.732.4065
Oneida Air Systems, Inc. was founded in 1993 to bring cost effective, state-of-the-art
dust collection systems and material handling ductwork to woodworking shops. OAS
designs and manufactures industrial grade dust collection systems that create a prac-
tical, safe and healthy work place environment.
U.S. Pat. #
8,377,160
Filter Flame Guard
Arrestor - U.S.
Pat. # 8,496,719
Appearance may vary slightly.
TM
TM
1001 W. Fayette St., Syracuse, NY 13204
TM
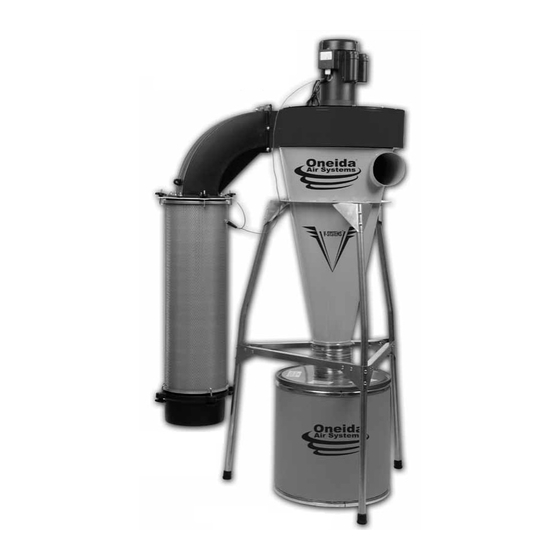
V-SYSTEMS
TM
Oneida Air Systems is #1
at Collecting Dust!
In WOOD Magazine's (May 2013)
Air Quality Test the Oneida V-Sys-
tem dust collector was the best at
keeping airborn dust levels lowest
in the wood shop.
V-Systems 3000
"With the smoothest-running
impeller, best overall fit and
finish, and superior dust fil-
tration, this 3-hp cyclone was
the cream of the crop. Another
plus: it's the second quietest,
below the threshold of poten-
tial hearing loss (85 dB)."
WOOD® Magazine - May 2013
www.oneida-air.com
ZBM000101
9_11
Advertisement
Table of Contents


Need help?
Do you have a question about the V-1500 1.5hp and is the answer not in the manual?
Questions and answers