
Related Manuals for Moxa Technologies ioThinx 4500 45ML-5401


Summary of Contents for Moxa Technologies ioThinx 4500 45ML-5401
- Page 1 ioThinx 4500 (45ML) Module Series User’s Manual Version 1.0, July 2020 www.moxa.com/product © 2020 Moxa Inc. All rights reserved.
- Page 2 ioThinx 4500 (45ML) Module Series User’s Manual The software described in this manual is furnished under a license agreement and may be used only in accordance with the terms of that agreement. Copyright Notice © 2020 Moxa Inc. All rights reserved. Trademarks The MOXA logo is a registered trademark of Moxa Inc.
- Page 3 Safety Symbols DANGER Indicates a high-risk, imminently hazardous situation, which could result in death or serious injury. WARNING Indicates a moderate-risk, potentially hazardous situation, which may result in moderate to serious injury. CAUTION Indicates a low-risk, potentially hazardous situation, which may result in minor or moderate injury. NOTE Indicates a potential malfunction, which will not result in damage to property.
-
Page 4: Table Of Contents
Table of Contents Preface .............................. 1-1 Revision History ..........................1-2 Relevant Models ..........................1-2 Package Contents ..........................1-2 How to Use This Device ........................1-2 Safety Precautions ..........................1-2 Additional Resources ........................... 1-3 Product Overview ..........................2-1 Technical Data ........................... 2-2 Common Specifications ........................ -
Page 5: Preface
Preface In this chapter, we explain the scope of and how to use this document. The following topics are covered in this chapter: Revision History Relevant Models Package Contents How to Use This Device Safety Precautions ... -
Page 6: Revision History
ioThinx 4500 (45ML) Module Series Preface Revision History Version Change Date v1.0 First release. 2020-07-06 Relevant Models This document applies to the following 45ML modules: Model Name Features Operating Temp. 45ML-5401 4 serial ports (RS-232/422/485 3-in-1) -20 to 60°C 45ML-5401-T 4 serial ports (RS-232/422/485 3-in-1) -40 to 75°C Package Contents... -
Page 7: Additional Resources
ioThinx 4500 (45ML) Module Series Preface WARNING Devices discussed in this document are sensitive to electrostatic discharge, which can cause internal damage to and/or affect normal operation of the devices. Observe the following precautions when handling a device: • Before touching the device, touch a grounded object with your finger to discharge static electricity. •... -
Page 8: Product Overview
Product Overview In this chapter, we give an overview of each of the 45ML modules. The following topics are covered in this chapter: Technical Data Common Specifications 45ML-5401 Specifications Appearance Front View Dimensions LED Indicators... -
Page 9: Technical Data
ioThinx 4500 (45ML) Module Series Product Overview Technical Data Common Specifications Physical Characteristics Connector: Removable terminal block Wiring: 18 to 24 AWG Dimensions: 26.4 x 99 x 65.5 mm (1.04 x 3.90 x 2.58 in) Installation: DIN-rail mounting Environmental Limits Operating Temperature: Standard Models: -20 to 60°C (-4 to 140°F) Wide Temp. -
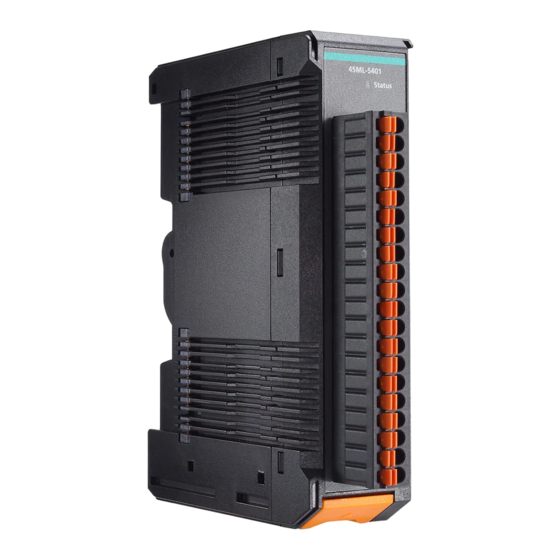
Page 10: Appearance
ioThinx 4500 (45ML) Module Series Product Overview Appearance Front View Dimensions Unit: mm (inch) -
Page 11: Led Indicators
ioThinx 4500 (45ML) Module Series Product Overview LED Indicators Label Usage No. of LEDs LED Color Description Status Status Green Steady on: Module ready Slow Blinking: Booting up Steady on: Module error Slow Blinking: Upgrading firmware Power off Port 1, Port 2, Serial connection 2 of each Green... -
Page 12: Hardware Installation
Hardware Installation In this chapter, we describe how to install the 45ML modules. The following topics are covered in this chapter: Module Specifications Terminal Blocks 45ML-5401 Mounting the Module Installing the Module on the DIN Rail ... -
Page 13: Module Specifications
ioThinx 4500 (45ML) Module Series Hardware Installation Module Specifications Terminal Blocks Wire range: 18 to 24 AWG Wire strip length: 9 to 10 mm Unit: mm (in.) 45ML-5401 Pin Assignment The following tables shows the 45ML-5401 pin assignments. RS-232 RS-422 RS-485 RS-232 RS-422... - Page 14 ioThinx 4500 (45ML) Module Series Hardware Installation Setting Up Terminators for a 2-wire RS-485 Network Setting Up Terminators for an RS-422 Network...
-
Page 15: Mounting The Module
ioThinx 4500 (45ML) Module Series Hardware Installation Mounting the Module Take the following steps to mount the device on or unmount the device from a DIN rail. DANGER Never install the device when the power source is switched on! Installing the Module on the DIN Rail Step 1: Align the I/O module side by side with the head/CPU module, making sure that the upper and lower rails are hooked together. -
Page 16: Unmounting The I/O Module From The Din Rail
ioThinx 4500 (45ML) Module Series Hardware Installation INFORMATION With the I/O module inserted in place, the internal bus will establish a connection through the adjacent module(s). Unmounting the I/O Module from the DIN Rail Step 1: Use your finger to lift the release tab on the lower part of the module. Step 2: Push the top of the release tab to latch it, and then pull the module out.
Need help?
Do you have a question about the ioThinx 4500 45ML-5401 and is the answer not in the manual?
Questions and answers