Manhattan Comfort Hampton Quick Start Manual
Hide thumbs
Also See for Hampton:
- Manual (11 pages) ,
- Quick start manual (8 pages) ,
- Technical information (7 pages)

Related Manuals for Manhattan Comfort Hampton


Summary of Contents for Manhattan Comfort Hampton
- Page 1 888-230-2225 help@manhattancomfort.com 319 RIDGE RD, DAYTON, NJ08810, NEW JERSEY - UNITED STATES Hampton trio floating wall shelves...
-
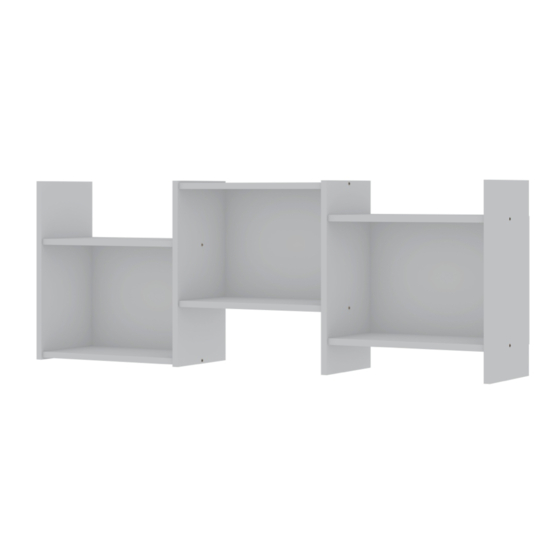
Page 2: Technical Information
Technical information Maximum supported weight Dimension: W: 49.04" H: 17.72" D: 8.66" ASSEMBLY VIDEO Tools needed (not included) - Page 3 FRONT VIEW REAR VIEW PART DESCRIPTION QUANTITY LEFT SIDE SHELF LEFT PARTITION RIGHT PARTITION RIGHT SIDE BACK COVER HARDWARE STEP 1 - Insert the hardware (G) in the parts (02).
- Page 4 STEP 2 - Connect the parts (01, 02, 03) with the hardware (A). STEP 3 - Connect the parts (02) onto the parts (03, 04) with the hardware (A). STEP 4 - Connect the parts (02) onto the parts (04, 05) with the hardware (A).
- Page 5 STEP 5 - Connect the parts (06) with the hardware (F+C). STEP 6 Connecting the niche on the wall Position the hardware (B) onto the part (02) as shown in the figure. You will need a pencil to mark where you should drill the wall with a 3/8"...
Need help?
Do you have a question about the Hampton and is the answer not in the manual?
Questions and answers