Advertisement
Installing the Solid-State Disk and CFast Card
Step 1 Turn off the system.
Step 2 Loosen the screws as shown below, and pull out the SSD
tray from the system. Be sure to unplug the internal power
cable before pulling it out.
Step 3 Fasten the SSD screws (marked by the red arrows below)
to fix the SSD. Then screw the SSD firmly to the tray
(marked by the yellow circles) and install the tray back to
the system.
Step 4
Loosen the screws to open the CFast door and install the
SIM and CFast card, as illustrated below. Then screw the
CFast door back to the system.
4
©
Copyright 2020 Axiomtek Co., Ltd.
Version A1 July 2020
Printed in Taiwan
tBOX510-518-FL-24-110MRDC
Quick Installation Guide
Packing List
Standard
Optional accessories
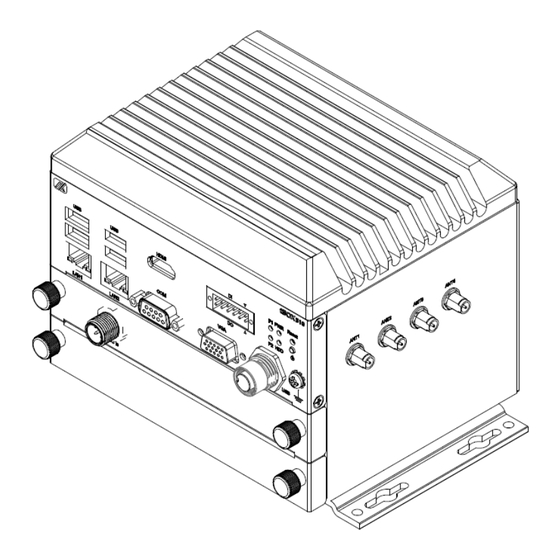
tBOX510-518-FL-24-110MRDC
system unit x 1
Terminal block (6x2 pin) x 1
Screws pack x 1
Wall mount bracket kit x 1
SATA tray x 1
DRAM thermal pad x 1
Note: Please contact your local distributor if any of the above-mentioned
items is missing or damaged. DO NOT apply power to the board if there
is any damaged component.
©
Copyright 2020 Axiomtek Co., Ltd.
Version A1 July 2020
Printed in Taiwan
SATA drive (HDD or SSD)
CFast drive
Wi-Fi / Bluetooth module
Communication (3G/4G/GPS...etc)
modules
Din-Rail kit
Anti-vibration kit
M12 LAN cable
M12 power cable
M12 USB cable
1
Advertisement
Table of Contents

Summary of Contents for AXIOMTEK Kaby Lake tBOX510-518-FL-24-110MRDC
- Page 1 Loosen the screws to open the CFast door and install the SIM and CFast card, as illustrated below. Then screw the CFast door back to the system. © © Copyright 2020 Axiomtek Co., Ltd. Copyright 2020 Axiomtek Co., Ltd. Version A1 July 2020 Version A1 July 2020 Printed in Taiwan...
- Page 2 Step 5 Put the cover back onto the system, and fasten all screws tightly to close the chassis. © © Copyright 2020 Axiomtek Co., Ltd. Copyright 2020 Axiomtek Co., Ltd. Version A1 July 2020 Version A1 July 2020 Printed in Taiwan...


Need help?
Do you have a question about the Kaby Lake tBOX510-518-FL-24-110MRDC and is the answer not in the manual?
Questions and answers