Spypoint CELL-LINK Quick Start Manual
Hide thumbs
Also See for CELL-LINK:
- Quick start manual (92 pages) ,
- User manual (24 pages) ,
- User manual
Advertisement
Quick Links
Advertisement

Related Manuals for Spypoint CELL-LINK


Summary of Contents for Spypoint CELL-LINK
- Page 1 QUICK START GUIDE CELL-LINK v.1.6...
- Page 2 IN THE BOX 1x CELL-LINK cellular adapter 1x Micro SIM card (preactivated and inserted into the CELL-LINK) 1x Cable with SD adapter (#CL-CBL) 1x Antenna 1x Mounting strap 1x Quick Start Guide NOTE Memory card and batteries are sold separately.
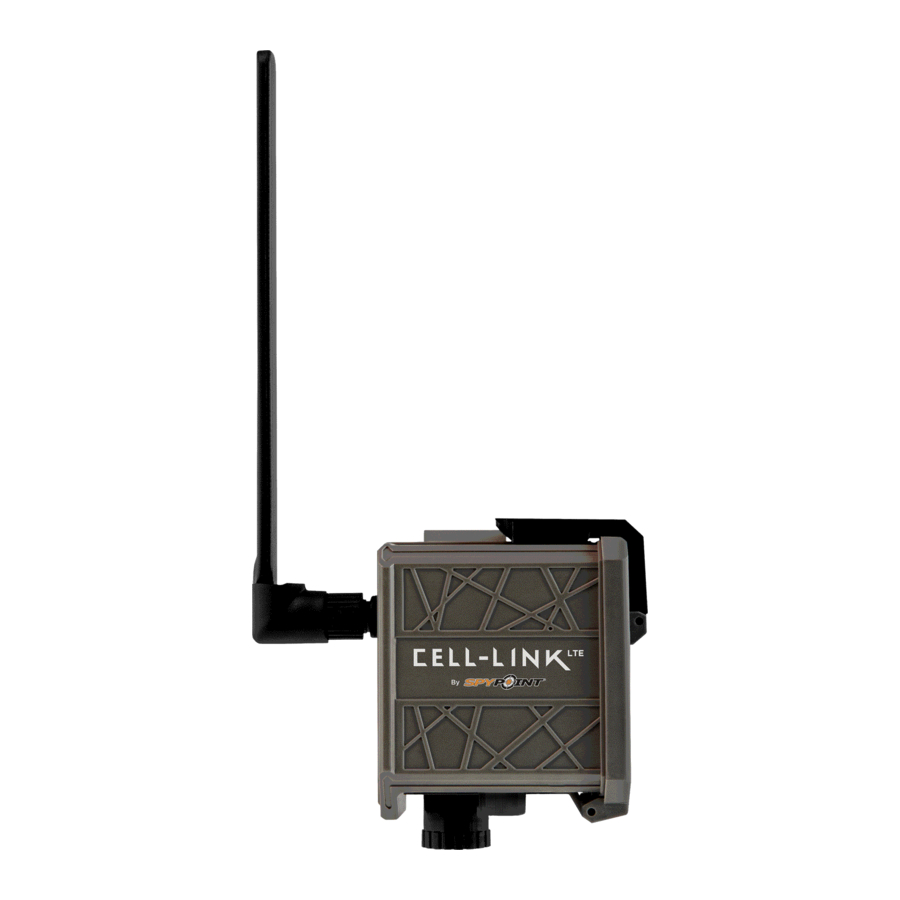
- Page 4 PREPARATION ATTACH THE ANTENNA When buying the CELL-LINK, the antenna comes in the box and is detached from the device. To attach it, follow the next steps: 1. Remove the cap which covers the antenna connector of the CELL-LINK. 2. Screw the antenna in the connector by turning it clockwise.
- Page 5 • Place the battery holder back into the battery compartment, an audible click should be heard. FORMATTING YOUR MICROSD CARD Before inserting the microSD card into your CELL-LINK, you must reformat it using a computer to ensure proper functionality. Go to our website: www.spypoint.com, if you need help formating your microSD card.
- Page 6 • The card is inserted correctly when a click is heard. ACTIVATING YOUR CELL-LINK You have to activate your CELL-LINK before you can use it. To do so, you will need the activation code. FINDING THE ACTIVATION CODE The activation code is located inside the CELL-LINK’s battery compartment door.
- Page 7 4. Once completed, a confirmation email with instructions on how to finalize the creation of your account will be sent to you. 5. Log in to the SPYPOINT app using your email address and password. SPYPOINT.COM WEBSITE If you choose to use our SPYPOINT website to activate your device, follow these steps: 1.
- Page 8 3. Once completed, a confirmation email with instructions on how to finalize the creation of your account will be sent to you. 4. On the SPYPOINT website, log in to your account using your email address and password. CHOOSING A PHOTO TRANSMISSION PLAN FOR YOUR CAMERA Go to www.spypoint.com/en/spypoint-experience/plans...
- Page 9 NOTE The CELL-LINK doesn’t support video transfers. However, if you configure your camera to take a picture before each of your videos, that picture will be sent to you via the CELL-LINK. STARTING YOUR CELL-LINK BEFORE TURNING YOUR CAMERA ON Refer to the image below to familiarize yourself with the meaning of the STATUS and SIGNAL LEDS.
- Page 10 STARTING YOUR CELL-LINK STARTING THE CELL-LINK All the lights turn on for 2 possibilities: three seconds. The 1 red signal LED flashes = low batteries. The STATUS light stays on + 5 LED flashing = searching for cellular signal. This can...
- Page 11 The STATUS light is flashing turned on and X LED are fixed = and fixed. indicates the strength of the signal. Good to excellent (1-3) signal Weak signal Insufficient signal The process lasts 30 s, after which the CELL-LINK is operational.
- Page 12 INSTALLING AND CONNECTING THE CELL-LINK To connect the SPYPOINT CELL-LINK to your trail camera from any brand, follow these steps. We recommend that you watch our video which will guide you through the different installation steps. Go to www.spypoint.com/en/support. 1. Open your camera door.
- Page 13 (the cable with SD adapter should now be placed between the tree and the camera.) 7. Mount the CELL-LINK above the camera so that it sits closely to the extemity of the cable with SD adapter. 8. Plug the extremity of the cable with SD adapter to the CELL-LINK and screw it on tightly.
- Page 14 • Make a movement in front of your camera so that it takes a photo. • The STATUS LED should turn green, indicating that the CELL-LINK is communicating with the cellular network. • Wait 15 minutes at most and you should then be able to view...
- Page 15 FREQUENCY FREQUENCY RANGE: 800/850/900/1900/2100 MHz MAXIMUM TRANSMISSION POWER: FREQUENCY MAX. GSM850 33 DBM ± 2 DB EGSM900 33 DBM ± 2 DB DCS1800 30 DBM ± 2 DB PCS1900 30 DBM ± 2 DB GSM850 (8-PSK) 27 DBM ± 3 DB EGSM900 (8-PSK) 27 DBM ±...
- Page 16 DISPOSAL ONLY USE ORIGINAL SPARE PARTS AND ACCESSORIES. If, one day, your camera has been used so intensively that it has to be replaced, or if you no longer have any use for it, you are obliged to dispose of it at a recycling center. Information on return points for your electrical appliance can be obtained from your local waste disposal company or from your local administrative offices.
-
Page 17: Warranty
2-year warranty. We strive to provide our customers with a positive experience and an outstanding service. For a complete list of specifications, features, and settings, visit our CELL-LINK page at www.spypoint.com FAQ, User Manual & latest firmware available at www.spypoint.com/support Live chat support at www.spypoint.com...
Need help?
Do you have a question about the CELL-LINK and is the answer not in the manual?
Questions and answers