Table of Contents
Advertisement
Quick Links
Download this manual
See also:
User Manual
Advertisement
Table of Contents

Related Manuals for Spypoint LINK-S


Summary of Contents for Spypoint LINK-S
-
Page 1: Quick Start Guide
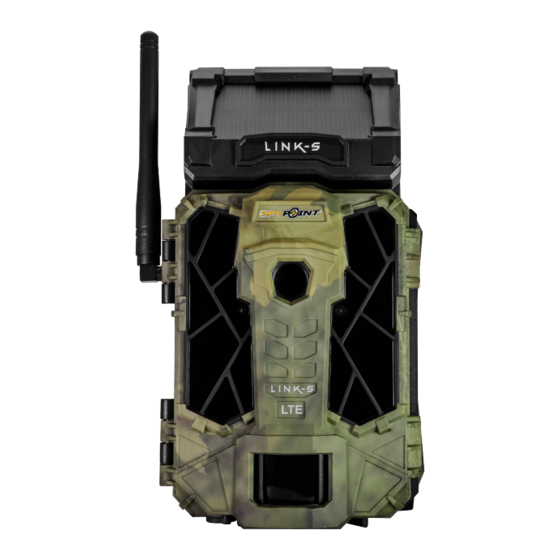
LINK-S LINK-S-V (US ONLY) QUICK START GUIDE v. 1 . 3... - Page 2 1x Quick start guide 1x 12V-USB cable 1x Micro SIM card is preactivated and inserted in the camera Note: Memory card and batteries are sold separately. User manual, latest firmware & FAQ available at: www.support.spypoint.com Components Antenna Battery case & Solar pannel...
- Page 3 Getting started REMOVE THE CAMERA FROM THE MOUNTING BRACKET INSERT THE MEMORY CARD • Push the tab to release the camera from the mounting bracket. • Remove the camera. CHARGING THE INTERNAL BATTERY Charge the camera for 24-48 hours before use. While charging, make sure the camera is turned off and the solar panel is facing Insert an SD/SDHC memory card (up to 32 GB capacity) in the card down so it does not interfere with the USB charging process.
- Page 4 Let you see your pictures by date, month and years. Also let you share or download the photo. The SPYPOINT LINK App lets you connect and control your camera remotely using a smartphone or tablet. Features include viewing Note: If you have more than one camera, it will let you select your camera status, pictures, full camera control and more.
- Page 5 ADVANCED OPTIONS Note that the signal bars on a LINK-S might not be equal to your illumination modes comparison* (Night modes) other cellular devices as there’s no industry standard and practice to Night mode: Allows the user to set the best option for photos.
- Page 6 To get brighter pictures at night , you should have elements in the background to reflect back the IR flash to the camera. Sit back & relax as this SPYPOINT trail cameras is covered by the “ Know you’re covered ” 2 year warranty. We strive on offering all customers a positive, user IMPORTANT friendly experience that will have a lasting impression.
Need help?
Do you have a question about the LINK-S and is the answer not in the manual?
Questions and answers