Spypoint LINK-EVO Quick Start Manual
Hide thumbs
Also See for LINK-EVO:
- Quick start manuals (2 pages) ,
- Start manual (17 pages) ,
- Start manual (40 pages)
Table of Contents
Advertisement
Quick Links
Advertisement
Table of Contents

Related Manuals for Spypoint LINK-EVO


Summary of Contents for Spypoint LINK-EVO
-
Page 1: Quick Start Guide
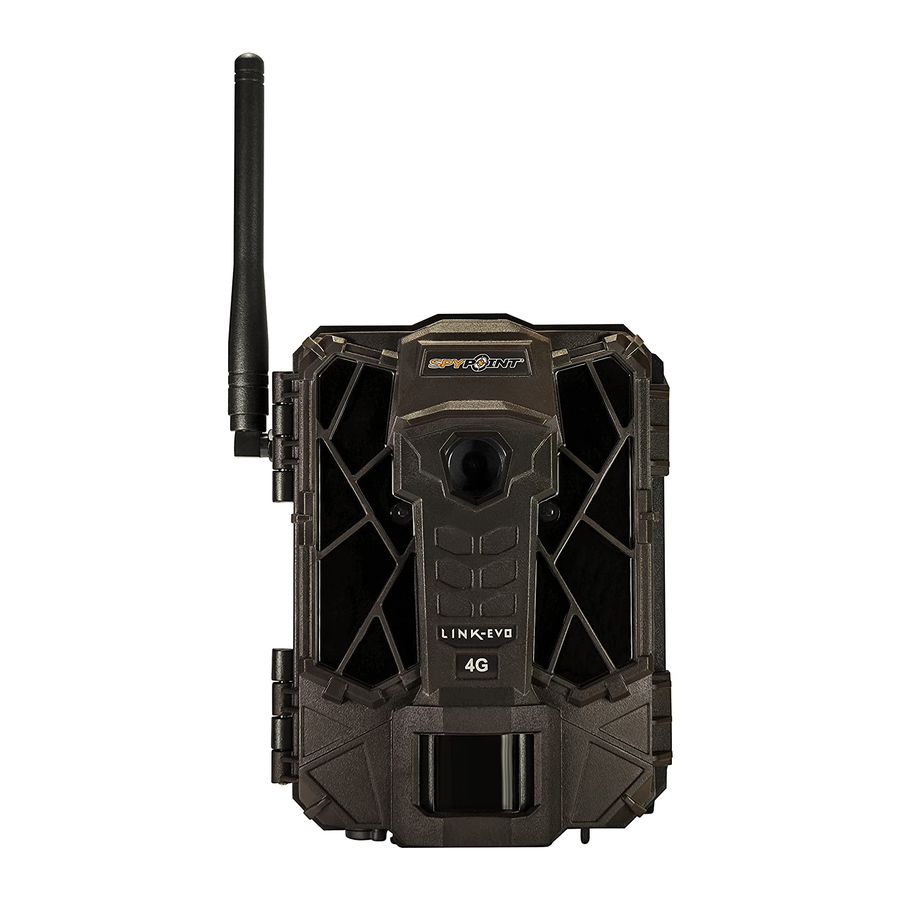
LINK-EVO LINK-EVO-V (US ONLY) & COMPARABLES* QUICK START GUIDE v. 1 . . 7... - Page 2 1x Installation strap 1x Quick start guide 1x Micro SIM card is preactivated and inserted in the camera Note: Memory card and batteries are sold separately. User manual, latest firmware & FAQ available at: www.support.spypoint.com Components Antenna Slot for installation strap LEDs...
- Page 4 • Push the tab to release the camera from the mounting bracket. • Remove the camera. FINDING THE SIM ID The SIM ID number can be found in the battery case. You will need this number to complete the registration of the LINK-EVO camera and connect to the application.
-
Page 5: Insert The Memory Card
CHOOSE A POWER SOURCE DC 12V Lithium or Alkaline batteries 12V power source Be sure to insert the AA batteries according to the polarity indications (+) and (-). To ensure maximum performance of the camera and prevent battery leak, we recommend the use of new batteries. Use ONLY Lithium batteries or ONLY Alkaline batteries. -
Page 6: Getting Started
GETTING STARTED INSTALL THE FREE SPYPOINT LINK APP The SPYPOINT LINK App lets you connect and control your camera remotely using a smartphone or tablet. Features include viewing your camera status, pictures, full camera control and more. Note: If you don’t have a smartphone or a tablet, please contact our customer service to activate your camera. - Page 7 Settings Modify the mode of the picture settings, the synchronisation frequency & all others Photos Let you see your pictures by date, month and years. Also let you share or download the photo. Note: If you have more than one camera, it will let you select the camera name with the white bar with a scrolling menu at the top of the screen SETTING THE APP...
- Page 8 TRANSFER SETTINGS First transfer time: Allows the user to choose at what time of the day the camera communicates for the first time. Transfer frequency: Allows the user to choose the number of synchronizations that the camera performs daily. ADVANCED OPTIONS illumination modes comparison* (Night modes) Night mode:...
-
Page 9: Start The Camera
Get outside or near a window to maximize signal strength and restart the camera. This operation might need to be repeated as the SPYPOINT SIM card and services are powered by mul- tiple providers. The network modem will manoeuvre to ensure stron- gest signal strength by searching for the best tower available (cell network). -
Page 10: Installation Of The Camera
FREE monthly plan. It will allow you to transmit/receive up to 100 photos per month with a photo his- tory of the last 7 days. WWW.SPYPOINT.COM/PLANS... - Page 11 THANK YOU for choosing Sit back & relax as this SPYPOINT trail cameras is covered by the “ Know you’re covered ” 2 year warranty. We strive on offering all customers a positive, user friendly experience that will have a lasting impression.
Need help?
Do you have a question about the LINK-EVO and is the answer not in the manual?
Questions and answers