Advertisement
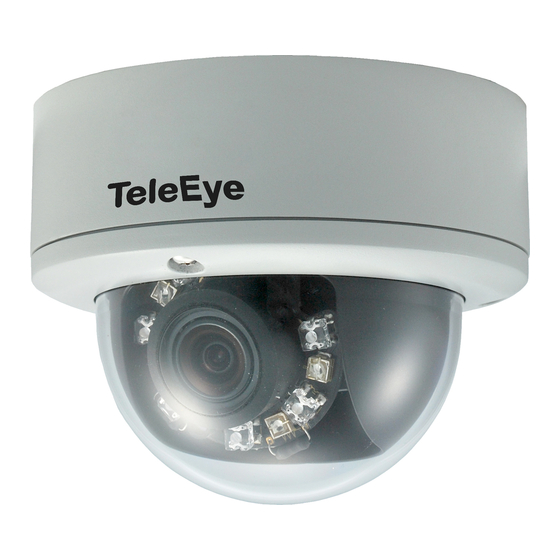
This Quick Start Guide will guide you how to install and configure TeleEye MX833-HD network camera for remote video
monitoring.
Camera Installation
Step 1:
After mounting the camera on the wall or ceiling, connect the power cable with a 12VDC supply and connect
the Ethernet cable to the LAN adapter as the follows:
Step 2:
Run sureSIGHT or Web browser to start the remote video monitoring in order to adjust the camera.
[Reference] Please refer to the following sections for understand how to start video monitoring.
Step 3:
After removing the camera's cover, adjust the direction (pan/tilt/rotation) of the camera (the left diagram
below), the focal and the focus by sliding the sticks at the side of the lens (the right diagram below).
Rotation
Tilt
Pan
Step 4:
Tighten the screws to fix the direction of the camera module. Finally, close the camera's cover.
Quick Start Guide
TeleEye
MX833-HD Network Camera
1
DC12V IN
Ethernet Cable
Alarm cable
Adjust focus
Adjust focal
Advertisement
Table of Contents

Summary of Contents for TeleEye MX833-HD
- Page 1 Quick Start Guide TeleEye MX833-HD Network Camera This Quick Start Guide will guide you how to install and configure TeleEye MX833-HD network camera for remote video monitoring. Camera Installation Step 1: After mounting the camera on the wall or ceiling, connect the power cable with a 12VDC supply and connect...
- Page 2 Step 2: From the IP setup utility, match your own MX833-HD by its unique serial number. You can change its IP/port, etc. on the right side of the window. Press [Apply] button when you finished. [Note] The default password is “000000”.
- Page 3 Step 3: Click the [Connect] button to connect the video stream. And the video stream will be displayed on the browser as below: Live Monitoring with sureSIGHT After installing sureSIGHT and turn on the IP camera, select the “Run ” from the windows sureSIGHT Lite Step 1: start menu.
- Page 4 Step 3: Click the [Quick connect] button on the main toolbar to connect to the IP camera. Step 4: Select the target camera by its serial number or site name from the list table on the left. Step 5: Click the button to confirm all the site information.


Need help?
Do you have a question about the MX833-HD and is the answer not in the manual?
Questions and answers