Advertisement
Quick Links
Advertisement

Summary of Contents for Inseego Wavemaker FW2010
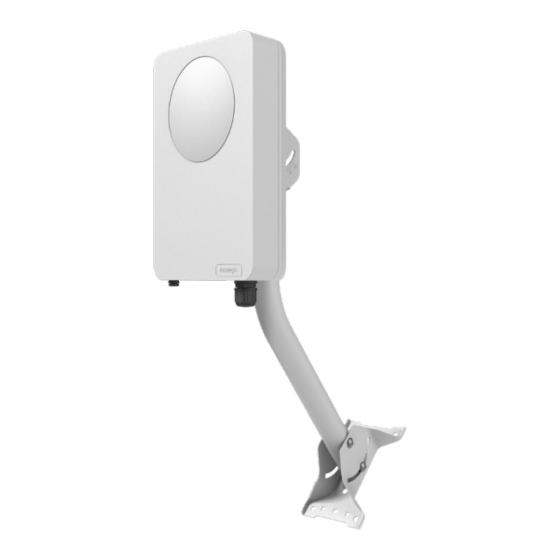
- Page 1 Inseego Wavemaker 5G Outdoor Modem FW2010 Installation Guide...
-
Page 2: Preparing To Install
Tools and materials • Installation handle (optional) • Ladder • Installation PoE* cable (RJ45 fittings attached) • Smartphone/tablet for Inseego Mobile App • 4FF nano SIM card (may come pre-installed) • Phillips-head screwdriver • M6 4mm hex driver • Drill •... - Page 3 Pre-Installation 1. If there is not a pre-installed SIM, unscrew the protective shield over the SIM slots using a Phillips-head screwdriver. NOTE: This device supports only Nano SIM cards. 2. Use the included SIM tool to insert a Nano 4FF SIM card into the SIM 1 slot. CAUTION! Do not insert SIM card into the SIM 2 slot - it will not work.
- Page 4 PoE injector PoE port. Plug the PoE injector into an earthed AC outlet. Location Survey 1. Scan the QR code to download the latest Inseego Mobile App from App Store or Google Play, or visit the link below to download the App: https://inseego.com/inseego-connect- get-app 2.
- Page 5 Installing the FW2010 Installing the PoE cable 1. Remove the installation PoE cable used for the location survey from the device using needle nose pliers or tweezers. 2. Remove the rubber pin from the PoE gland bushing and assemble the gland cap, putting the bushing inside the spacer and into the cap.
- Page 6 Attaching the device to the device elevation bracket 1. Remove the installation handle from the device. 2. Attach a ground wire to the back of the device with the ground screw. M5 10mm ground screw / washer 3. Place the M6 external locking washers on the M6 21mm bracket mount bolts.
- Page 7 Installing the mount The mount is adjustable and can be mounted on vertical, horizontal, and slanted exterior surfaces. The mount is attached using the four roof mount lag screw in the corners of the base. Roof mount lag screw 1. Pre-drill holes in the surveyed location. 2.
- Page 8 2. Attach a RJ45 connector fitting and insert the cable into the PoE port on the PoE power injector. 3. Take a racheting socket wrench and device/ smartphone with the Inseego Mobile App to the FW2010 location. 4. Use the Inseego Mobile App and the...
-
Page 9: Testing The Connection
Testing the connection Checking the LED on the device The LED is located in the SIM compartment and is visible through the protective shield. Multifunction LED LED Color Operation Meaning Blue Solid Strong 5G connection (3 – 5 bars) Blinking Weak 5G connection (1 –... - Page 10 Support and more More information To access a User Guide, go to: www.inseego.com/support-documentation/ Customer service and troubleshooting Please contact your service provider. 90029656 © 2021 Inseego Corp. All Rights Reserved...


Need help?
Do you have a question about the Wavemaker FW2010 and is the answer not in the manual?
Questions and answers