Table of Contents

Subscribe to Our Youtube Channel
Related Manuals for Sunny Health & Fitness SF-B0419


Summary of Contents for Sunny Health & Fitness SF-B0419
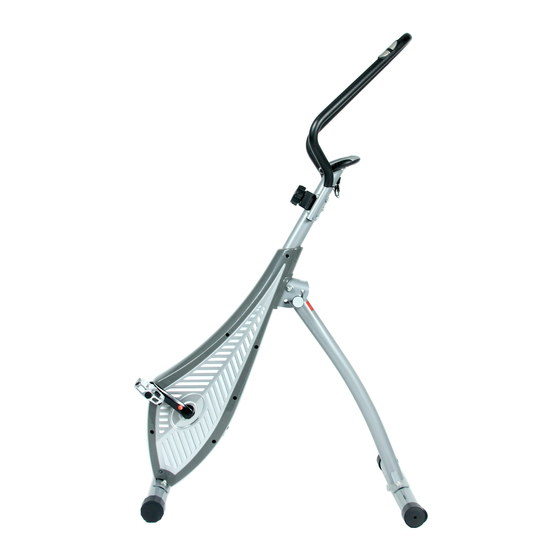
- Page 1 MAGNETIC CYCLING TRAINER SF-B0419 USER MANUAL IMPORTANT: Read all instructions carefully before using this product. Retain owner’s manual for future reference. For customer service, please contact: support@sunnyhealthfitness.com...
-
Page 2: Important Safety Information
IMPORTANT SAFETY INFORMATION We thank you for choosing our product. To ensure your safety and health, please use this equipment correctly. It is important to read this entire manual before assembling and using the equipment. Safe and effective use can only be assured if the equipment is assembled, maintained, and used properly. -
Page 3: Exploded Drawing
EXPLODED DRAWING... -
Page 4: Parts List
PARTS LIST PART PART DESCRIPTION DESCRIPTION Cap Nut Handlebar Washer Front Screw Stabilizer Bolt Washer Left Pedal Meter Nut (for Left Screw Pedal) Left Crank Tension Knob Right Pedal Nut (for Right Pedal) Right Crank Main Frame Rear Stabilizer Adjustment Knob Allen Cover... - Page 5 ASSEMBLY INSTRUCTIONS STEP 1: Loosen and remove the Adjustment Knob (No. 21) and unfold the Main Frame (No. 8). Re-insert and tighten the Adjustment Knob (No. 21). Attach the Front and Rear Stabilizers (No. 12 and No. 20) to the Main Frame (No. 8) using 4 Bolts (No. 13), 4 Washers (No.
- Page 6 ASSEMBLY INSTRUCTIONS STEP 2: Attach the Handlebar (No. 1) to the Main Frame (No. 8) using 4 Screws (No. 2), 4 Washers (No. 3) and 4 Nuts (No. 6). Tighten using Allen Wrench (A) and Spanner (B). STEP 3: Insert the Meter Wires (No. 4-1 and 4-2) through the hole of the meter bracket located along the top end of the Main Frame (No.
- Page 7 ASSEMBLY INSTRUCTIONS STEP 4: Connect the Left and Right Pedals (No. 14 and No. 17) onto the Left and Right Crank Arms (No. 16 and No. 19). Before you begin, immobilize the crank arms by turning the tension knob all the way to the right. Left Pedal: Align the Left Pedal (No.
-
Page 8: Exercise Monitor
EXERCISE MONITOR Our computerized display console on the Sunny Magnetic Cycling Trainer allows the user to tailor a personalized workout by monitoring their progress. During a workout, the display console will alternately and repeatedly display your Time, Speed, Distance, Odometer, and Pulse. With our easy-to-use console, the user can efficiently track their fitness improvements from one workout to the next. -
Page 9: Operation And Maintenance
OPERATION & MAINTENANCE 1. Please read all instructions before assembling the equipment. During assembling and use, please make sure to follow all instructions carefully as any improper techniques of use or assembly may result in injury or damage to the equipment. 2. -
Page 10: Folding Instructions
FOLDING INSTRUCTIONS To fold the bike, remove the Adjustment Knob (No. 21) from the Main Frame (No. 8) and push the front and rear stabilizer bars inward towards each other until the bike is completely folded. Re-insert the Adjustment Knob (No. 21) to secure the bike in the folded position.
Need help?
Do you have a question about the SF-B0419 and is the answer not in the manual?
Questions and answers