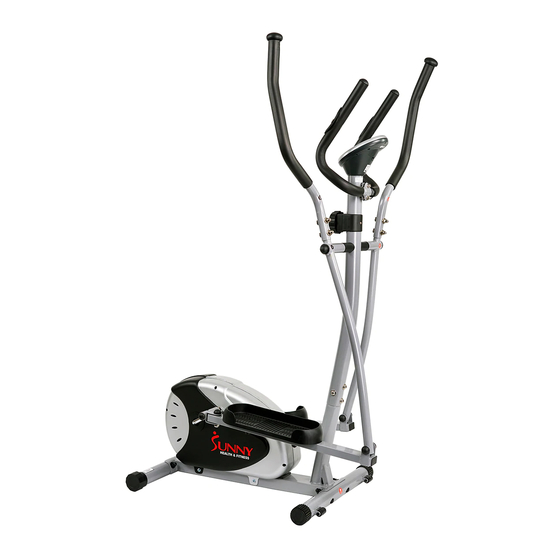
Sunny Health & Fitness SF-E905 Owner's Manual
Magnetic elliptical trainer
Hide thumbs
Also See for SF-E905:
- User manual (49 pages) ,
- User manual (18 pages) ,
- User manual (11 pages)
Advertisement
MAGNETIC ELLIPTICAL TRAINER
SF-E905
OWNER'S MANUAL
IMPORTANT!
Please read all instructions carefully before using this product.
Retain this manual for future reference.
The specifications of this product may vary slightly from the illustrations and are
subject to change without notice.
For Customer Service, please contact: support@sunnyhealthfitness.com
1
Advertisement
Table of Contents

Subscribe to Our Youtube Channel
Related Manuals for Sunny Health & Fitness SF-E905


Summary of Contents for Sunny Health & Fitness SF-E905
- Page 1 MAGNETIC ELLIPTICAL TRAINER SF-E905 OWNER’S MANUAL IMPORTANT! Please read all instructions carefully before using this product. Retain this manual for future reference. The specifications of this product may vary slightly from the illustrations and are subject to change without notice.
-
Page 2: Important Safety Notice
IMPORTANT SAFETY NOTICE: NOTE THE FOLLOWING PRECAUTION BEFORE ASSEMBLING OR OPERATING THE MACHINE. 1、 Assemble the machine exactly as described in the instruction manual. 2、 Check all the screws, nuts and other connections before using the machine for the first time and ensure that the trainer is in safe condition. -
Page 3: Exploded Diagram
EXPLODED DIAGRAM... - Page 4 Parts List Parts No. Description QTTY Parts No. Description QTTY Main Frame Armrest Front Stabilizer 32L/R Handlebar 1pr. Rear Stabilizer Acorn Nut Roller Cap Spring Washer Leveler Cap Hex Bolt Carriage Bolt Decorate Cover Arc Washer Carriage Bolt Acorn Nut Meter Handlebar Post Spring Washer...
- Page 5 ASSEMBLY INSTRUCTIONS Step 1: Install the Front Stabilizer & Rear Stabilizer. Attach the Front Stabilizer (2) and Rear Stabilizer (3) onto the Main Frame (1), secure with the Carriage Bolts (6), Arc Washers (7) and Acorn Nuts (8) which are pre-attached to the stabilizer. ★...
- Page 6 Step 3: Install Pedal Support Tube and Swing bar. A: Fix the Left Swing Bar (24L) to the long axle of the Handlebar Post (9) with Hex Bolt (25) and Flat Washer (26), and then fix the Connecting Joint (52L) together with Left Pedal Support Tube on the Crank (49) with Left Locking Bolt (19L), Spring Washer (39) and Left Nylon Nut (40L).
- Page 7 If you have trouble connecting this part; try this alternate assembly suggestion: Step 4: Install the Pedals. Secure the Pedals (27L/R) to the Pedal Support Tube (18L/R) respectively using Hex Bolt (28), Flat Washer (29) and Nylon Nut (30), viewed from the rider’s seated position.
- Page 8 Step 5: Install the Handlebar and Armrest. A: Fit the Armrest (31) across the Handlebar Post (9), secure in place with the Spring Washers (34) and Hex Bolts (35) which are pre-attached to the Handlebar Post, and then pull the Pulse Sensor Wire (46) out of the Handlebar Post (9), finally clip the Decorate Cover (36).
-
Page 9: Warm-Up Phase
USING YOUR ELLIPTICAL BIKE Using your elliptical bike will provide you with several benefits. It will improve your physical fitness, tone your muscles and in conjunction with a calorie controlled diet, help you lose weight. WARM-UP PHASE The purpose of warming up is to prepare your body for exercise and to minimize injuries. Warm up for two to five minutes before strength-training or aerobic exercising.
Need help?
Do you have a question about the SF-E905 and is the answer not in the manual?
Questions and answers